Articles | Office Tips Blog | Photoshop Blog | about me | e-mail

Helen Bradley - Pro Photo Blog

ProPhoto is a photo site for every photographer. We help you understand what you need to know to take better photos and how to share and enjoy them.

Friday, March 12, 2010

Step 10 Simple Photo-editing workflow– Fixing redeye
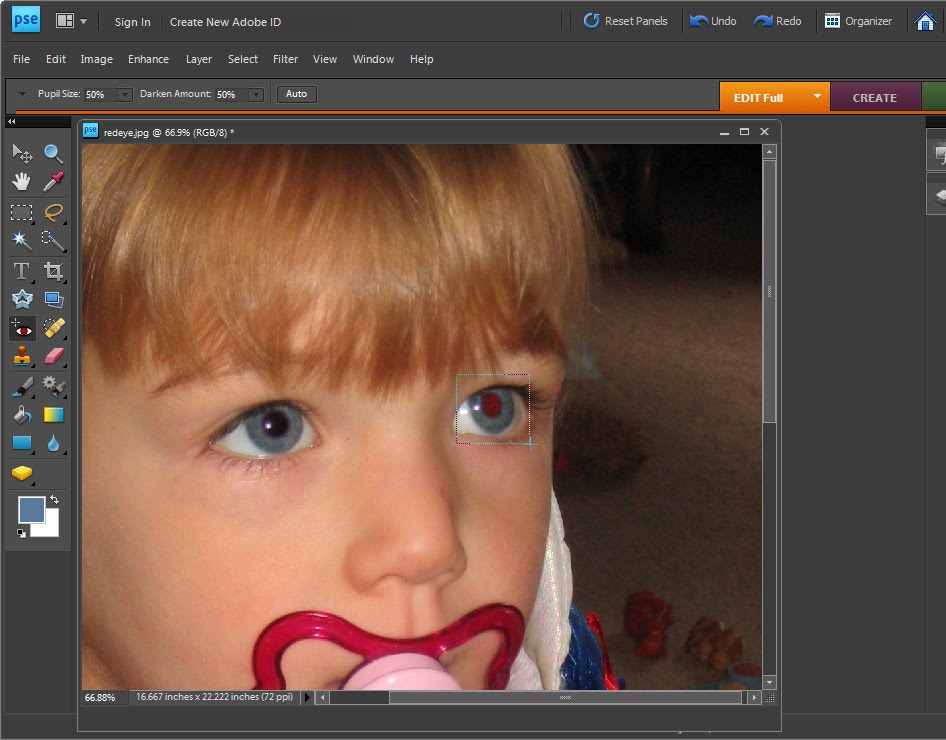


Redeye is caused by the camera’s flash and is often difficult to avoid.

If your photograph has a subject with redeye you can fix it using the redeye tool in Photoshop Elements.

Click the Zoom Tool and click and drag over the eyes in the image to make them large enough that you see them clearly.

Click the Redeye removal tool and click on the red part of the eye. If necessary, adjust the Darken amount and the Pupil Size on the toolbar to get a good result. Fix each eye and then save the image.

Labels: ,

Tuesday, March 9, 2010

Step 9 Photo-editing workflow - Fixing imperfections


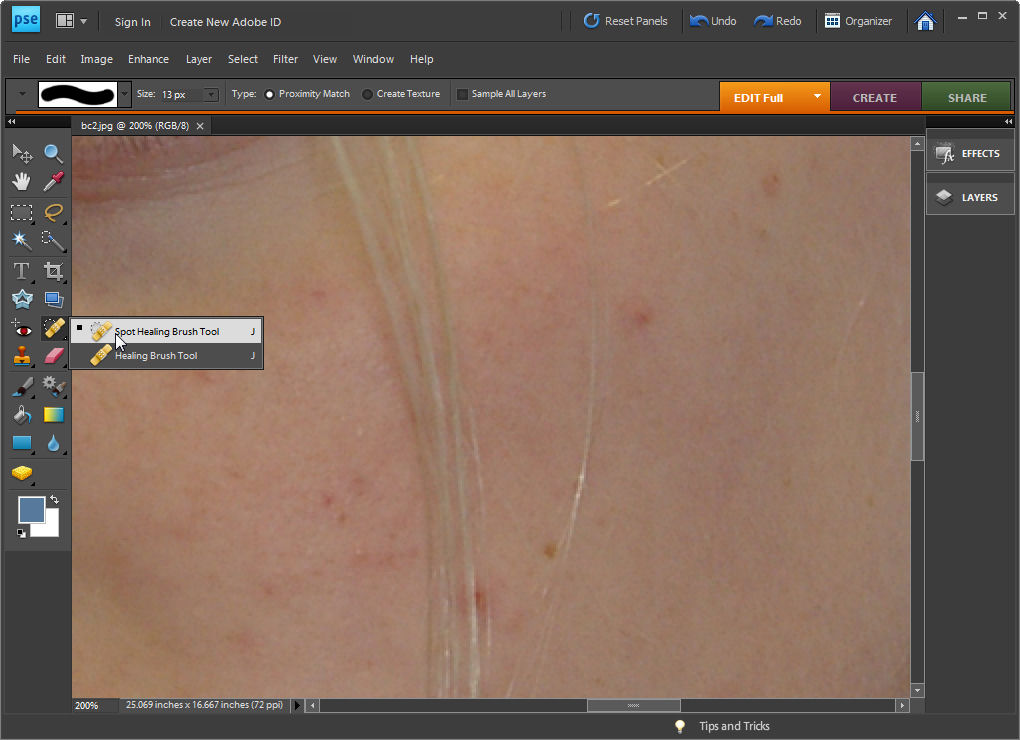
If you have a photograph of someone who has blemishes on their skin you can remove these by using the Spot Healing Brush tool.

Select the Zoom tool and zoom in onto the areas that require fixing.

Click the Spot Healing Brush tool and adjust the brush size so it is just big enough to cover the problem area.

Click once on the area and the blemish will disappear. If the fix is not perfect choose Edit > Undo Spot Healing Brush, adjust the brush size and try again.

Labels: , ,

Saturday, March 6, 2010

Step 8 Photo-editing workflow - Fix skin tones


Often you will encounter difficulties when fixing colour problems in an image where there are significant areas of skin tones. Skin tones are more difficult to fix than general colour casts, in part because we're all so familiar with what skin tones should look like that we 'know' immediately when they look wrong.

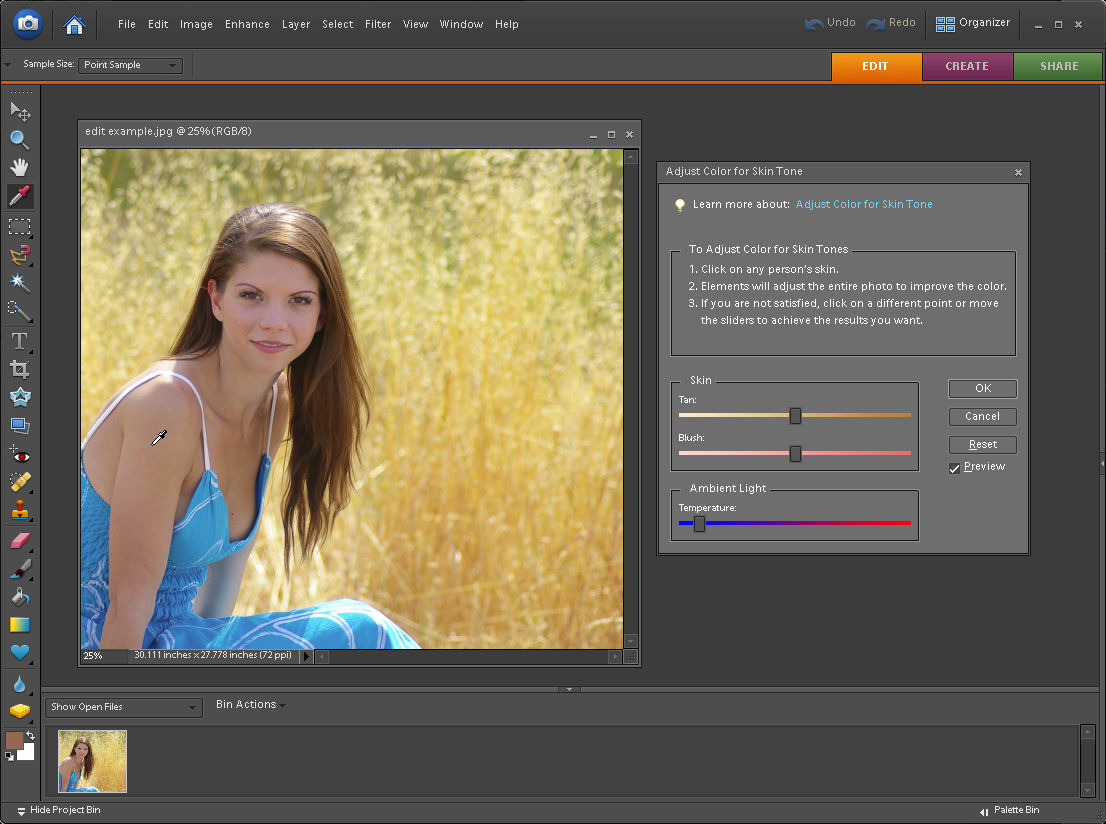
Luckily Photoshop Elements has a good tool for fixing skin tones. To apply this fix to your image choose Enhance > Adjust Color > Adjust color for skin tone. The mouse cursor will change to an eyedropper and you should use this to click on an area of skin tone in the image.

If you don't get good results sampling from a person's face, try sampling on their neck or arm – sometimes makeup on the face can give poor results and skin not covered in makeup gives better results.

Once you have selected the skin tone, if the fix isn't good enough, use the Blush and Tan adjustments until you match what the skin should look like. The Ambient Light temperature slider lets you warm up or cool down the colour fix.

Labels: , ,

Wednesday, March 3, 2010

Step 7 Photo-editing workflow - Fixing colour problems


Whenever you believe that there is something wrong with your photo’s colour or tonal range a good place to start fixing it is with your software’s automatic fix options.

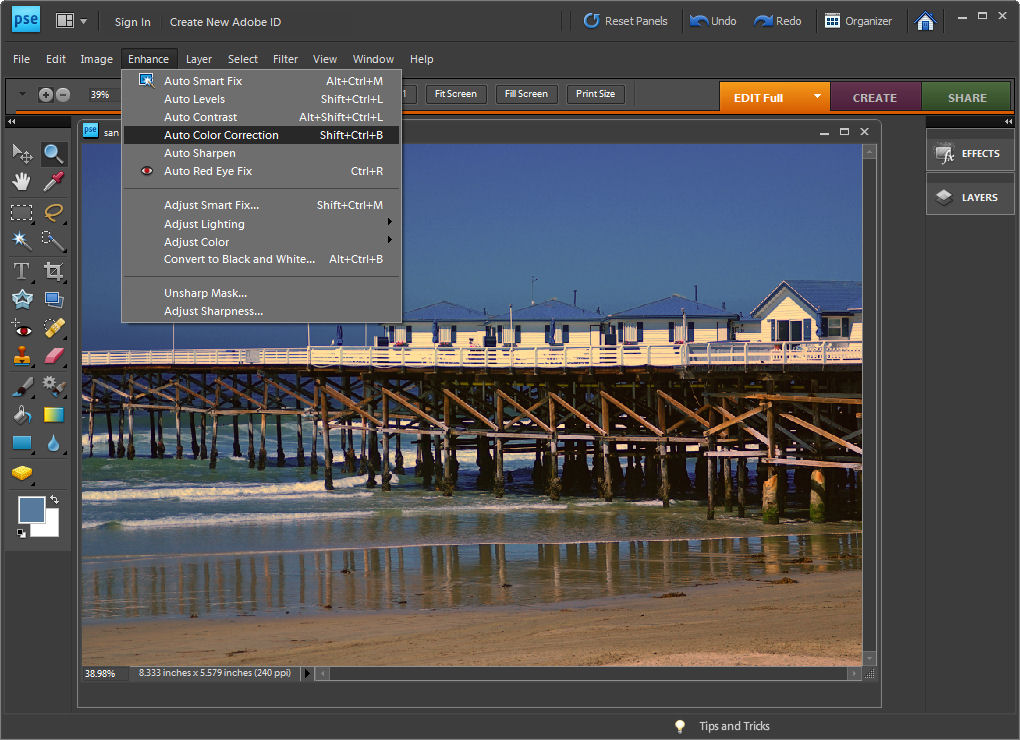
In Photoshop Elements choose Enhance > Auto Smart Fix and preview the result. If you do not like it choose Edit > Undo and try one or all of the Auto Levels, Auto Contrast, Auto Colour correction options under the Enhance menu.

Each of these adjusts the image in a different way and if they work on your image then they're a simpler way of fixing it than having to do it manually.

Labels: , , ,