Articles | Office Tips Blog | Photoshop Blog | about me | e-mail

Helen Bradley - Pro Photo Blog

ProPhoto is a photo site for every photographer. We help you understand what you need to know to take better photos and how to share and enjoy them.

Friday, October 30, 2009

The Color of light


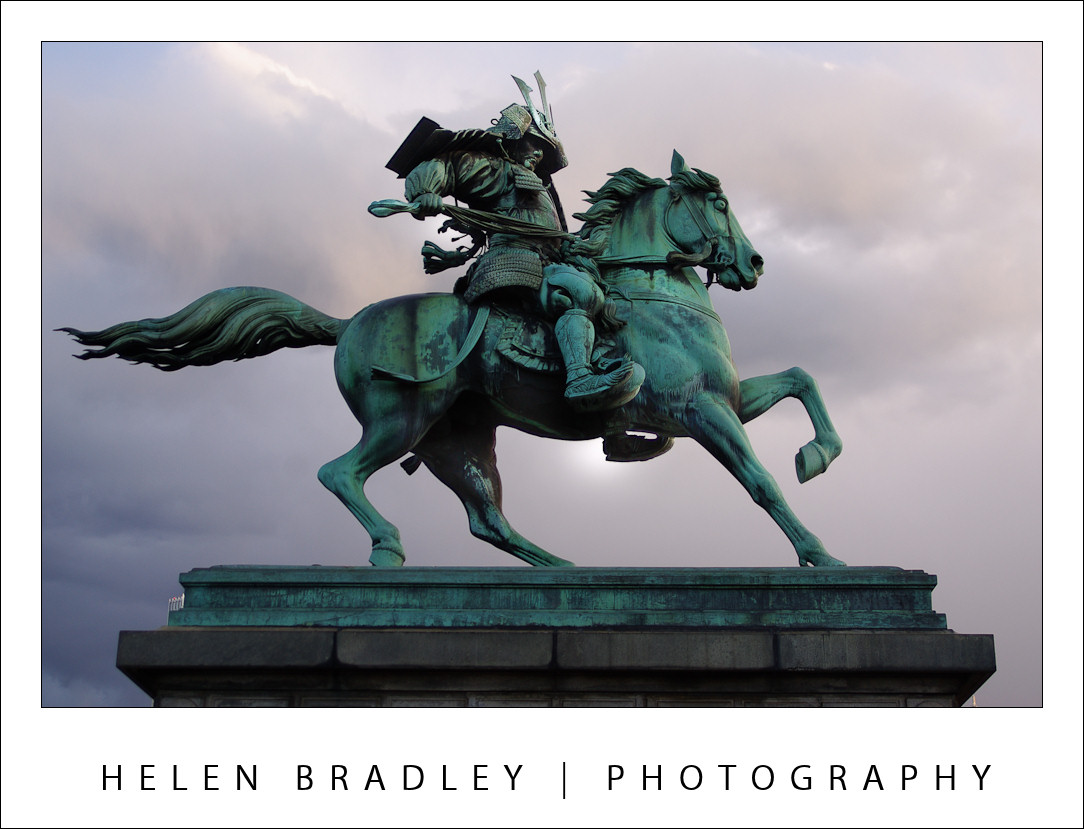
The light of an oncoming storm has tinted this image and its moodiness complements the subject of the photo.

Without some form of lighting it is impossible to take a photo – a photo is, after all, a representation of the light that enters the camera and which is captured by the film or camera’s sensors. There are, however, different types of light and, when you understand something about the light that surrounds you, it will help you capture better photographs.

Perhaps the most important thing to understand about light is that it has a colour. While the light cast by the midday sun is the purest light and devoid of a colorcast, the same is not the case for early morning light or the light in shadows. Early morning sunlight throws a warm glow over a scene and the same happens in the evening as the sun sets.
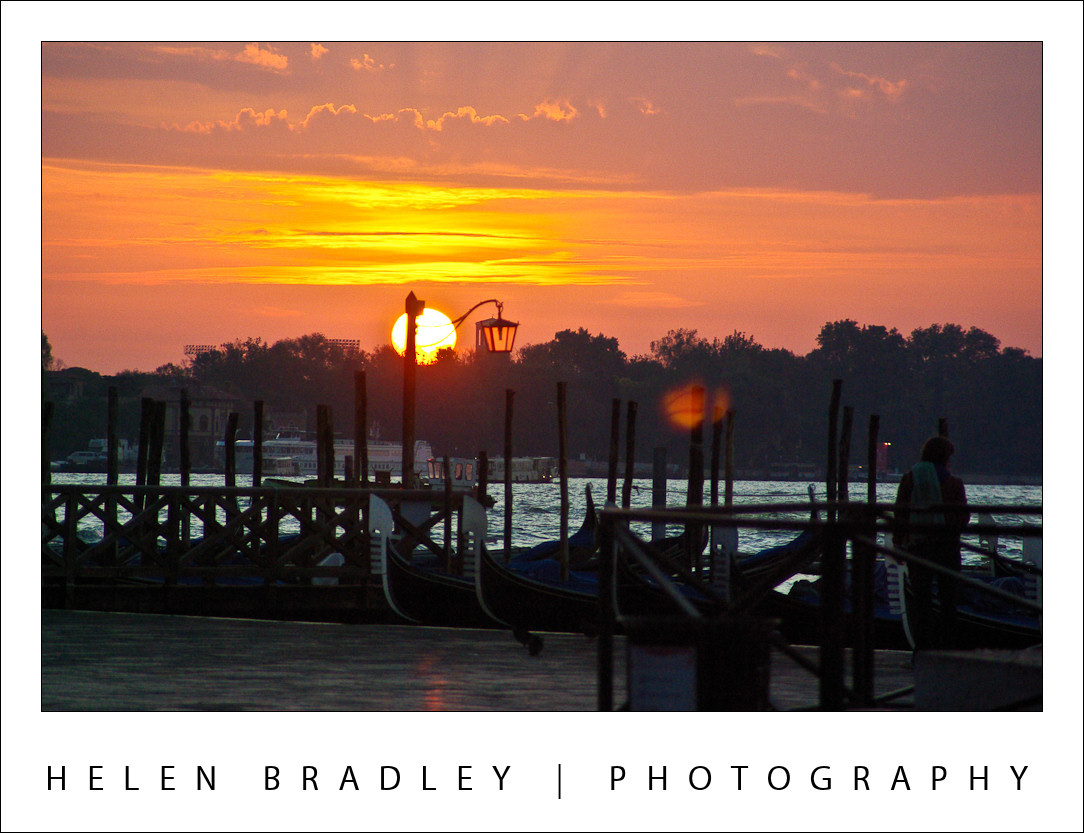

This sunrise shot of gondolas on the Grand Canal in Venice has captured the unique early morning light.

This pink coloured glow is called warm light because of its warm pink orange tone and it not only gives you wonderful early morning and sunset photos but the same warm tones are extremely flattering when photographing people. In fact it is possible to buy what are called warming filters that attach to your camera and which filter the light coming into the camera to give a flattering pink cast to the image.

You can mimic this effect in most photo editing software by applying a slight orange pink colorcast to the image or, in programs such as Photoshop, using the built in photo filter tool to do this. You simply select the type of Warming Filter to apply to the image.

Not all outdoor light is warm or neutral, the light in a shaded area on a sunny day will generally be more blue so your photos might show a blue cast. However if you’re photographing in an area shaded by foliage, the colour cast will be more green because the light is being filtered through the green of the plant leaves. The unfortunate side effect of this is that photos taken in a garden setting may result in the subject showing a slightly green tone to their skin.
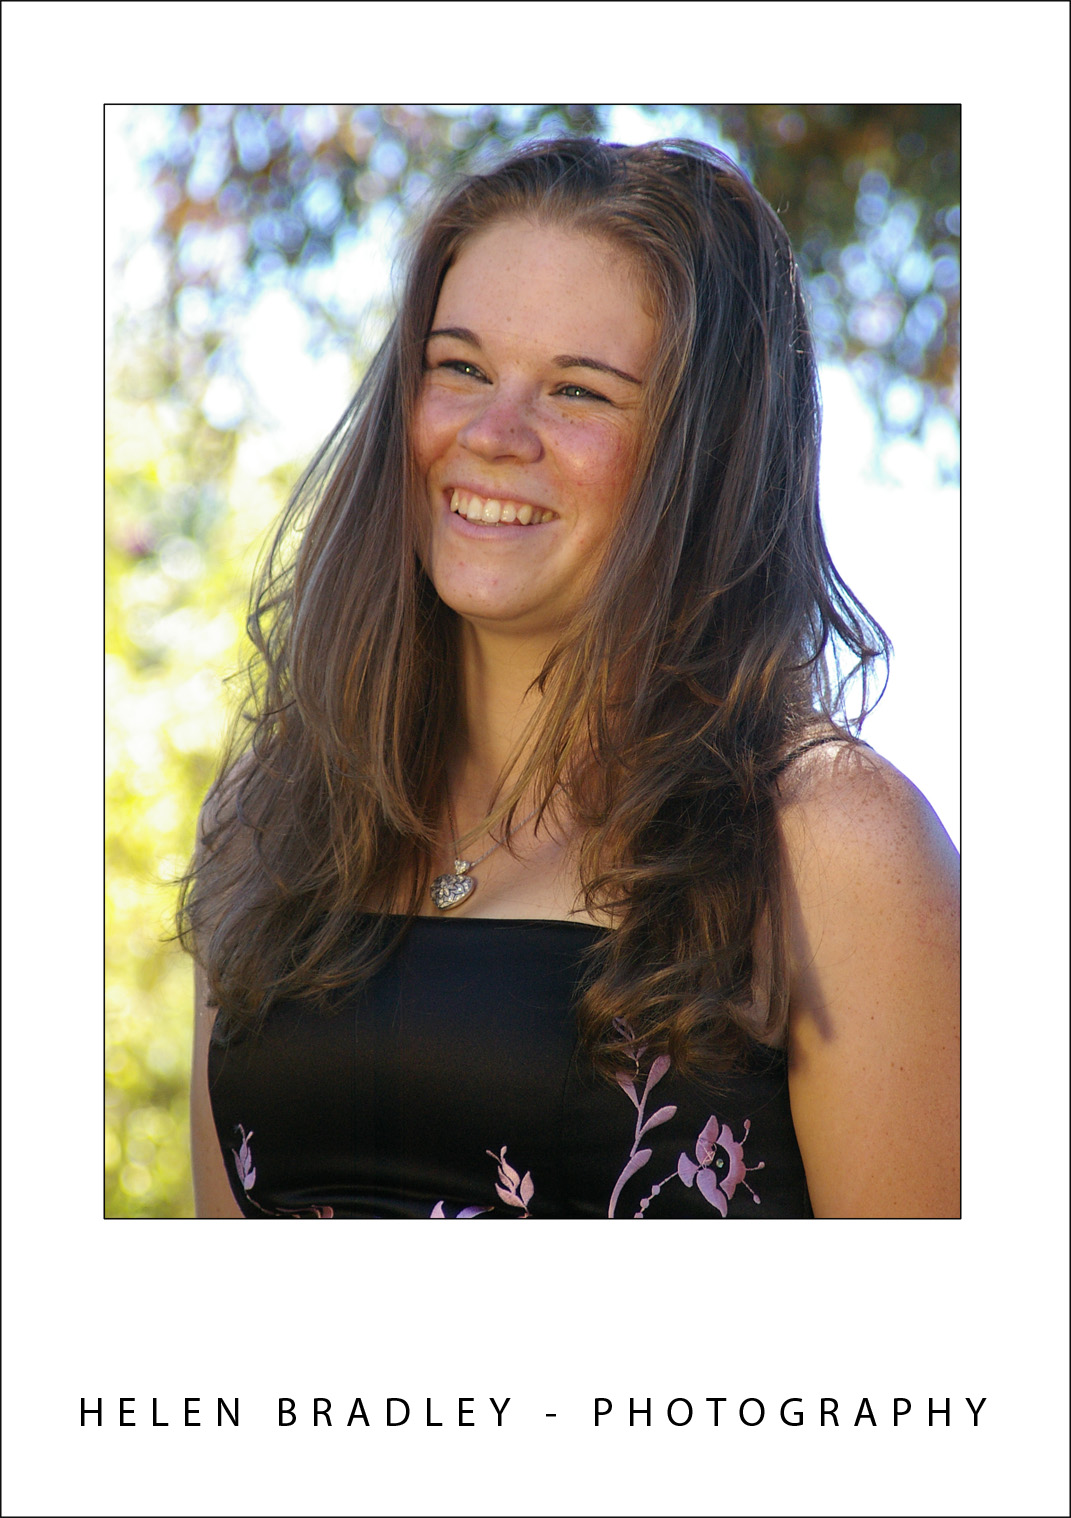

To help counter the lack of light in the shadows additional light has been bounced onto the subject’s face using a reflector.

Light indoors is different again. A standard light globe will throw a pink yellow light whereas fluorescent tubes throw a blue green light. Photographs of people taken in fluorescent lighting can show their skin as being washed out and unattractive because of the light’s colour. To help you balance the light that is coming into your camera it has a tool called white balance. Using this white balance tool you select the type of light that is in the location (such as tungsten or shade) and the camera will adjust the resulting image to show a more neutral tone. So, if you’re photographing in fluorescent light the camera will neutralize the blue green light to give you a more neutral result. If you’re shooting in Camera RAW the adjustment won’t be made to the final image – you can, however, make it yourself using your camera raw pre-processing software.

When photographing a sunset, because you want to capture the gold, red and pink colours of the sunset, it is best to select a daylight sunny setting for your white balance so that the camera does not make any adjustments to the colour. In this situation the camera will record what it sees and you’ll get your sunset not a neutralized version of it!
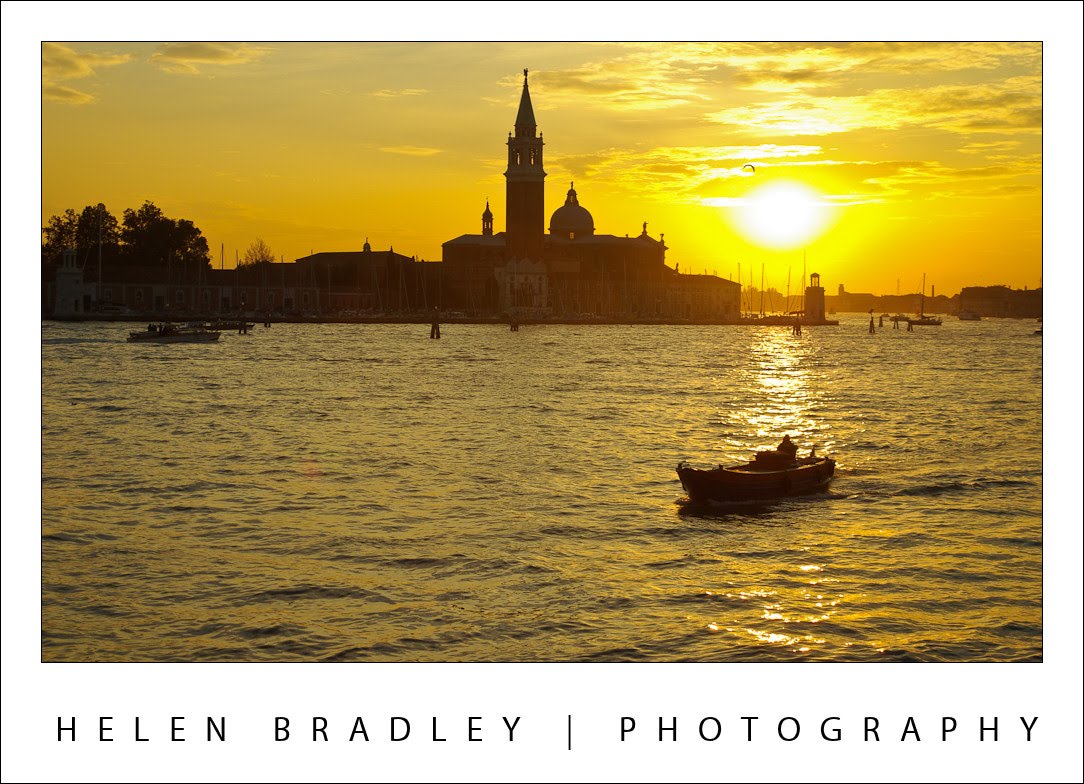

When capturing sunsets make sure not to use a white balance adjustment or you will lose the colors.

Another creative use for White Balance is to warm an image. If you’re shooting a photo in full sun and you want it to have a warmer look, use the shade setting on your camera when you do so. This applies a slight warming colour to the image much as you might get by adding a warming filter to a lens.
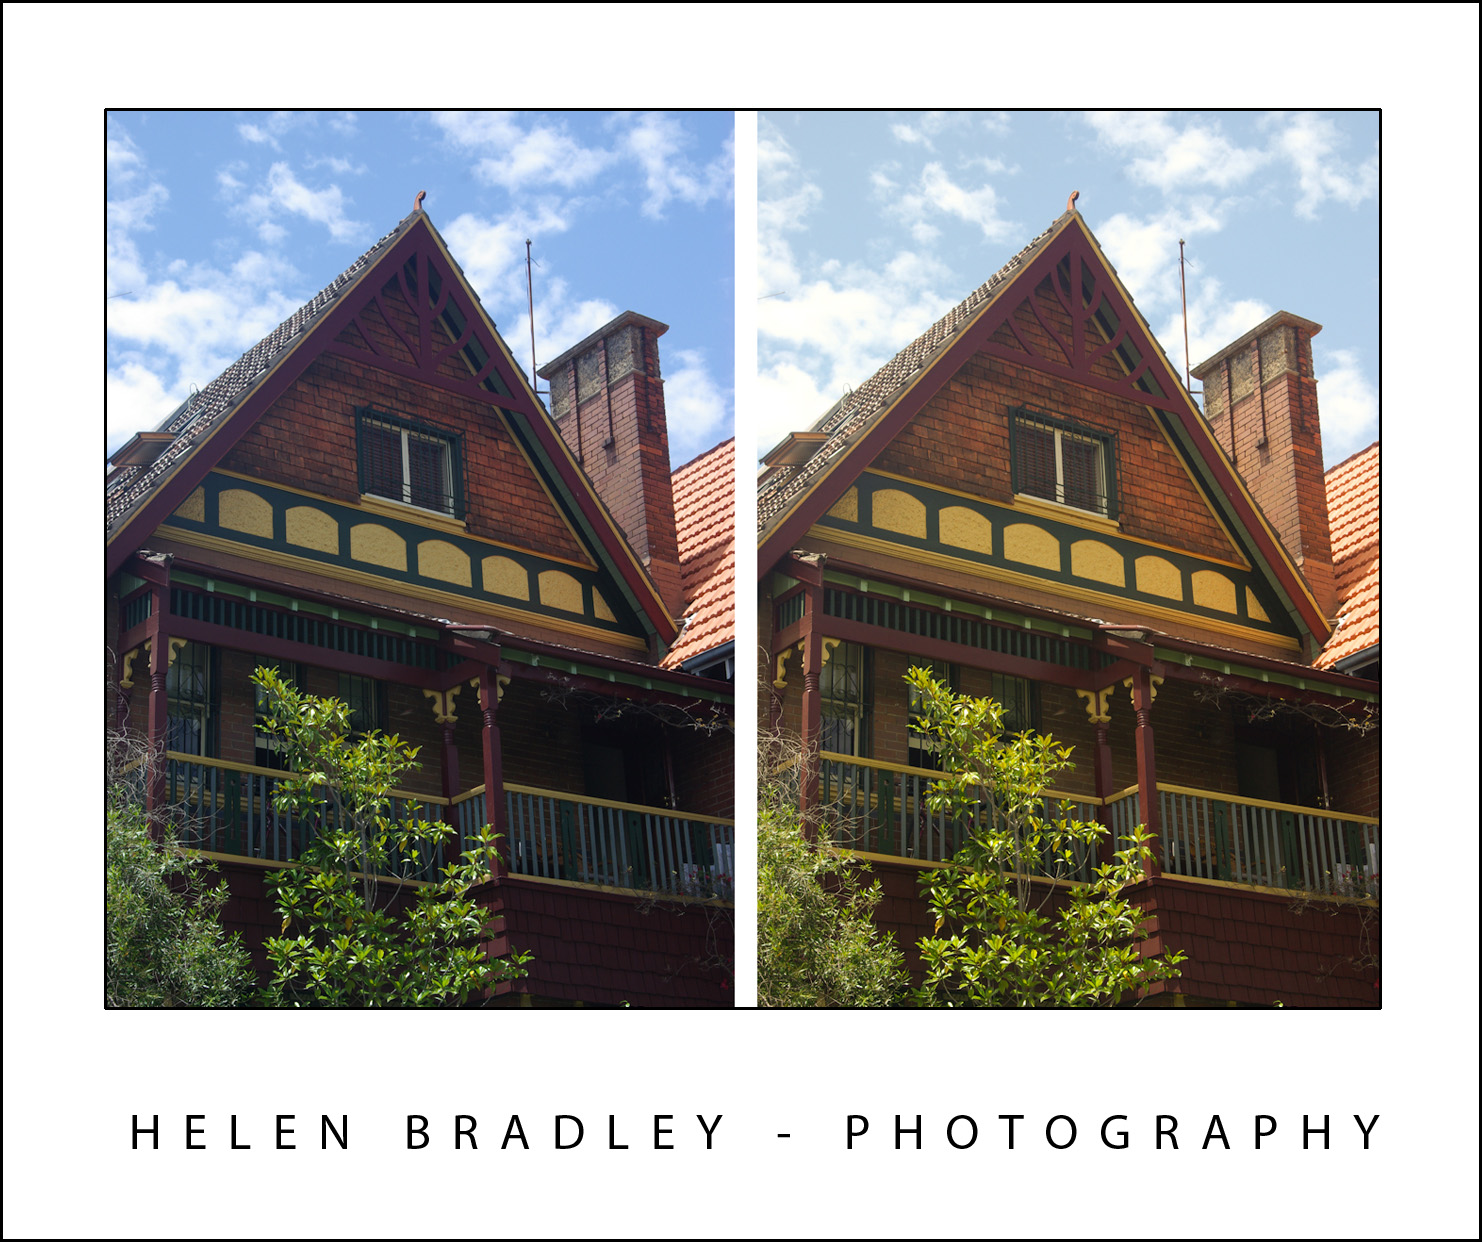

Using a different camera setting you can alter the warmth of an image, the version on the left is cold, the one on the right is warm.

As you become more aware of the quality of the light that you’re photographing in, you will be able to make it work for you and the result will be better and more artistic photographs.

If you're interested in learning more about white balance, visit this recent post on Understanding the Need to White Balance: http://www.projectwoman.com/2009/09/understanding-need-to-white-balance.html

Labels: , , , , ,

Monday, October 26, 2009

Freeze the action


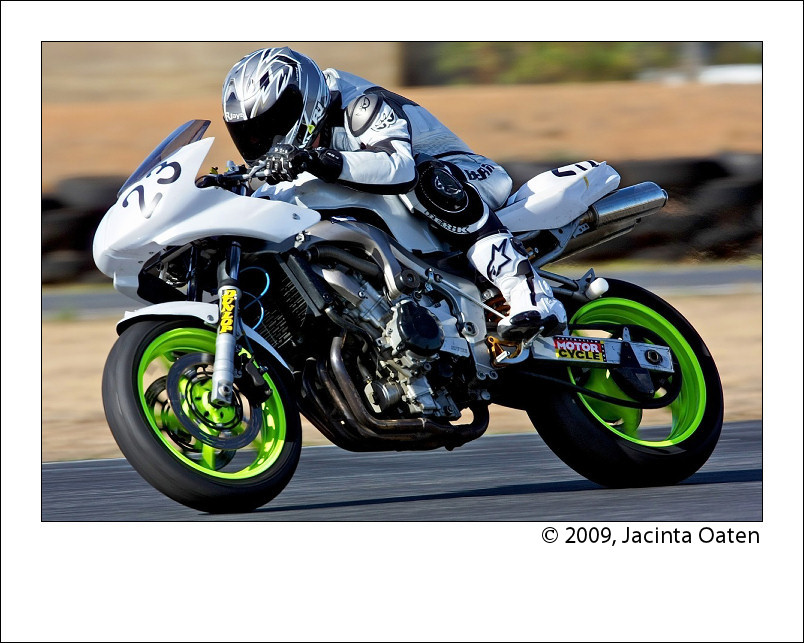
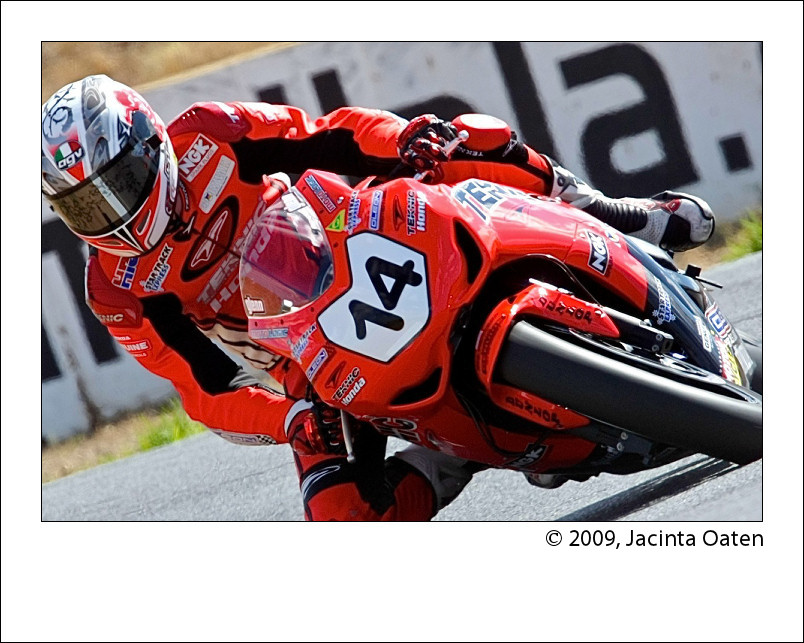
Whether you're taking photos of a football match, motorbike racing or the kids riding their bicycles, you'll find yourself trying to capture movement. Photographing moving objects can be tricky but there are some simple techniques you can use to make it more likely that your photos will be successful.

Plan your approach
Before you begin shooting find a good place to shoot from. Get to the event early so you have time to look around for a good position to stand. If you have a telephoto lens, a position in the stands at the races or football will let you get close to the action even when you're far away and you can get good shots over the heads of the crowd. Alternately, get right down to the boundary fence for a different perspective of the action.


Anticipate the action and be ready to shoot it. Point the camera to where you think something will happen and press the camera shutter half down to focus the shot and wait. When the action comes into the frame, press the rest of the way to take the shot. If your camera has a sports mode – it is generally indicated by a running figure – use that. Sports mode reduces the time it takes to capture a shot by increasing the amount of light coming into the camera. The faster the shot is captured, the less the subject moves while the shutter is open and the less blurry they'll be.

For most sports there are times that can be considered high action – a player about to take a high mark, a goalie trying to save a goal in soccer or horses jumping from the starting gates. Anticipating these events and capturing them can give great results.

15 year old sports photographer Jacinta Oaten used a combination of anticipation, great location, large aperture and fast shutter speed to get the wonderful shots featured in this post.

To blur or not to blur
Blur should not be seen as a bad or undesirable thing. By shooting at a slower speed and allowing the background to be well focused and the subject slightly blurred you can get an impression of action in your shots. To slow your camera down so you can blur the action, choose Landscape mode or, if your camera is manually adjustable, slow the speed down for example to around 1/15 th of a second.

To reduce blur in a shot, use the fastest speed setting of which your camera is capable. If this doesn't work, follow your moving subject with the camera. Stand still and point towards the subject and start moving the camera to match their movement. Shooting as the camera is moving along with the subject results in the subject being focused and the background blurred. Again, you will have a pleasing sense of movement in your shot.


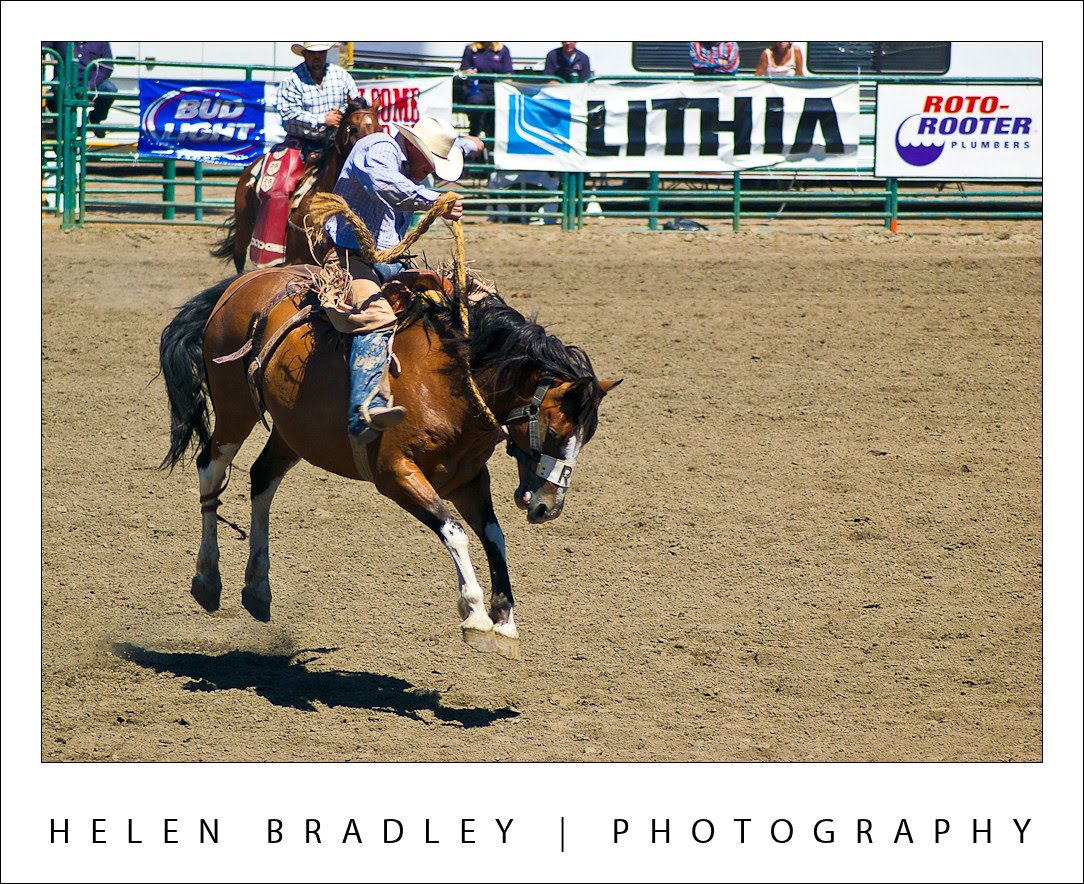
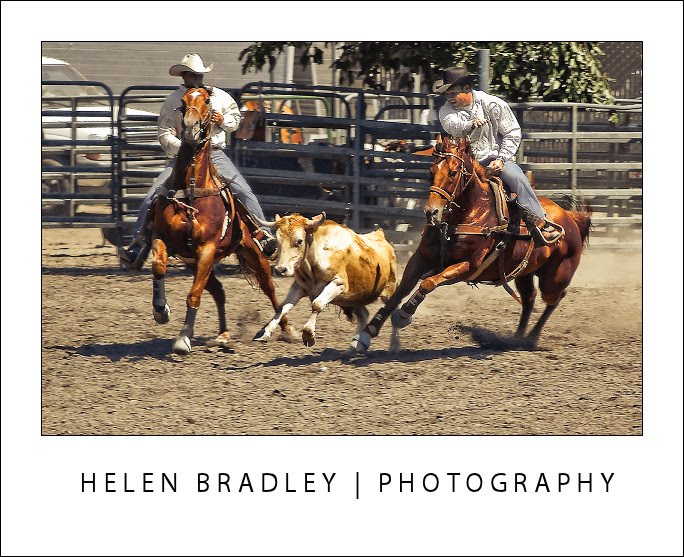
To capture the action at the rodeo I used burst shooting mode to maximize the chance of getting a good shot.

Your camera's burst shooting mode is also handy at capturing action. In this you’re your camera takes a series of shots in a short time interval. Instead of having one shot, you now have six or nine taken in very short succession. In some cases these shots are smaller in size than regular shots so, before using this mode, ensure your camera is set to capture at its highest resolution and to store at the lowest compression so you ensure these shots are the best they can be. However, the very speed of capturing the shots makes it more likely you will get a shot you like from those you've taken.

Look around you
When shooting action scenes, don't focus entirely on the action and miss out on the stories that happen behind the scenes. Often people sitting in the crowd will make a good shot, so when someone is about to kick for a goal, turn around from your position on the boundary fence and shoot the crowd's reactions to the kick. Look for other scenes that are compelling such as the athlete's reactions at the end of the race or a bored official reading a book with action taking place all around.


Finding a good position to shoot from and anticipating the shot can give some great results.

Know your camera
The high point of a game when your favourite player is about to shoot for goal is not a good time to realise you don't know how to operate your camera. Before you pack your camera for an event, spend time familiarizing yourself with its settings. Know how to find and use the various camera modes and practice following motion – taking shots of cars driving down the street is a good way to do this. Check your camera's settings to make sure you're taking the quality shots you think you are and check that the compression format being used is acceptable. If you're using a camera with a small number of megapixels (3 or less), buy a big storage card so you can shoot at the highest quality and lowest compression possible.

If you're using a digital camera, take plenty of shots and delete the ones that didn't work out later on. Consider any space left on your camera card at the end of the day as being a wasted opportunity to try your new skills.

Labels: , , ,

Wednesday, October 21, 2009

Photographing for eBay and the web


A few years ago the most complex photographs most of us took were photos of the kids birthdays and our own holidays. These days we're more likely to be taking photographs that in the past would have been the work of a professional photographer. If you have a website or if you sell in online auctions, you'll have confronted the issue of photographing things so they look their best and present well when displayed on the web.

When capturing images for the web, some of the work can be done in your image editing software but most of it needs to be done in camera. It’s more efficient and more effective to shoot right to begin with rather than have to fix up problems later on.

Location, location, location
Start by finding a good location to shoot in. For smaller objects you can generally shoot indoors on a clutter free tabletop. A sheet of paper taped to the tabletop and which extends up all the way behind the object will provide you with a seamless background the technical term for which is a sweep. This is exactly what a professional photographer will use only their version will be make of heavy plastic and yours will be paper. You can also use a heavy fabric such as upholstery fabric – provided it isn’t crushed or creased. Hang the paper or fabric or tape it into position and sit the object on it.


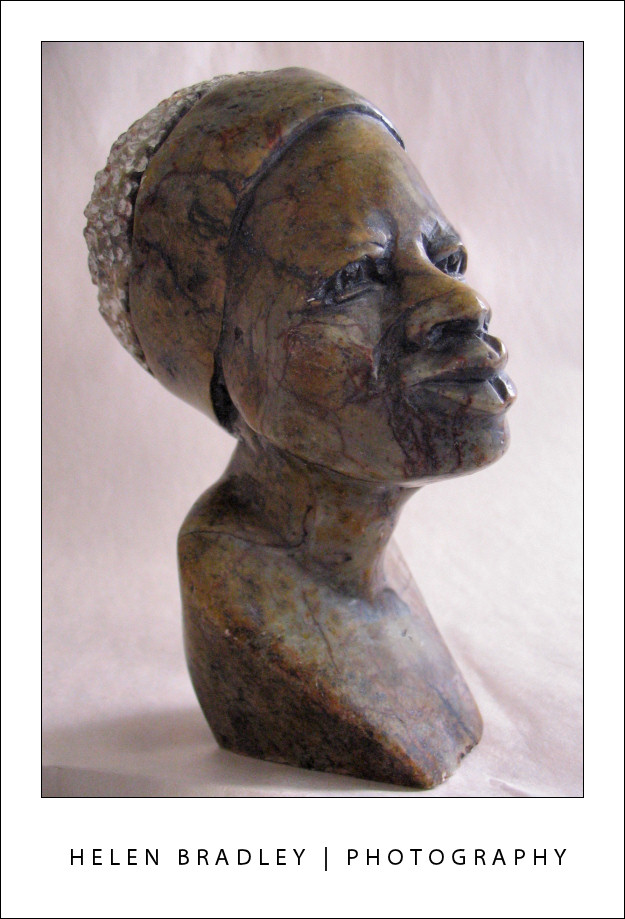
This statue was photographed in a light place indoors with a sweep made from a sheet o paper taped to the wall.

Check in your digital camera’s LCD screen to make sure that your sweep extends to cover the entire area behind the object and in front of it so you can capture and later crop the image without any surrounding area showing.

Where you are photographing small objects such as for online auctions or where the size of the object is important, include a coin or ruler in the photograph. This way the viewer can ascertain the relative size of the object from the visual clue you have provided.

Image size
For shooting web images, you don't need to shoot large images because the size of images required for most web images is quite small – anything more than around 1,000 x 1,000 in size will be more than you need. You can configure your camera to shoot small images or resize in your software later on.

Use Macro mode
To shoot small objects, switch your camera into Macro mode which is indicated on the camera by a small flower icon. You use macro mode so you can get the camera close to the object and so it can still focus. If you don't use the macro setting, chances are that the shot will be out of focus as most cameras cannot focus up close if you use any other setting. Make sure to back off the zoom too - most cameras won't focus in macro mode with the camera zoomed in.


Using the macro feature on your camera give you a nicely focused area with the rest of the image out of focus.

Get in close
Get in close and fill the viewfinder with the object so you capture as much detail as possible. If you're using standard household lights you will need to adjust the camera's white balance setting so that the image doesn't have a colour cast. The light supplied by household globes is coloured and will colour your images if you don't correct for it and it's easier to do this when you're capturing the image rather than later on. Avoid, where possible, using a flash as the image will be blown out – if you have to use a flash, place something over it so the light goes in another direction and not direct onto your object.

Depth of field
One benefit of the macro feature is that generally captures part of the image in focus and the rest nicely out of focus. For this to be successful make sure that the portion of the image in focus is what you most want to show clearly. To see what will be in focus, press the shutter half way down and watch to see what is in focus, if this isn't correct, move the camera so that the part of the object you are interested in is in the centre of the viewfinder and press the shutter halfway down. The move the camera to recompose the image and finish by pressing the shutter the remainder of the way.

Lightboxes rock!
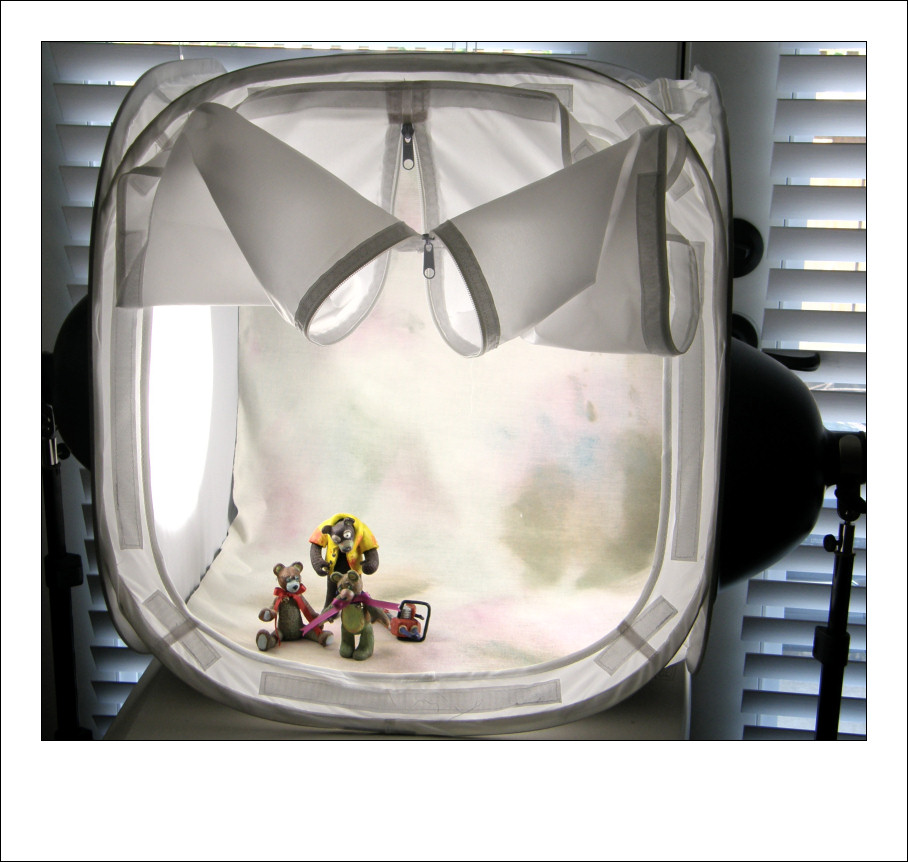
If you are doing a lot of small object photography, consider purchasing a light box and some special daylight balanced globes. A small collapsible studio like this will make the task of photographing objects a lot easier – the light will be diffused by the light box, you won't have to adjust for colour and you can photograph anytime day or night. If you don't have a light box, take the object outside or place it in a well lit area of your house making sure that the area has a neutral background. If you use the macro feature you can still get a good image with a nicely blurred background.


A light box like this is a great way to capture photos of small objects for the web.

While photographing objects for the web is challenging, armed with the right tools and knowledge of the features of your camera that are there to help you, you can get some great results.

Labels: , , , , ,

Friday, October 16, 2009

Letting the kids lose with the camera


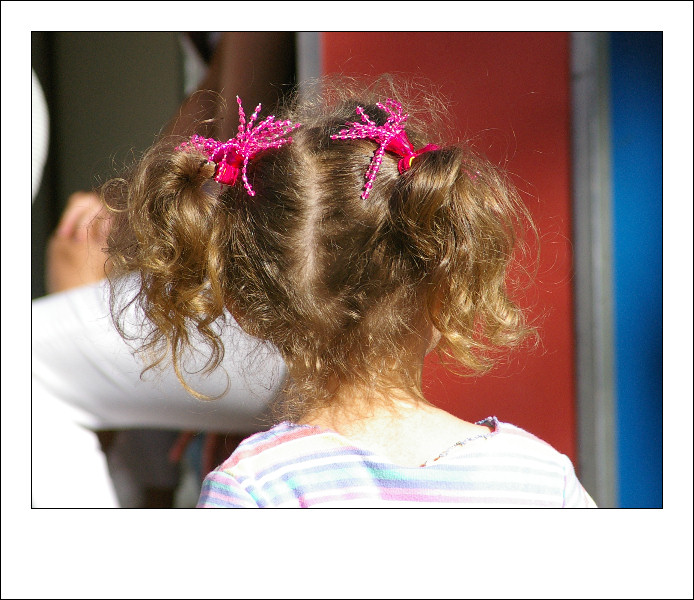
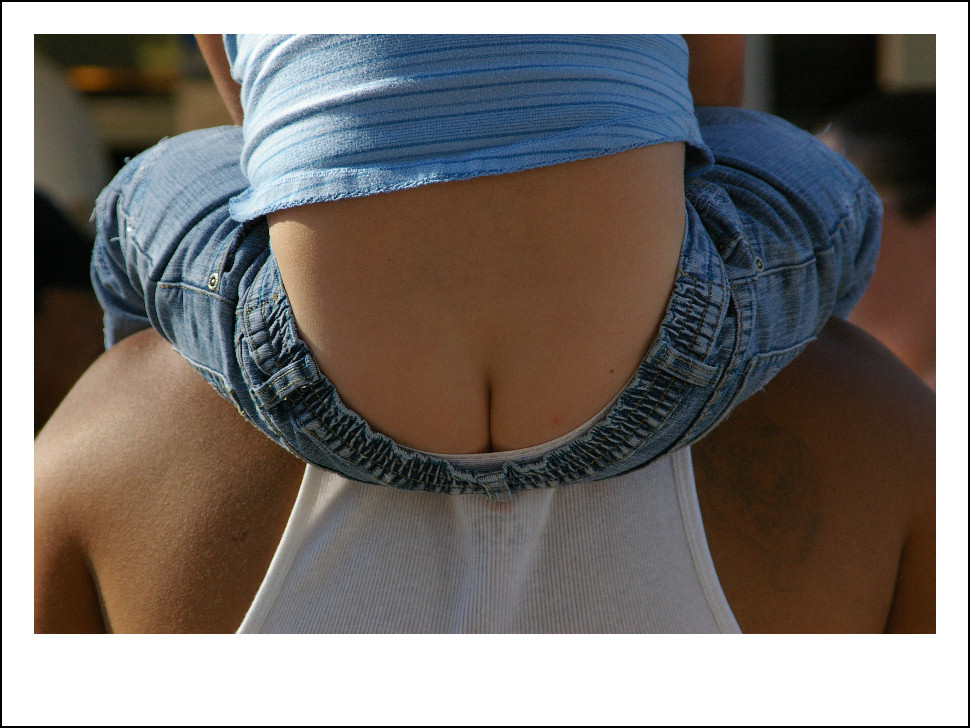
Let loose with a camera at the fair, Brandi was captivated by the little girls and shot some wonderful hair styles and this child being given a ride on Dad's shoulders.

Kids see the world in a different way to the way we see it. They're interested in different things and when you put a camera into their hands you end up with images you may not have expected. However, kids and expensive cameras aren't always a good match so what can you do to protect your investment and, at the same time, encourage artistic exploration?

A few years ago, the camera most of us owned cost less than $100 and was a film camera. Nowadays, most of us have digital cameras that are far more expensive and not something you'll willingly hand over to a ten year old. However, most kids who are around late primary level at school are well capable of handling a camera and it's worth taking the time to get them started shooting, particularly as you won’t have to shell out for photo processing – although you might find yourself investing in a second camera!


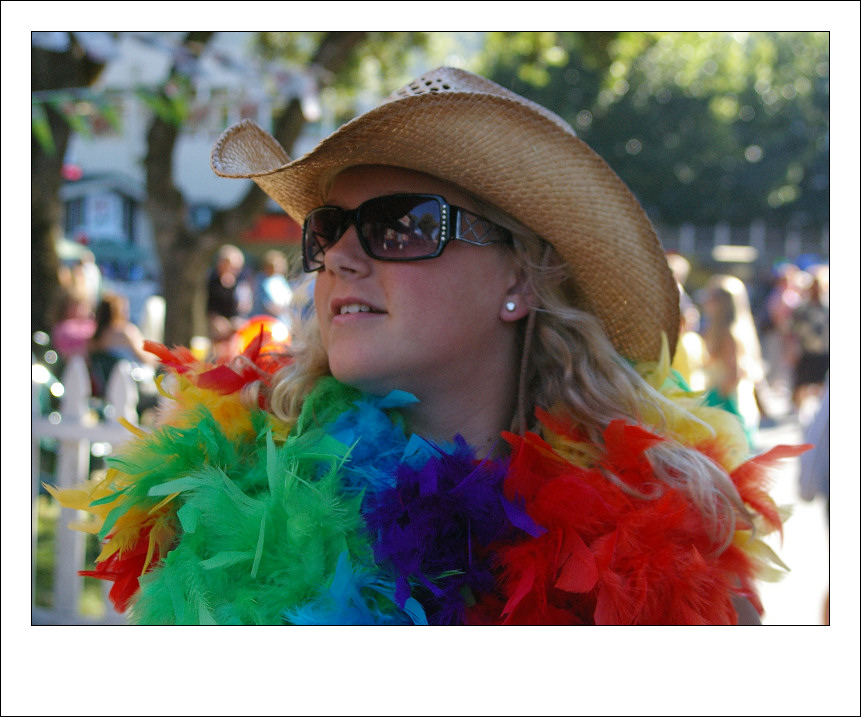
Brandi captured this colourful photo of her sister who played up for the camera by modelling a feather scarf.

When starting out, I like to spend a little time with a child before I hand over my expensive cameras to them. I cover the basics and the first thing is to insist they use the wrist strap or neck strap all the time – this is my one "not negotiable" rule, and it generally saves the camera from being accidentally dropped.


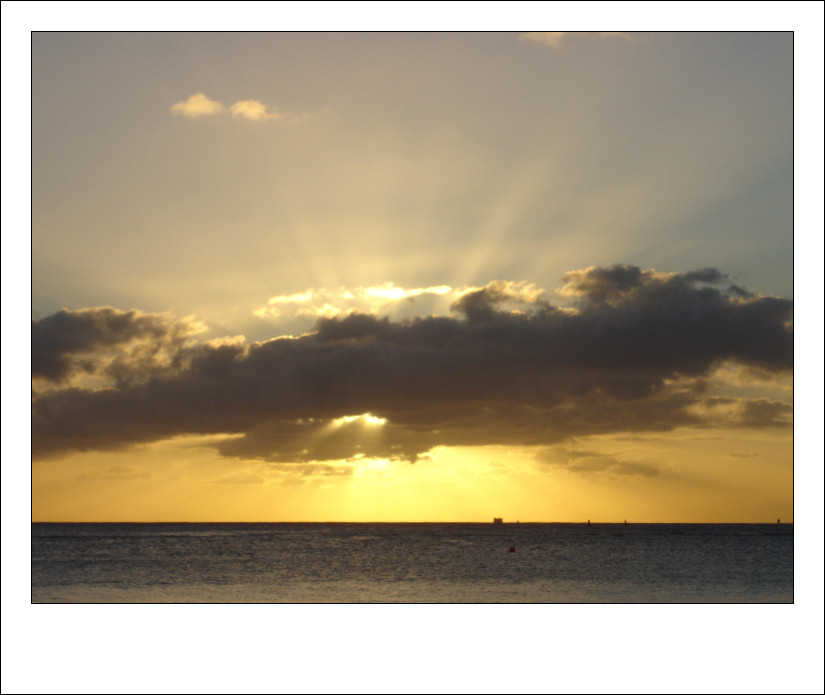
When he was ten years old, Ben captured this wonderful sunset on holiday with his parents in Hawaii.
I show them how to take a photo, how to preview it and how to zoom the camera. I then stand with them as they take a photo or two of something that doesn't move like a building or flower. We check the result in the view finder and then talk about how the photo might be taken differently.


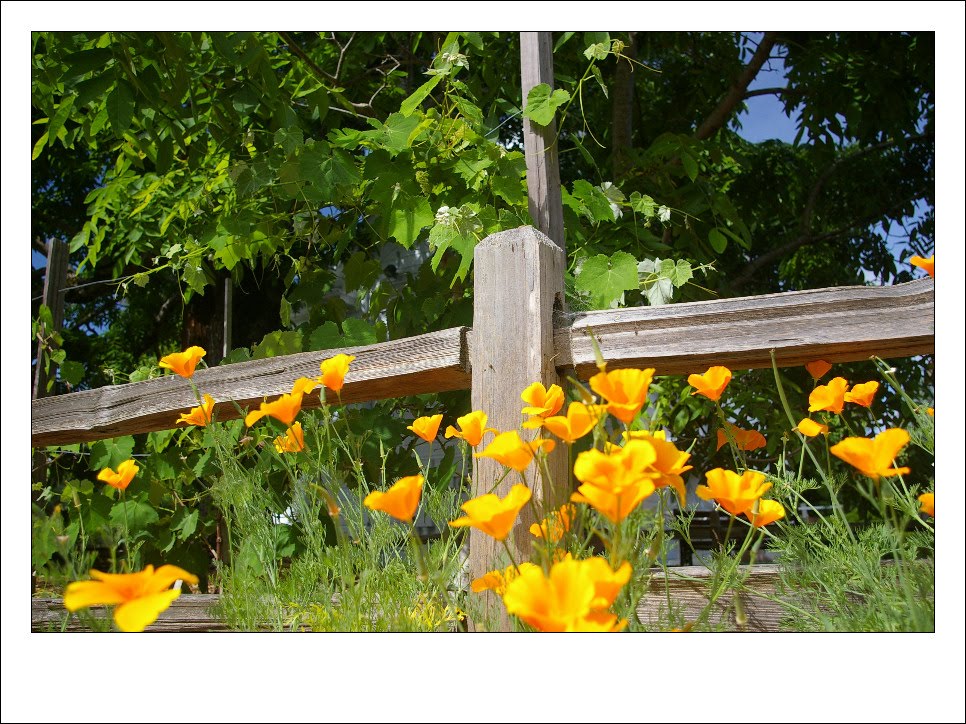
Casey had to lie down on the brick path to capture this shot looking up into the flowers and grape vines.

For example, I may encourage them to take the same shot from a different angle or position and to move in closer or further out and see how they like the results. I encourage them to get down low, even to lie on the ground to get an interesting perspective.


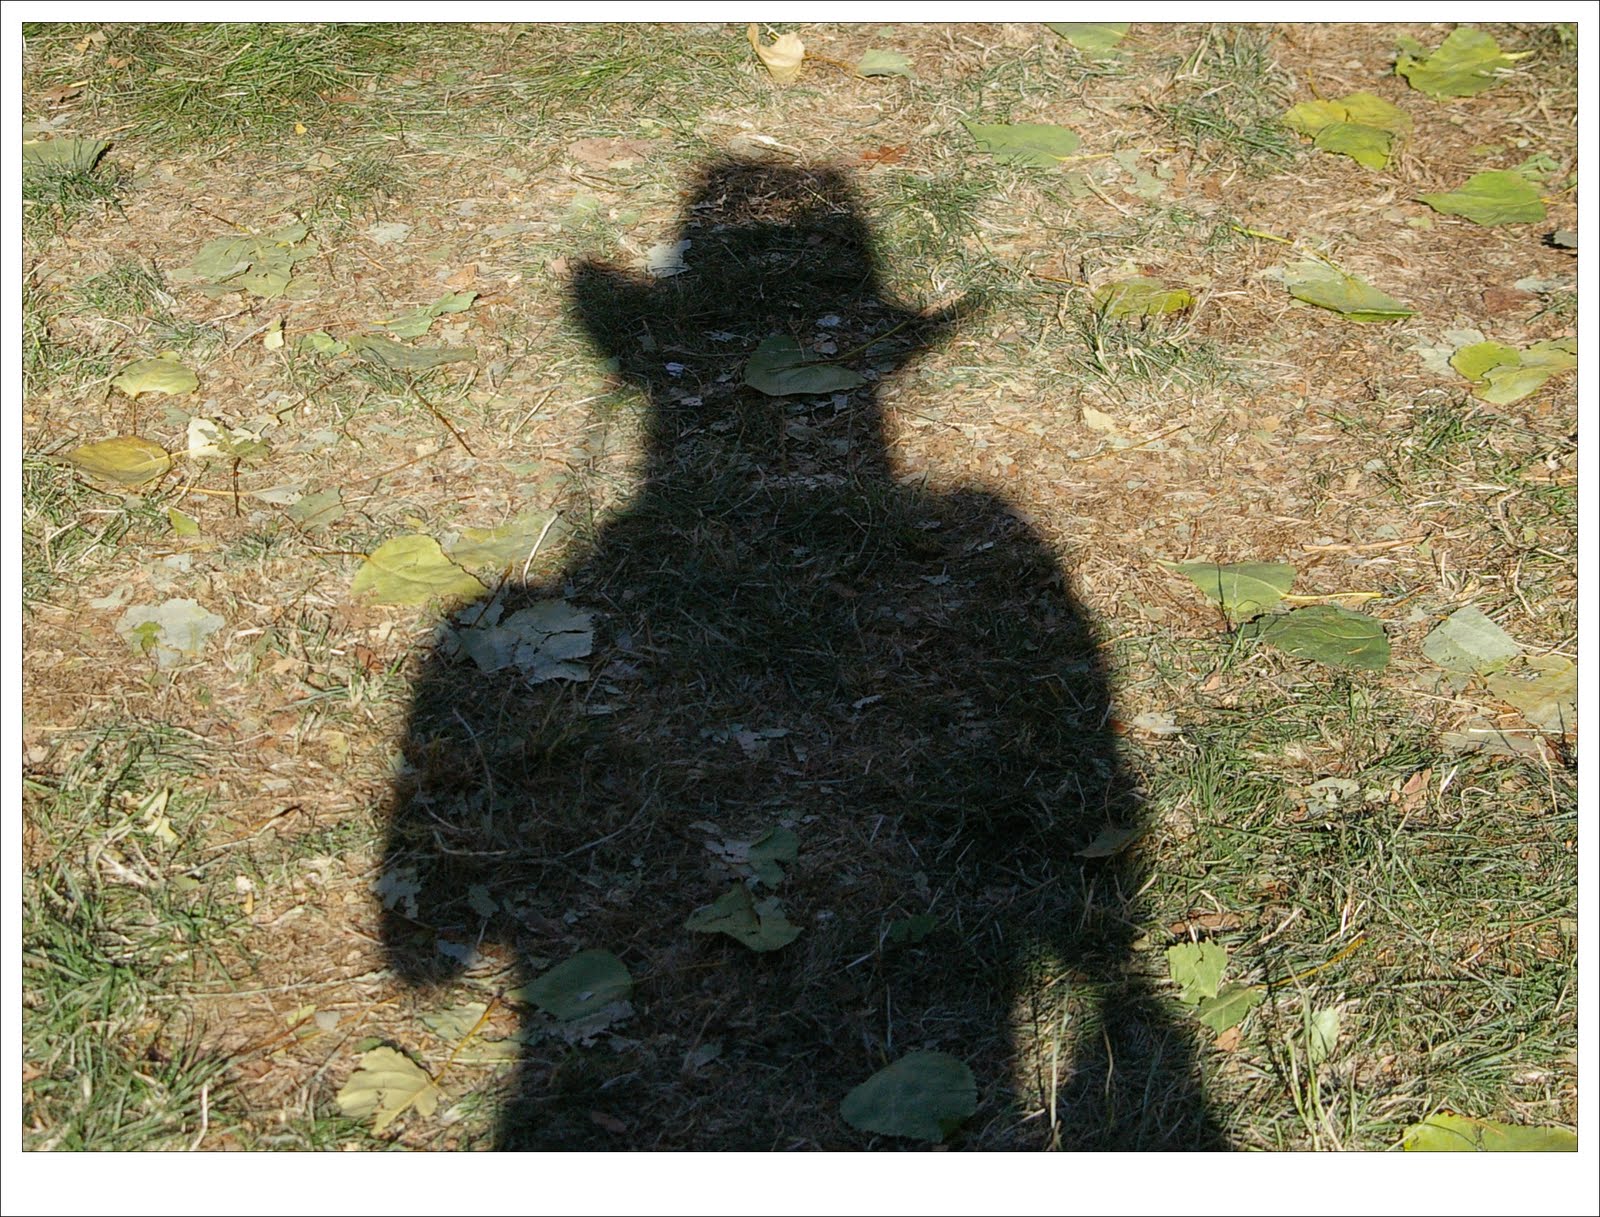
Brandi caught her own shadow in this fun photo.


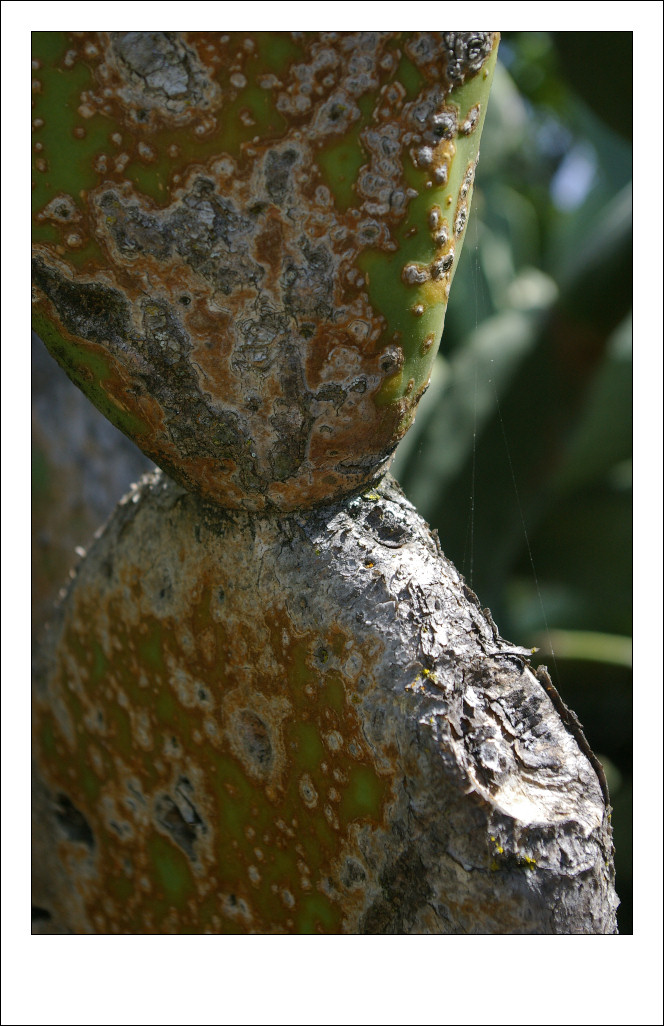
Buried deep in a large cactus, Casey found this old and pitted leaf which caught her interest.

The message here is that the first shot isn’t always the best and to look at what they're shooting critically before they put the camera to their eye. It also encourages them to be more mobile when shooting and frees them to sit, squat or lie down to get a more interesting angle without feeling silly for doing so.


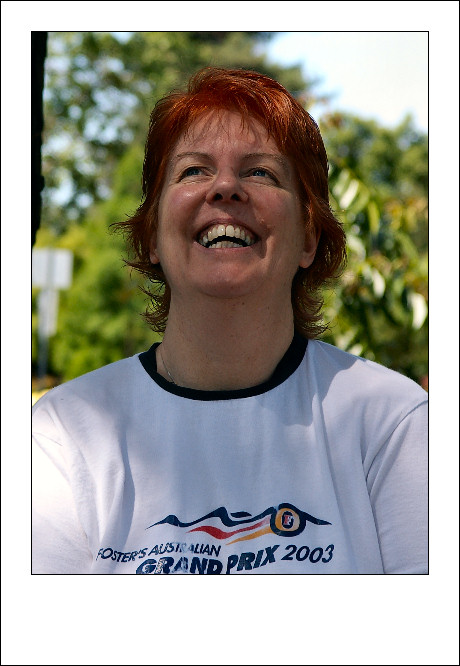
I love this portrait that Casey shot of me, posing for her was fun and we had lots of laughs.
Kids learn well when they can see the results of what they've done and digital cameras allow them to practice taking multiple shots of the same object and to get immediate feedback.
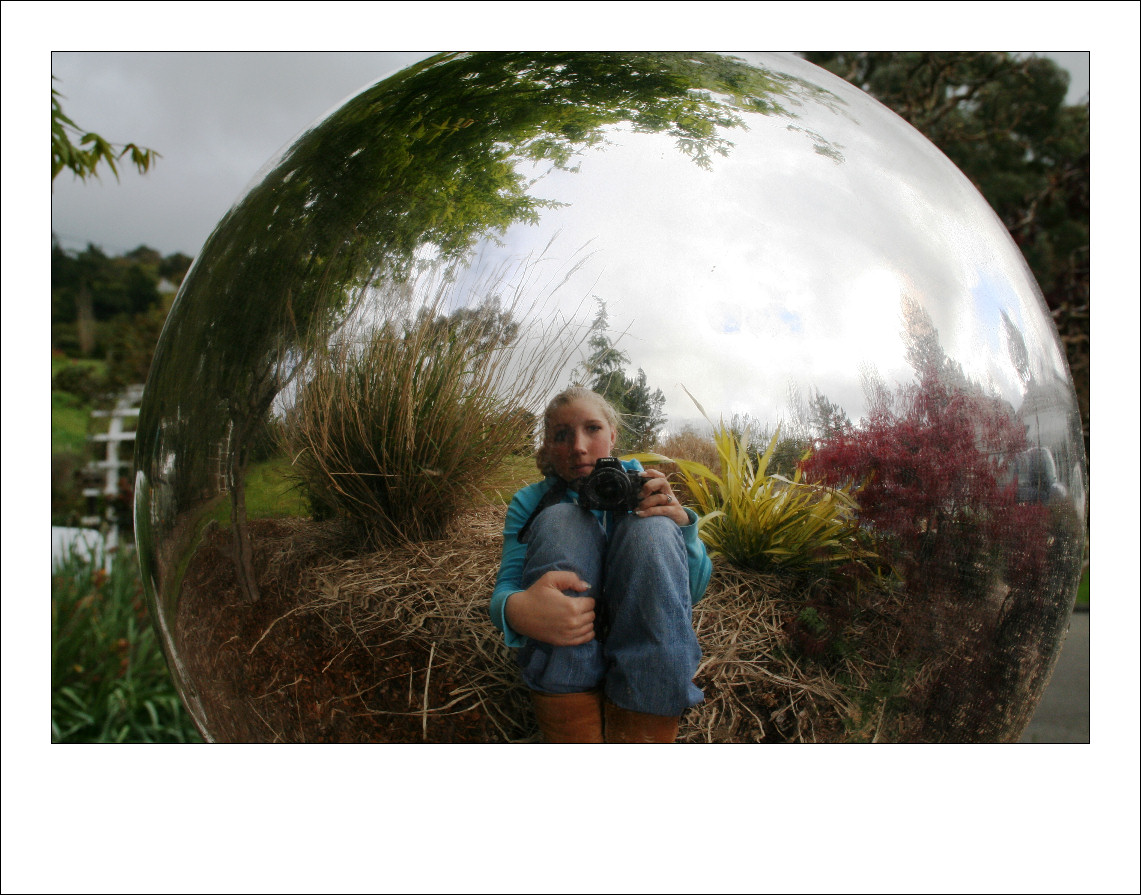
After they've taken a few shots, they're generally ready to go it alone. Later on, either that day or another day, I'll show them how to take photos from different angles, such as from underneath a plant, how to pose a friend to take their photo and how to shoot their own reflections.


Young Casey found that she could capture her own reflection in a metal sphere for this captivating self portrait.


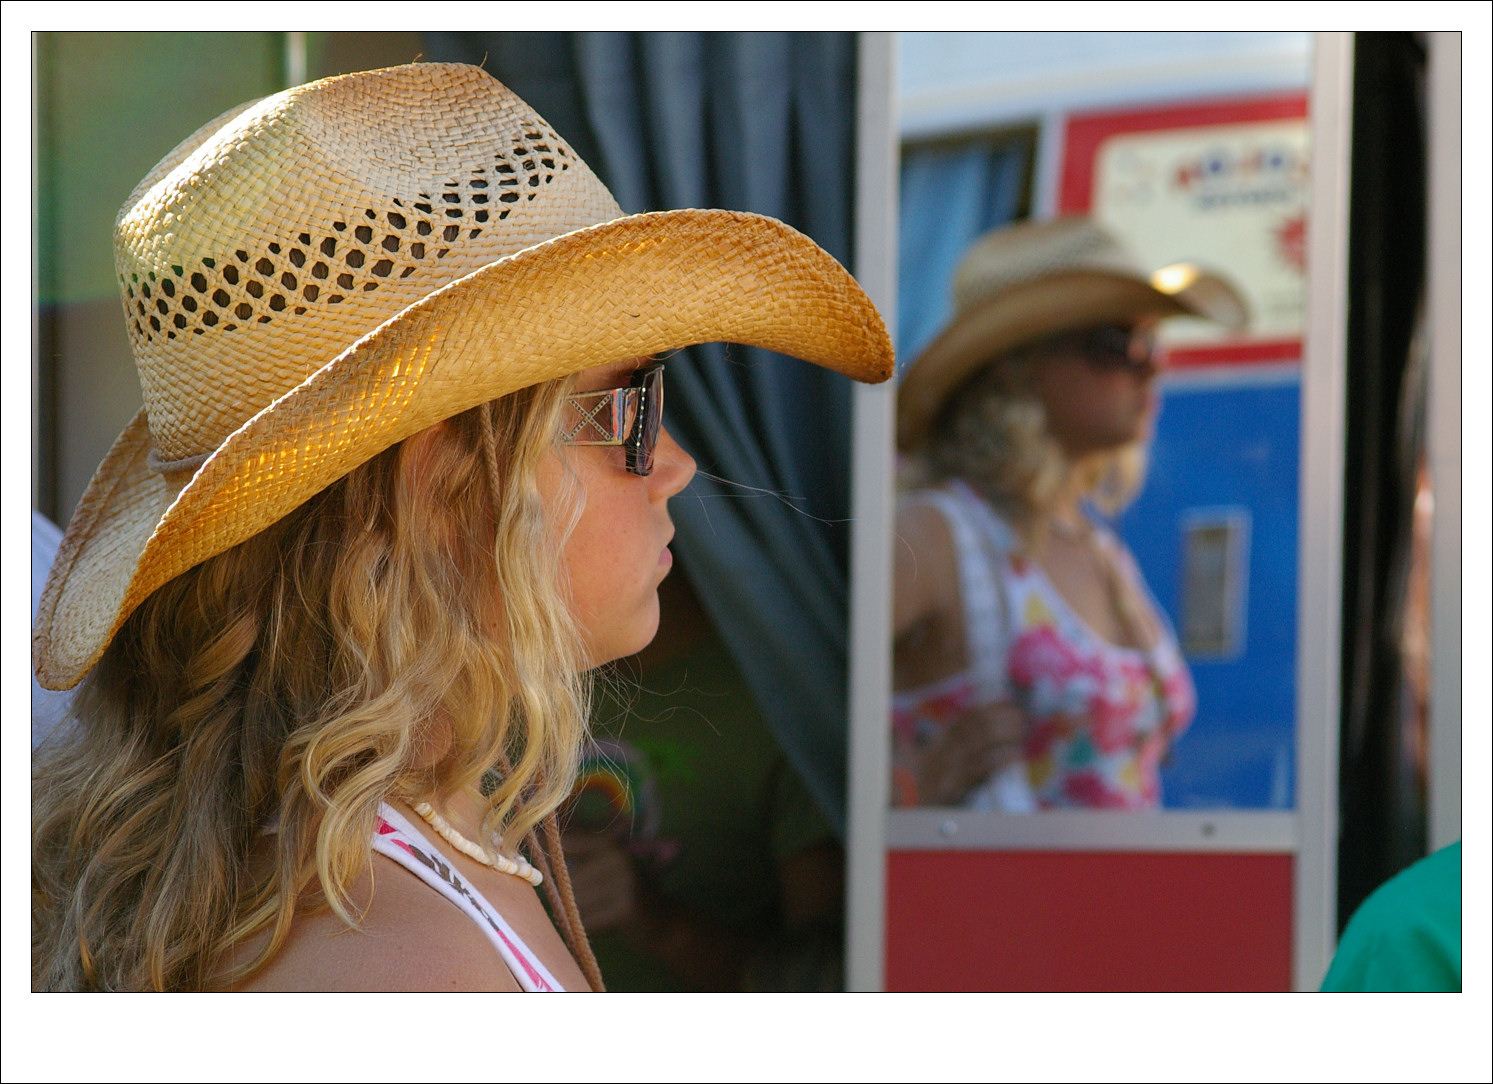
A mirror at a photo booth at the local fair allowed Brandi to capture this candid photo of her sister.

Typically, when teaching kids how to use a camera, I'll concentrate on making sure they're comfortable with operating the camera and start them off thinking about what they're shooting and how to frame a shot. Then I step back and let them capture what their eyes see. That's about the time they start to surprise me!


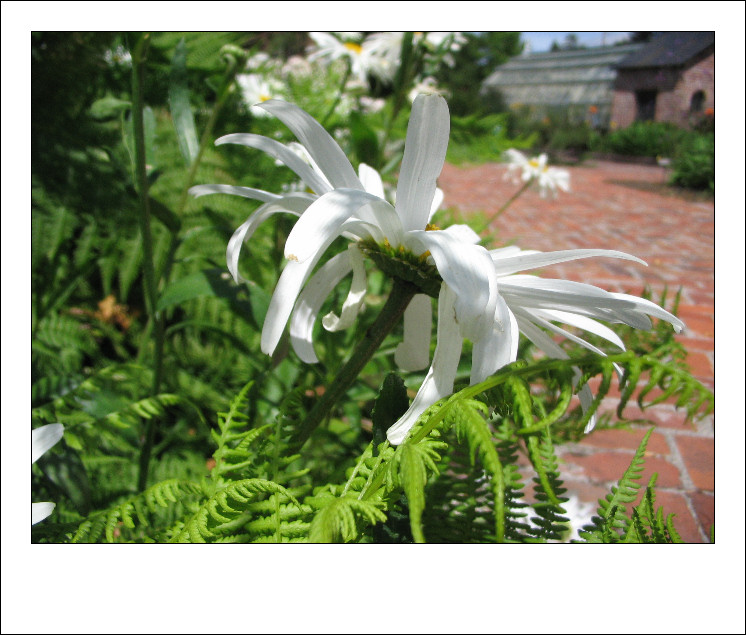
The uneven petals on this flower caught Casey's eye as she wandered the local park.

When you share your camera with a child you're entering their world. It's a wonderful opportunity to see the world through their eyes and to see what captures their attention and imagination.

Labels: , ,

Tuesday, October 13, 2009

Find a new perspective


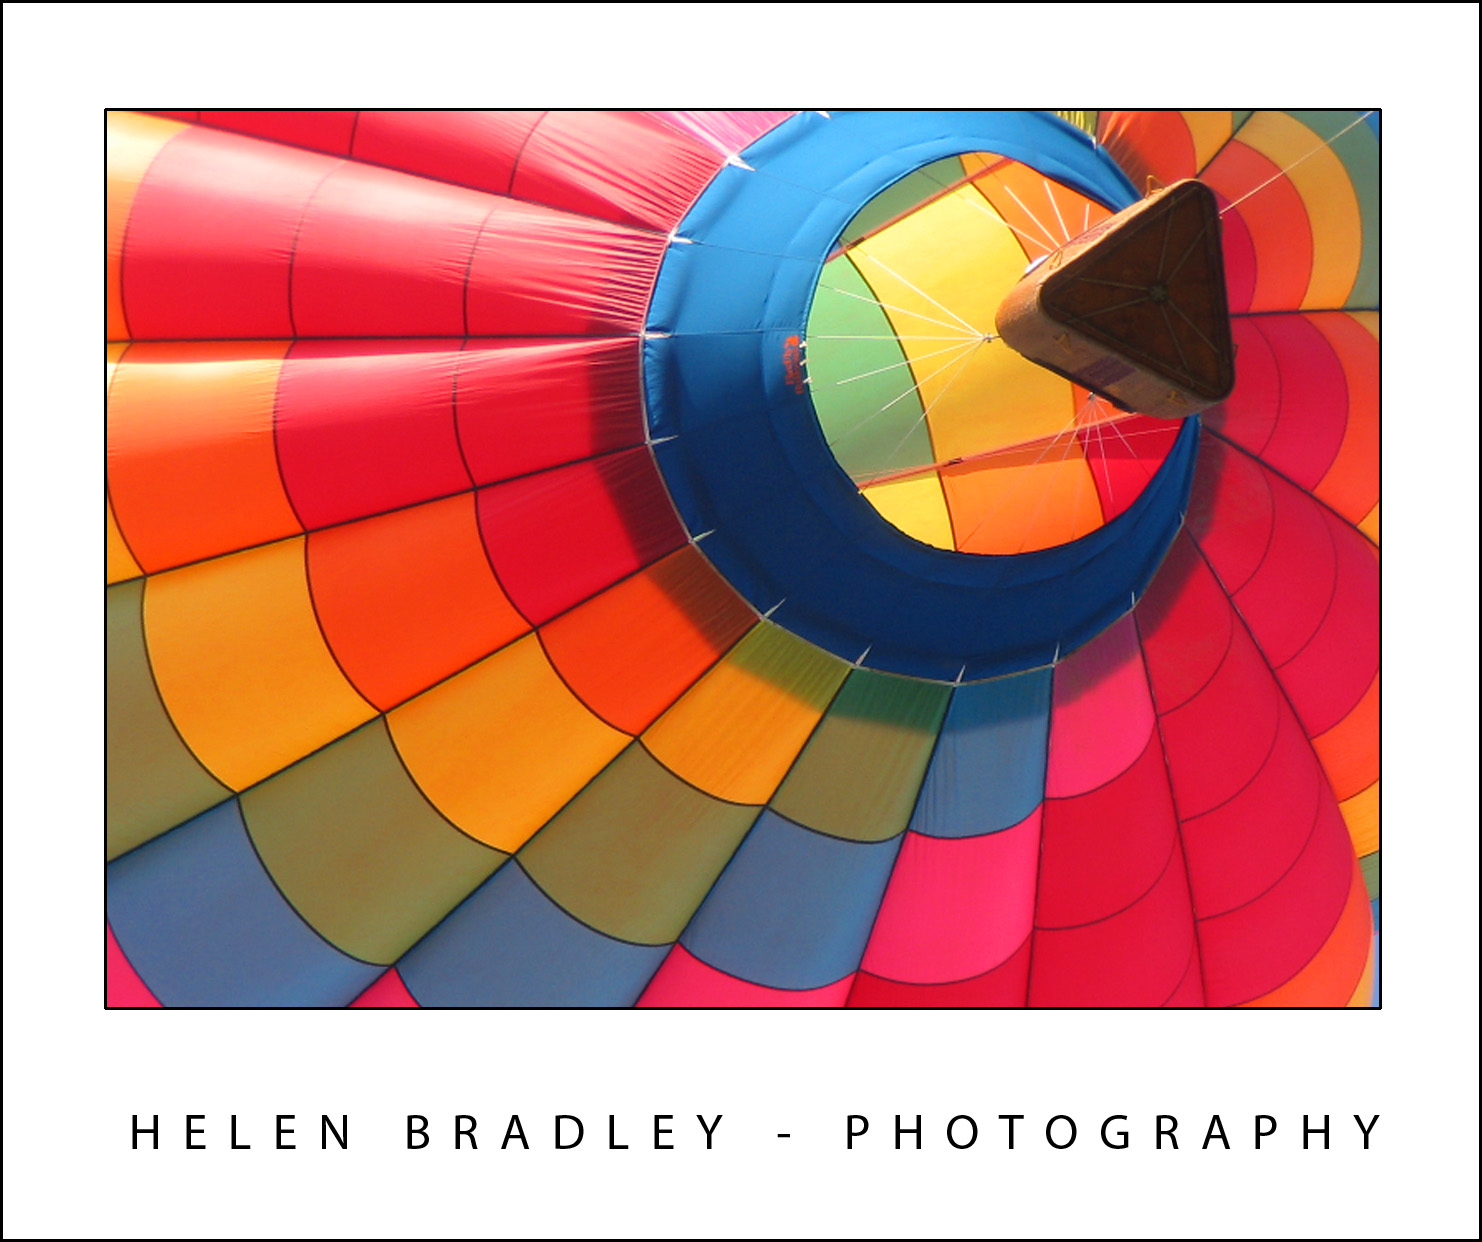
While balloons are typically shot from the side, this underneath shot ensures the entire photo is full of rich colour

Most of us learn to take photos from right in front on to our subject. It makes good sense, you want to capture someone's face or the Eiffel Tower so you stand in front of it, line it up in your viewfinder and, take your shot. The problem is that after a while all your photos begin to take on the same look. When you're ready to give your photos a shot in the arm, try a different perspective.

Often you can capture a more interesting photograph when you choose a different angle to shoot from. It's not difficult to do this, move a little to one side or stand higher or lower than your subject and you can turn a ho hum photograph into one which really sings.


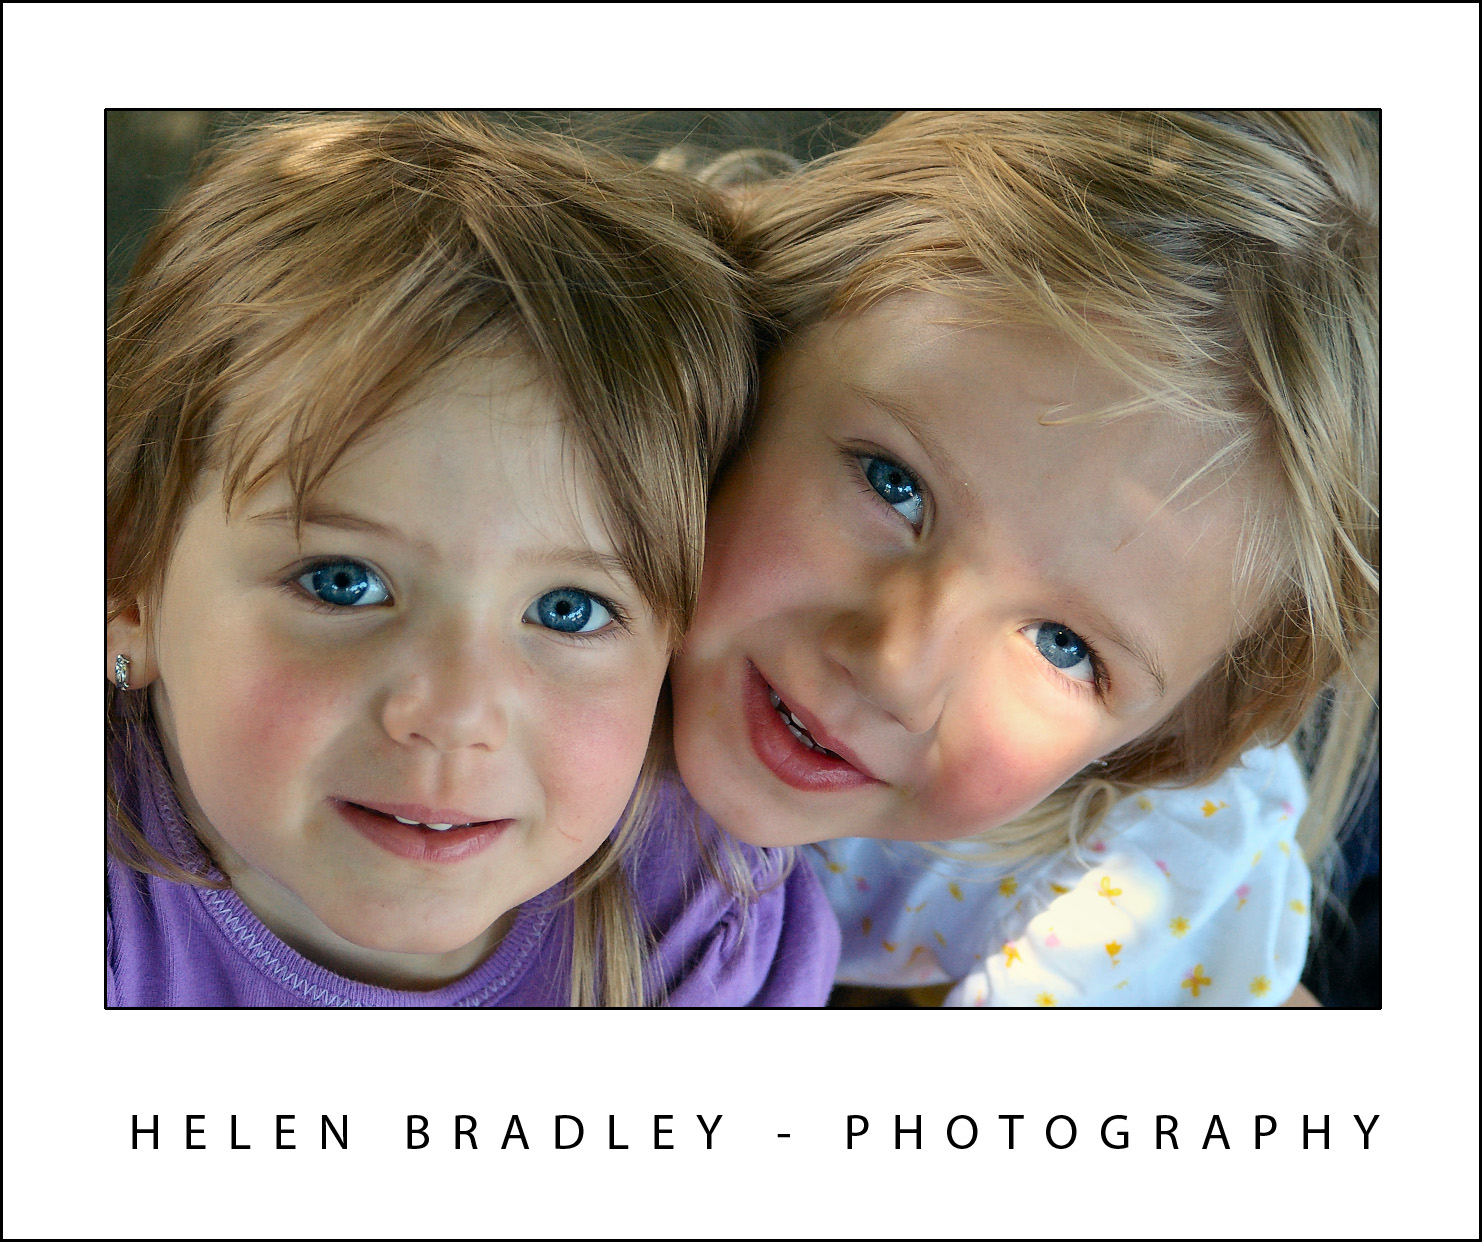
The girls were asked to look up as I captured this photo from a vantage point just above them.

So, next time you're taking a photo of the kids, why not stand on a chair or a fence or find a vantage point higher than they are and shoot downwards towards them? Or get the kids to sit on the ground while you take the photograph from above. If the difference isn’t great enough, get them to lie on the ground while you shoot from above.

You can shoot upwards too. When you're shooting upwards, put the child on a table (if they are old enough for this to be safe) while you crouch on the ground and shoot upwards at them. You can do this for adults too – lie down on the grass or crouch very low and shoot facing upwards. As you shoot from high or from a low position, you may find some shots aren't as flattering as they might be. For example, heavier people don't look so good photographed from below but look good when photographed from a higher position – with a little practice and experimentation you'll work out what you like and don't like.


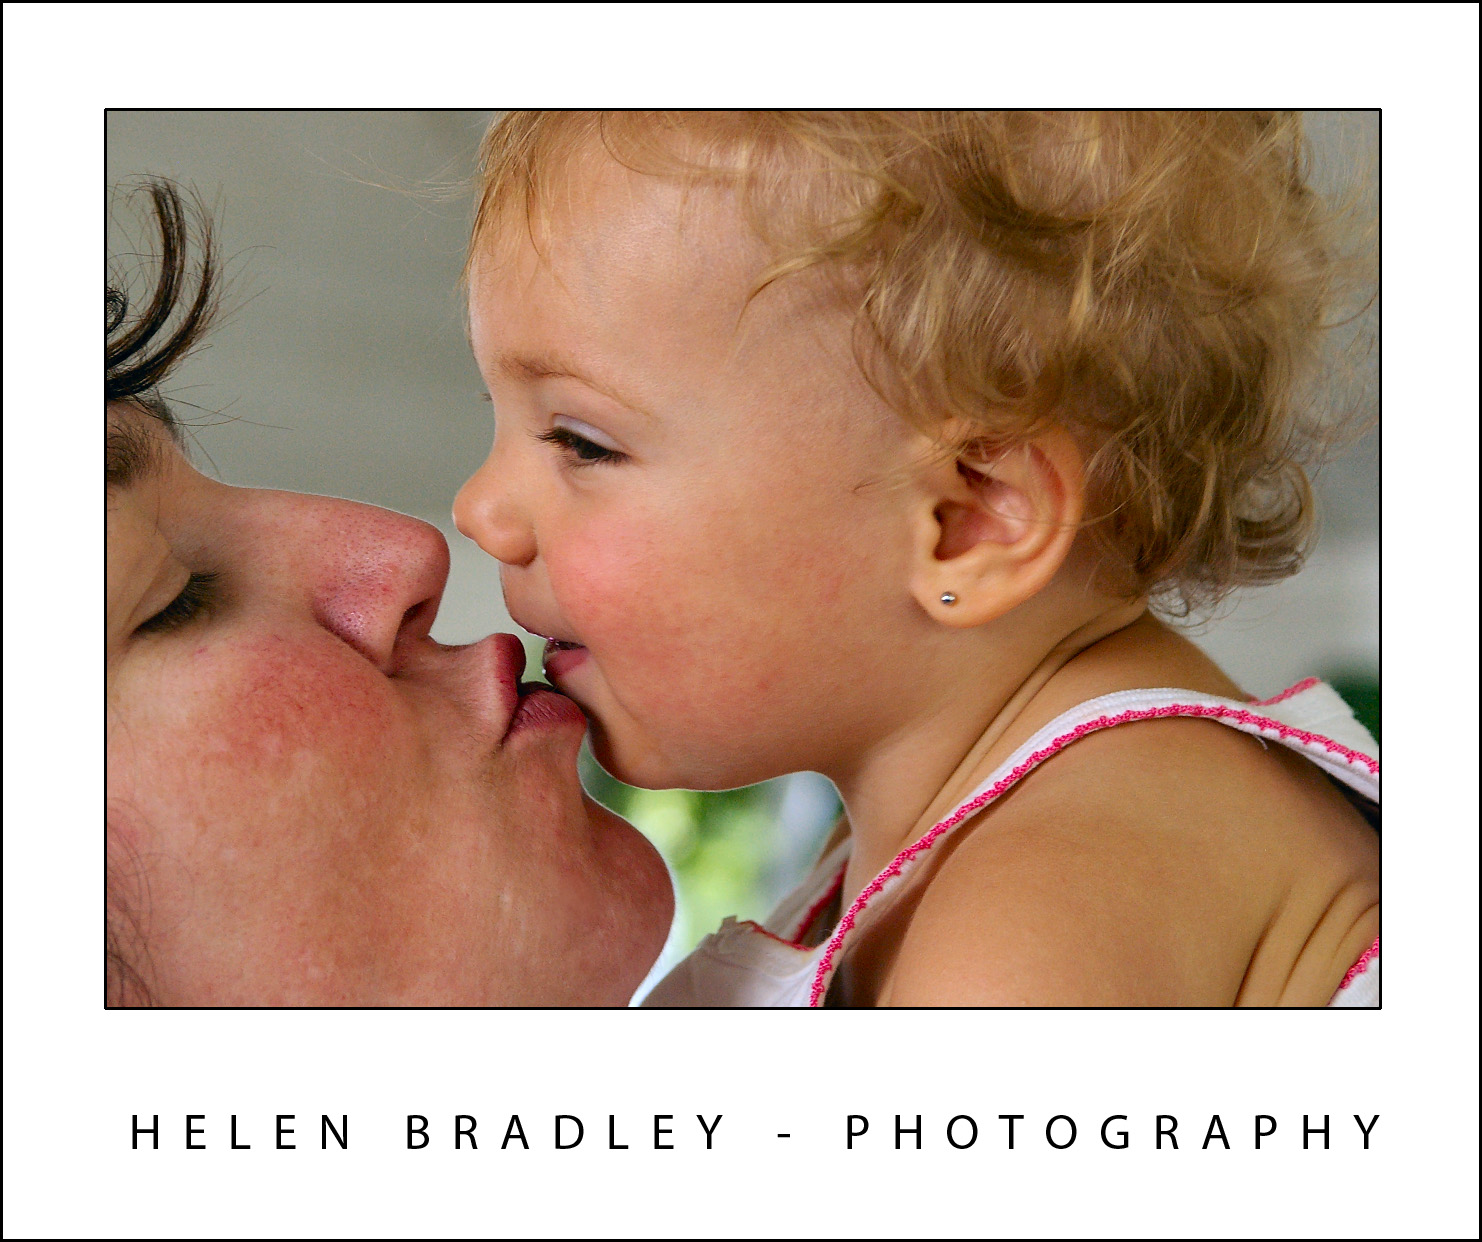
As her mom held young Katyann high above her head for a kiss, I captured this wonderful shot of mother and child.

These same tricks work when shooting buildings and nature. When you’re in a forest, photographing trees try the classic technique used by nature photographers around the world and shoot upwards into the tree canopy. To do this, walk into the trees, get down low, hold the camera towards the sky and take your photograph. The further away the tree canopy is, the better the effect will be as the tops of the trees will bend in close to each other all around the photograph. You can achieve the same result in the middle of a large city and you can do it with a circle of friends – place the camera in the middle and capture the shot.


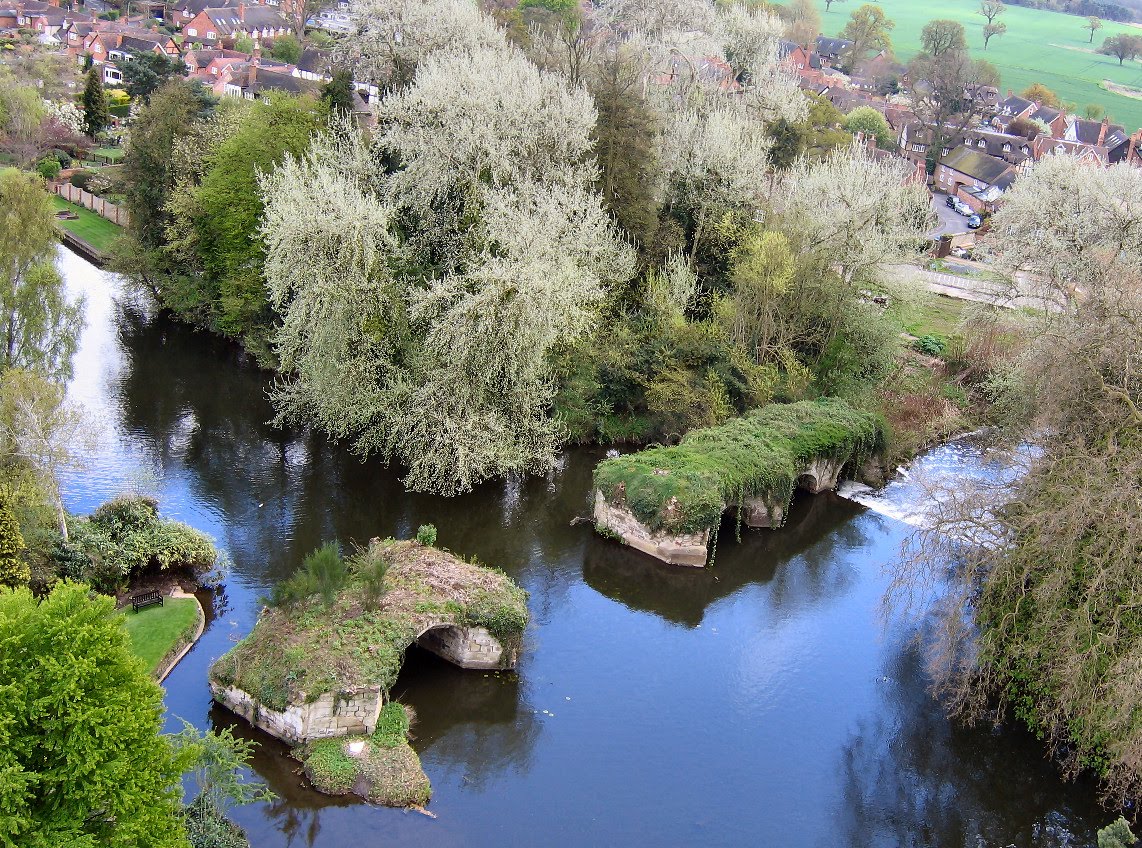
This high elevation gives a very different perspective on this river and an old broken bridge.


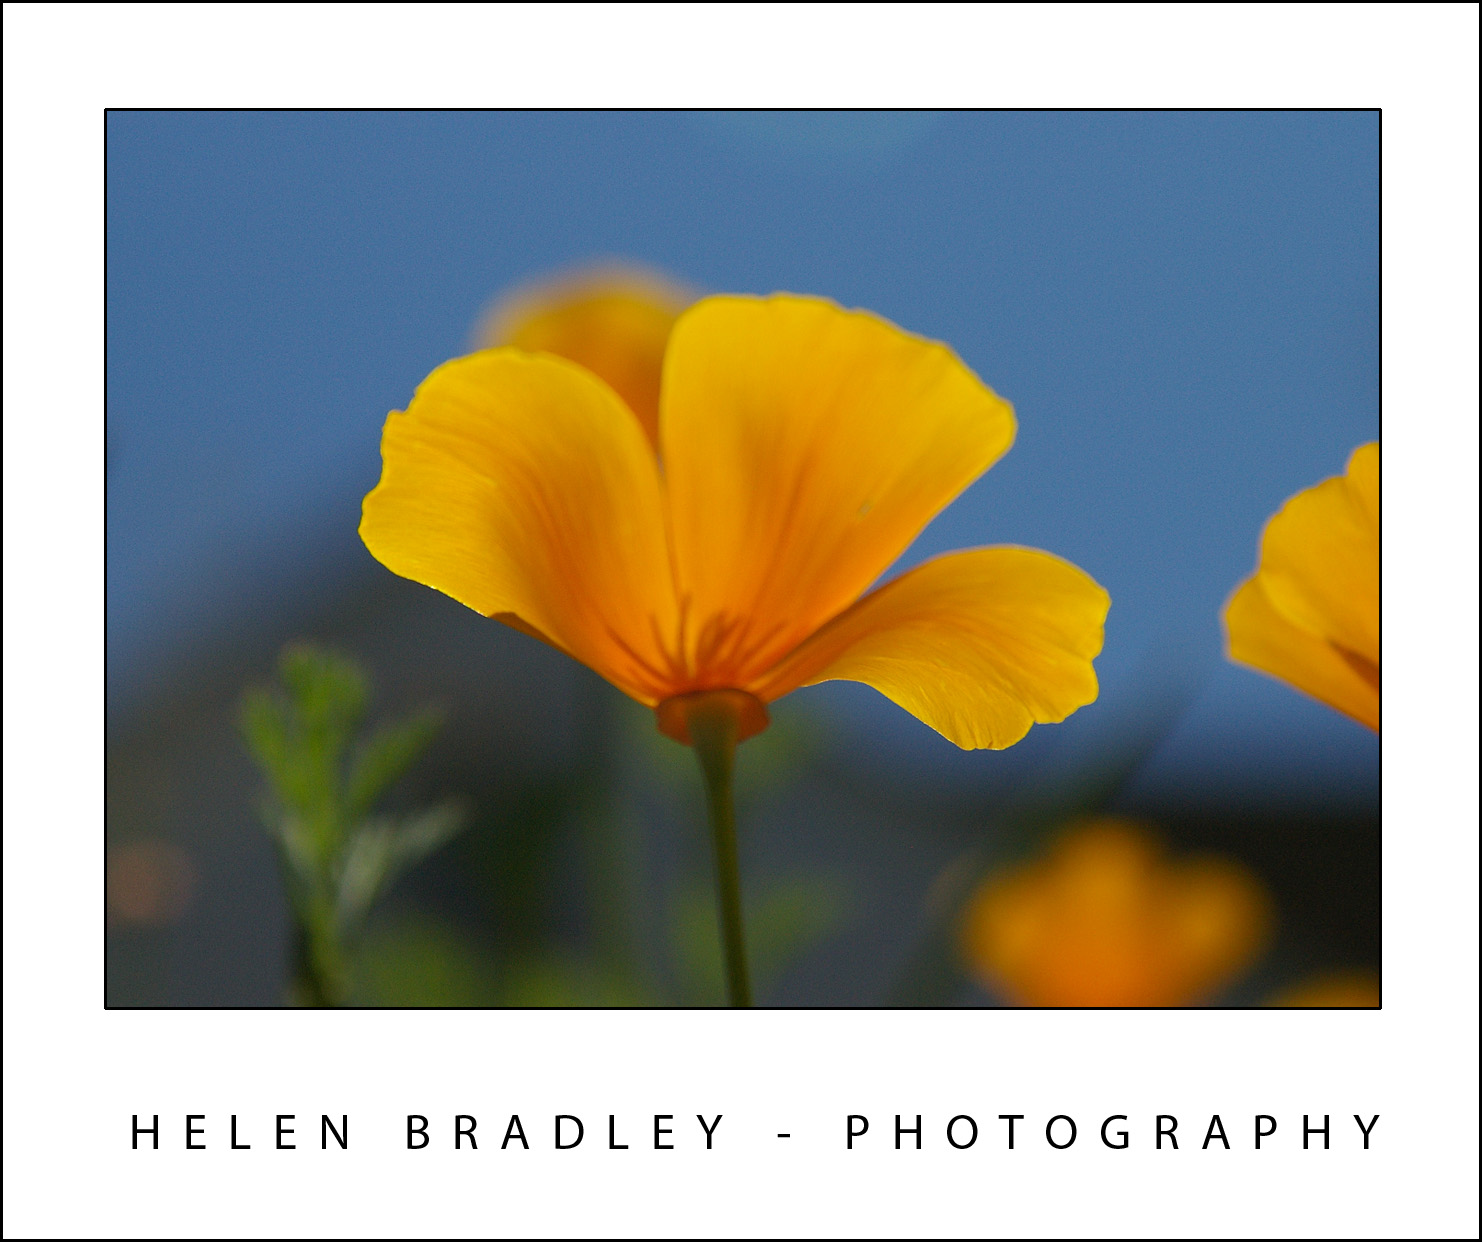
Shooting blind from under this flower, the combination of blue and orange is spectacular.

Some flowers that are semitransparent in the sunlight can be shot from underneath giving not only a different view of the flower head but also capturing a wonderful swag of deep blue sky. When you’re shooting upwards into the sky invest in a polarizing lens for your camera – this filters out a lot of the glare on a bright sunny day and gives the sky a bluer colour. Without a polarizing lens you may find the skies are blown out and an unattractive washed out light colour.


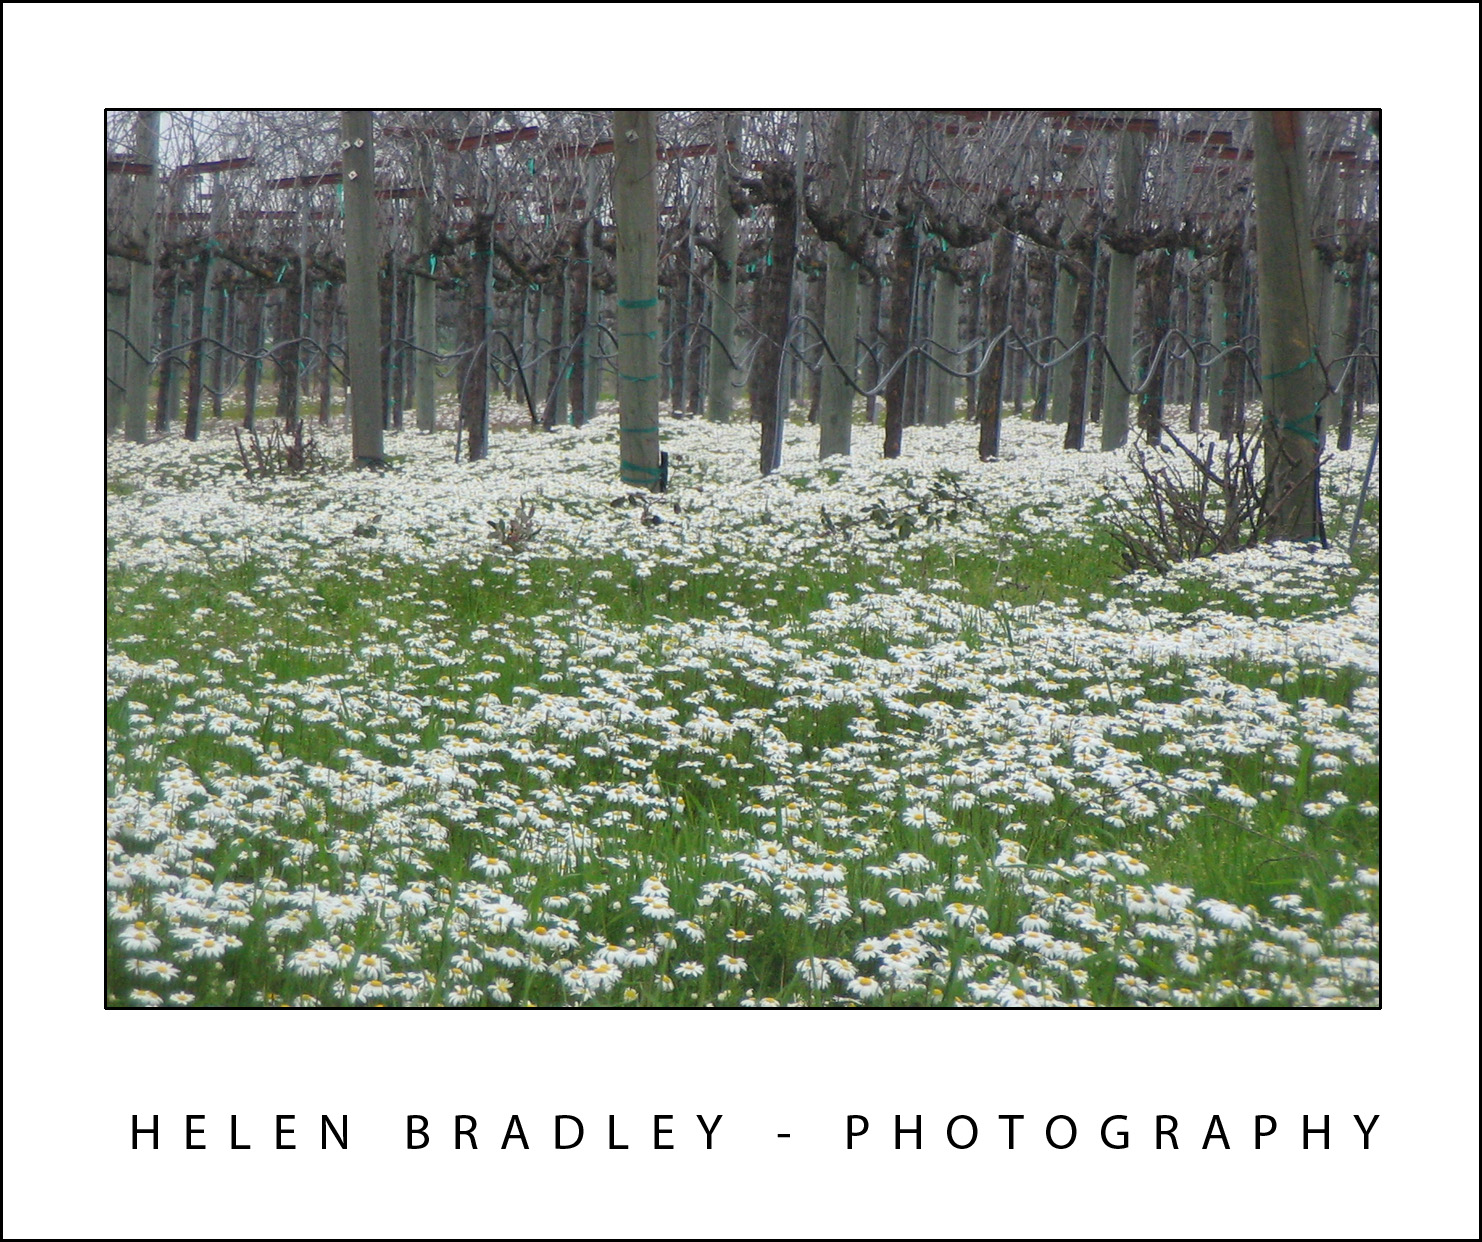
These winter flowers growing between old vines was captured from ground level to create the look of a forest.

If your camera has a swing out LCD screen, you'll be in luck when shooting from under an object as you'll be able to see what you're about to capture. If not, just work on a trial and error basis, take a shot, check it and then resituate the camera and try again.

If your camera has interchangeable lenses, when shooting from underneath an object looking upwards towards the sky, use a wide angle lens for best results. If you're using a point and shoot camera, back off the zoom so you get lots of foreground interest in the photo as well.

When you are next out taking photos, instead of taking a photo face onto your subject, look around and see if you can find a different and more interesting angle. You'll find that, with practice, you approach your photo taking in a new way and you'll see the world in a more interesting light.

Labels: , ,

Friday, October 2, 2009

Neon Boneyard

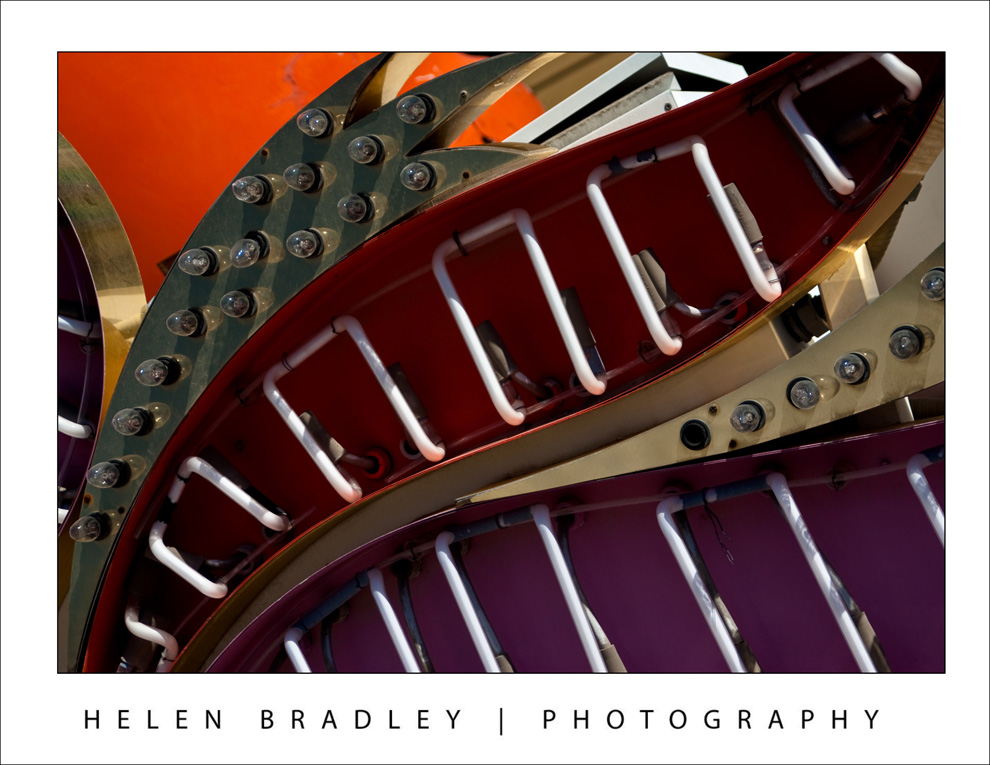
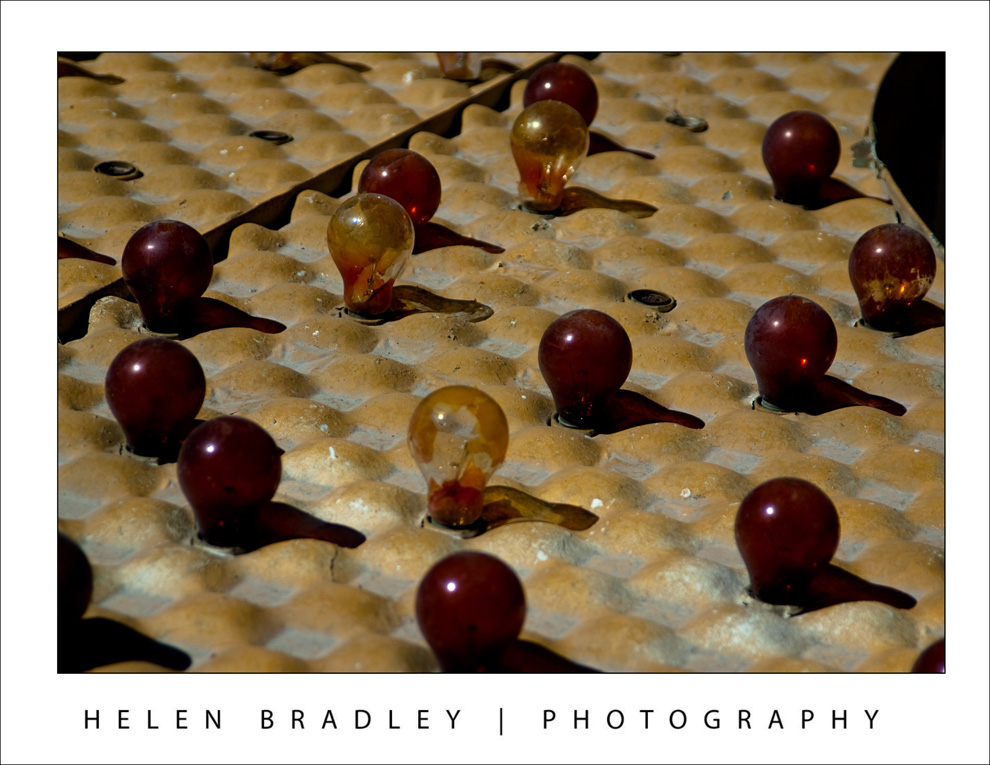
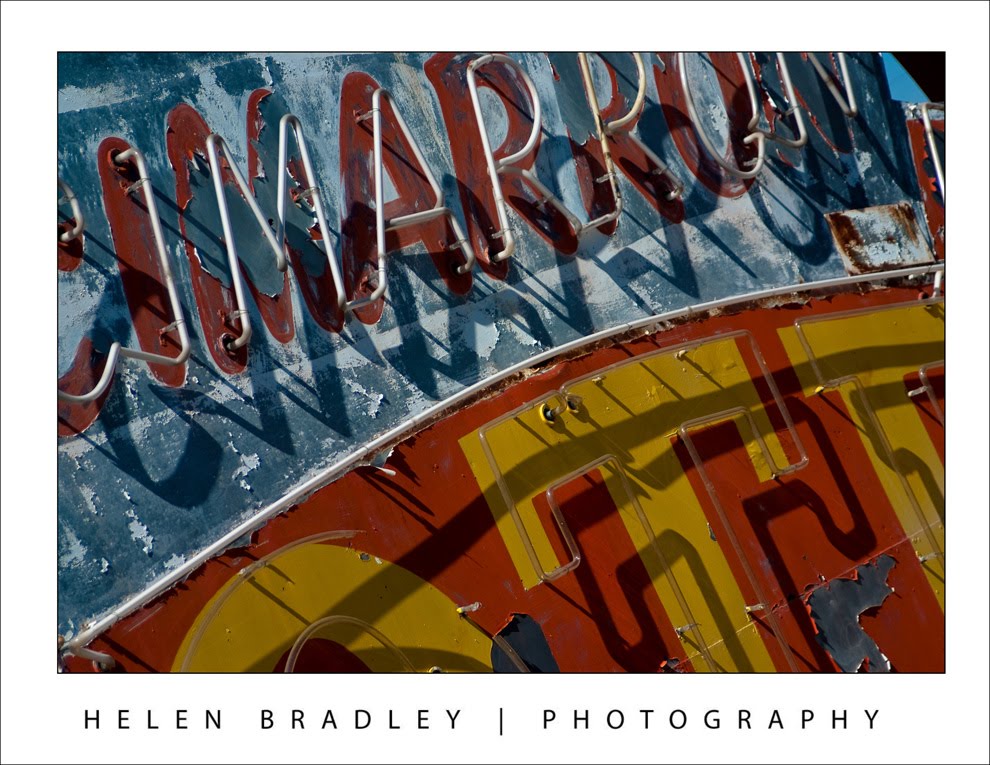
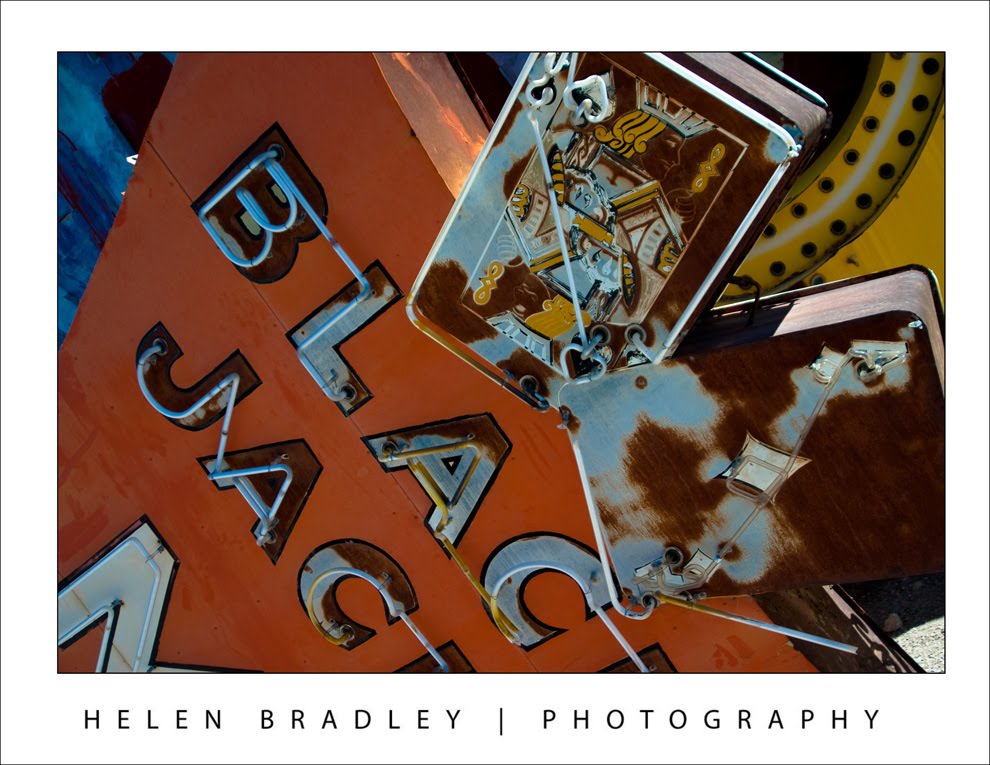
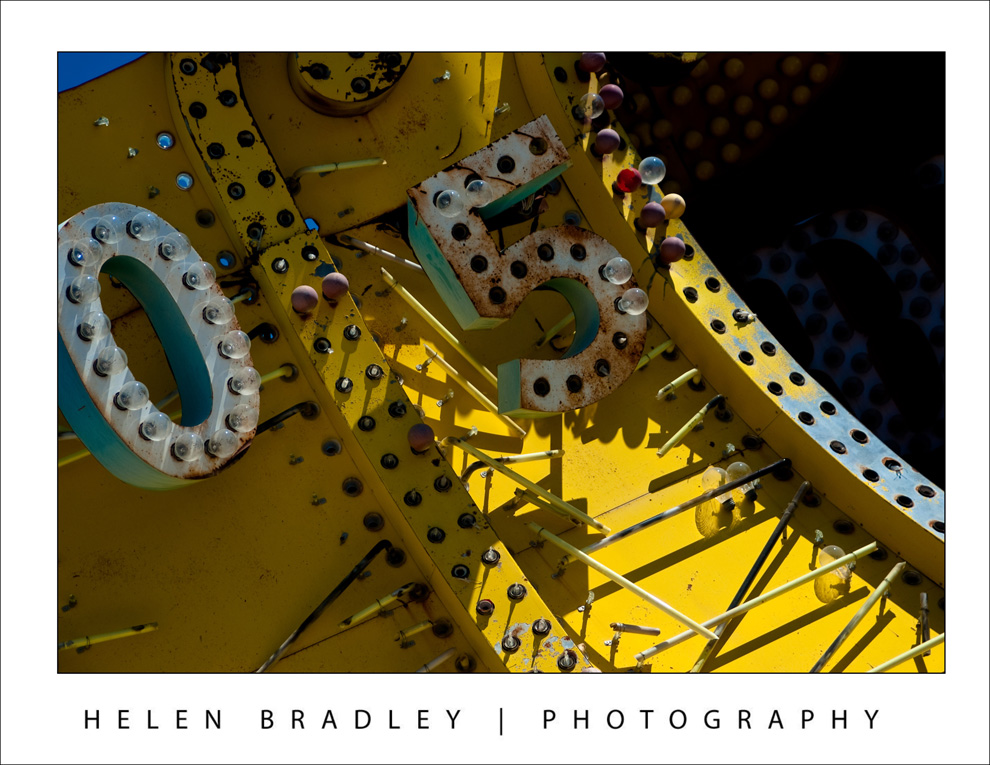
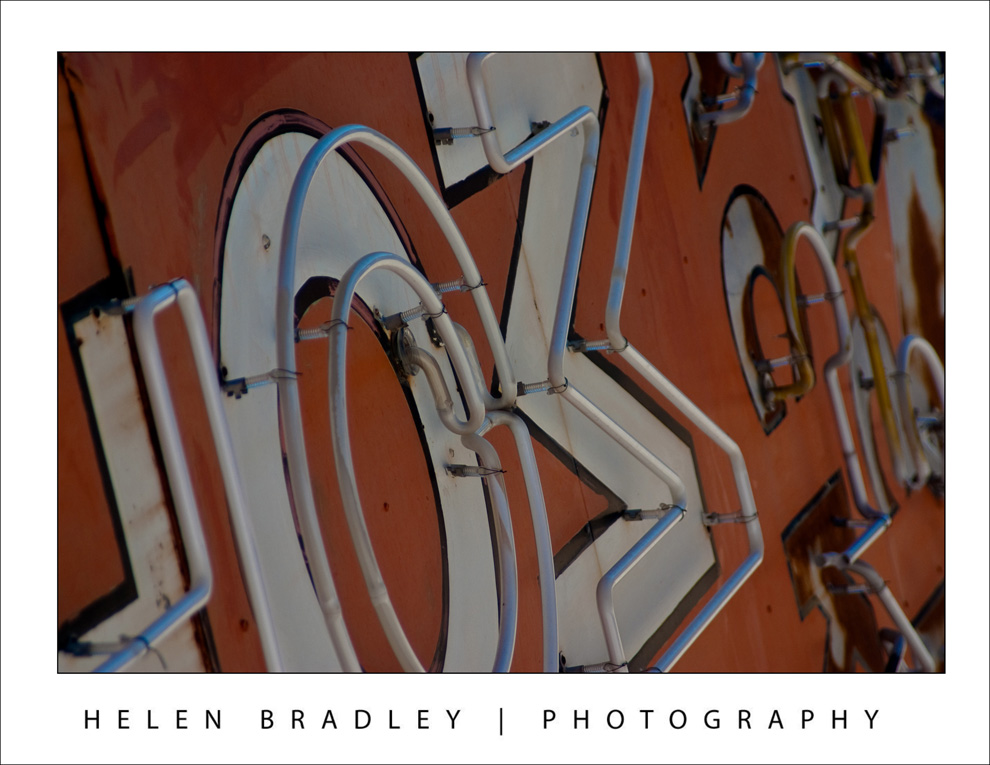
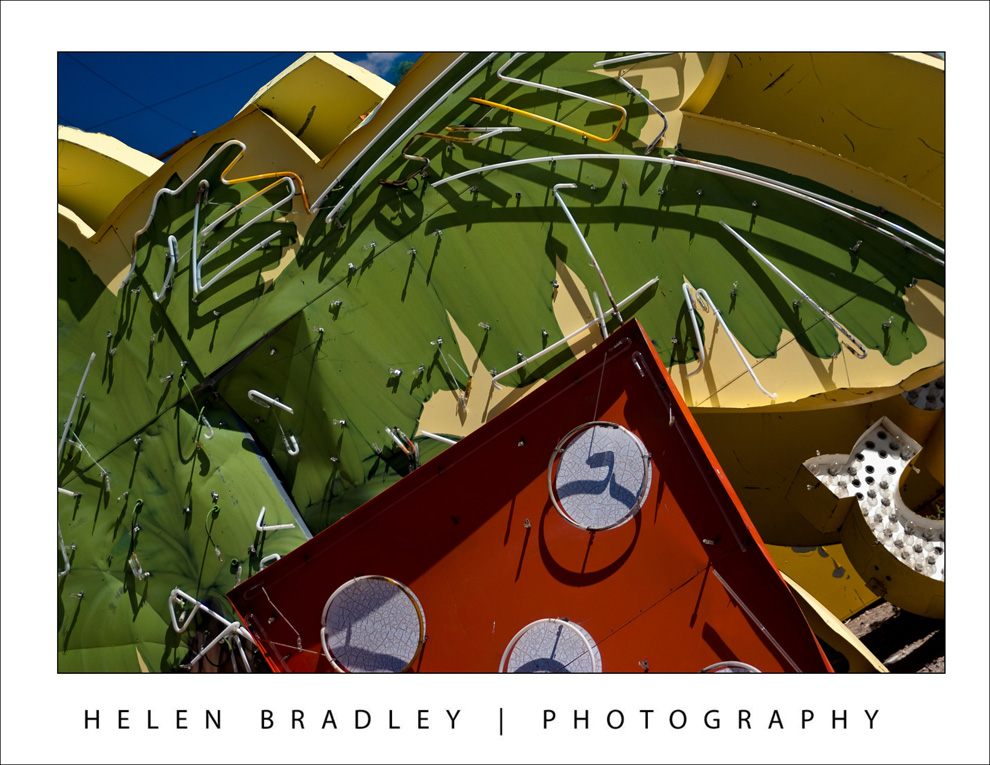
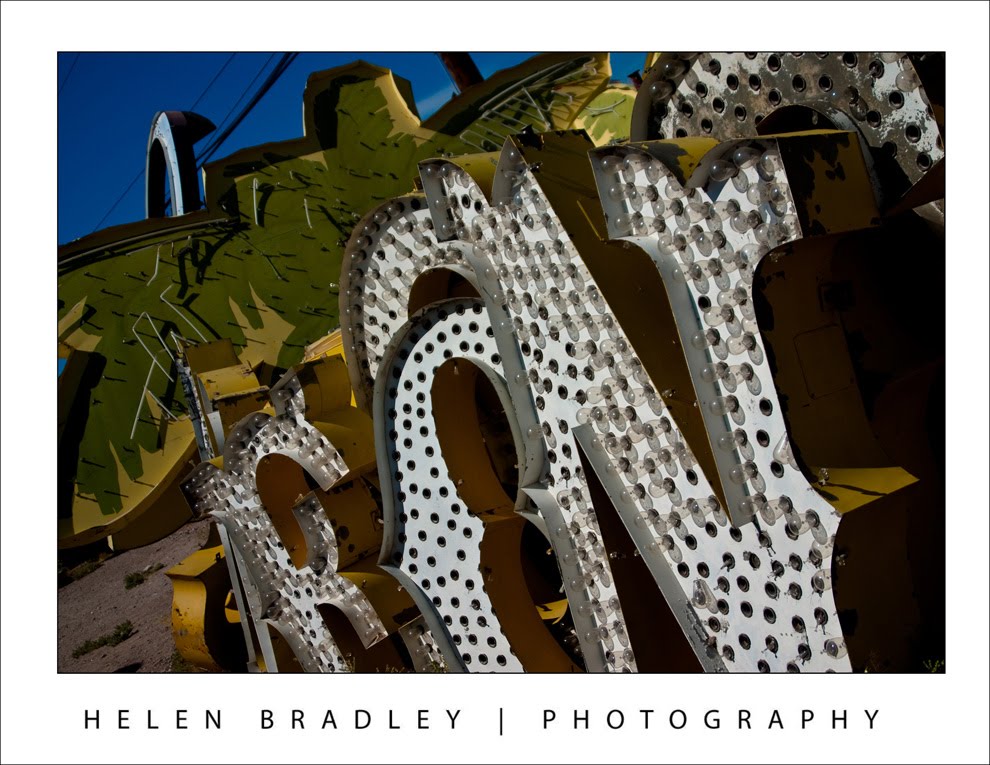
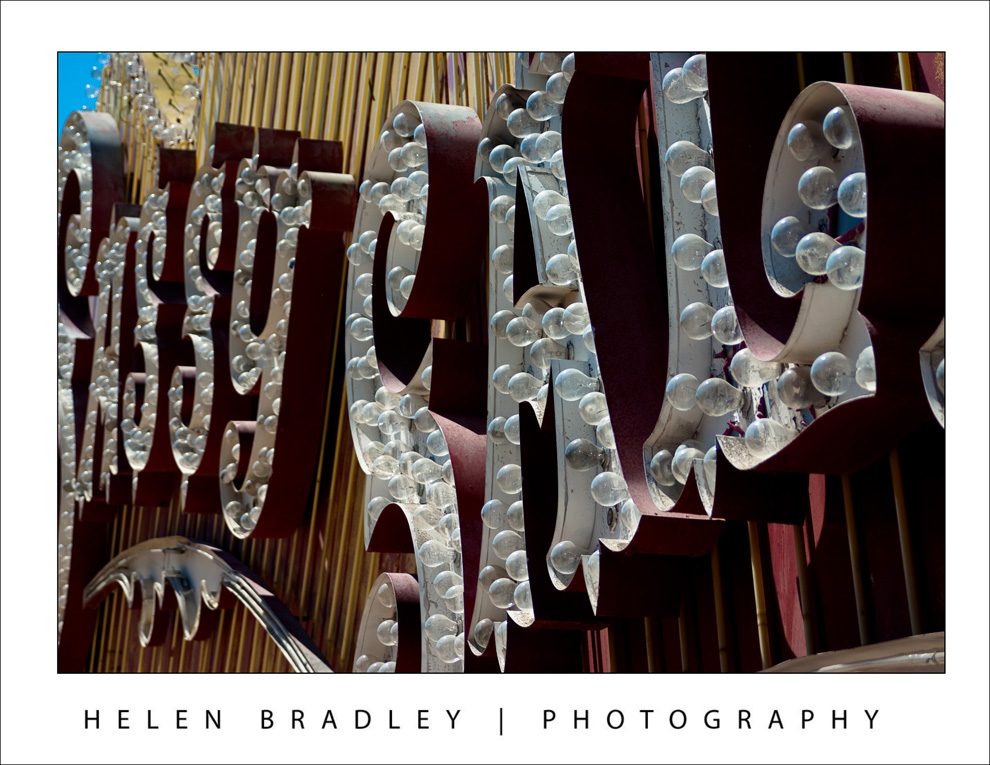
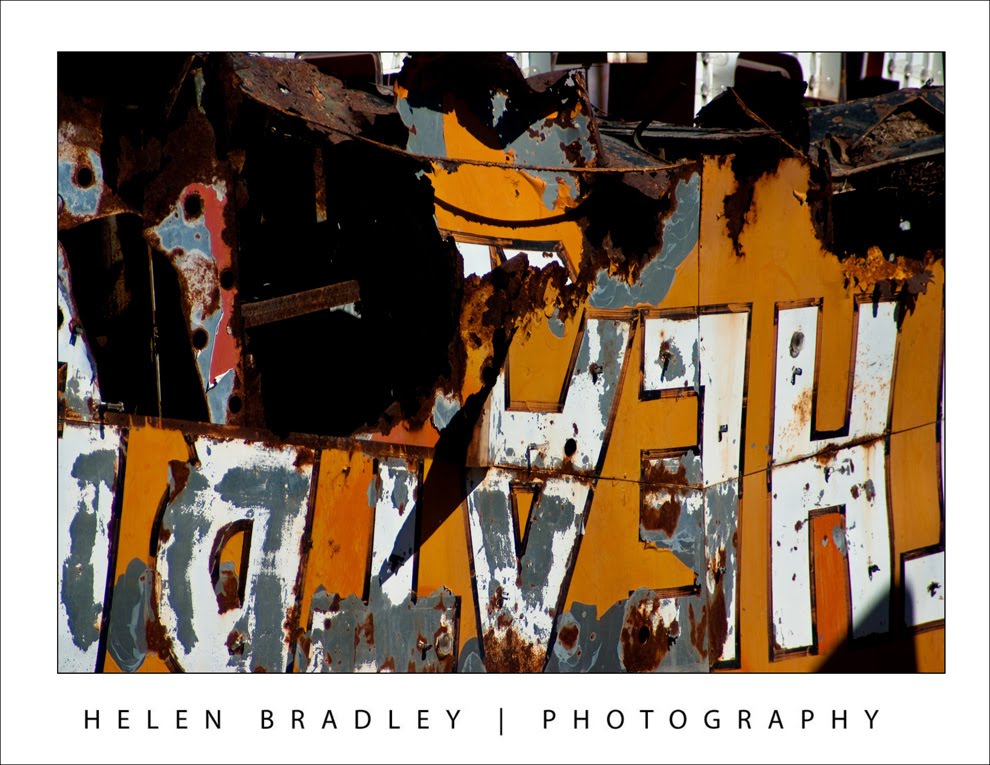
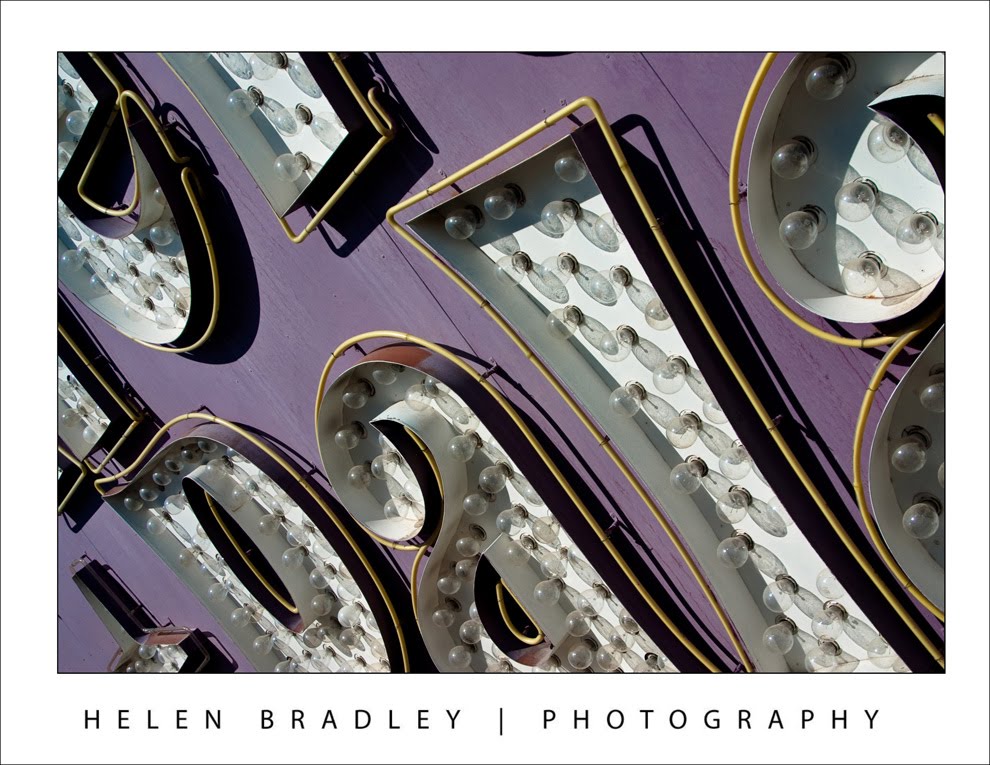
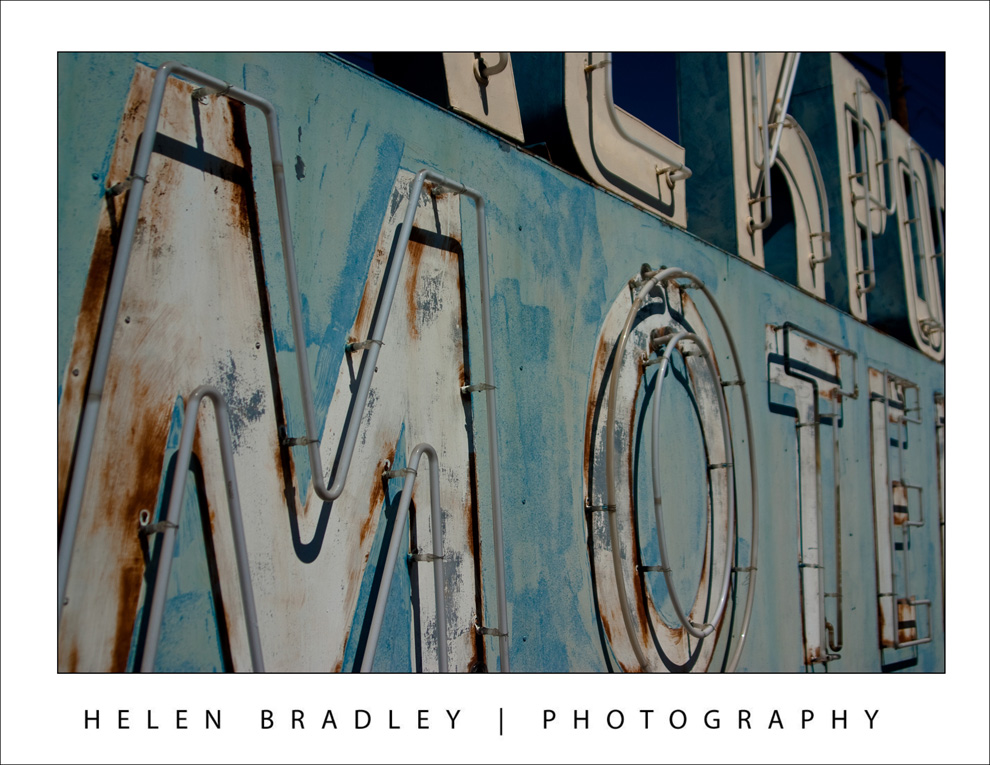
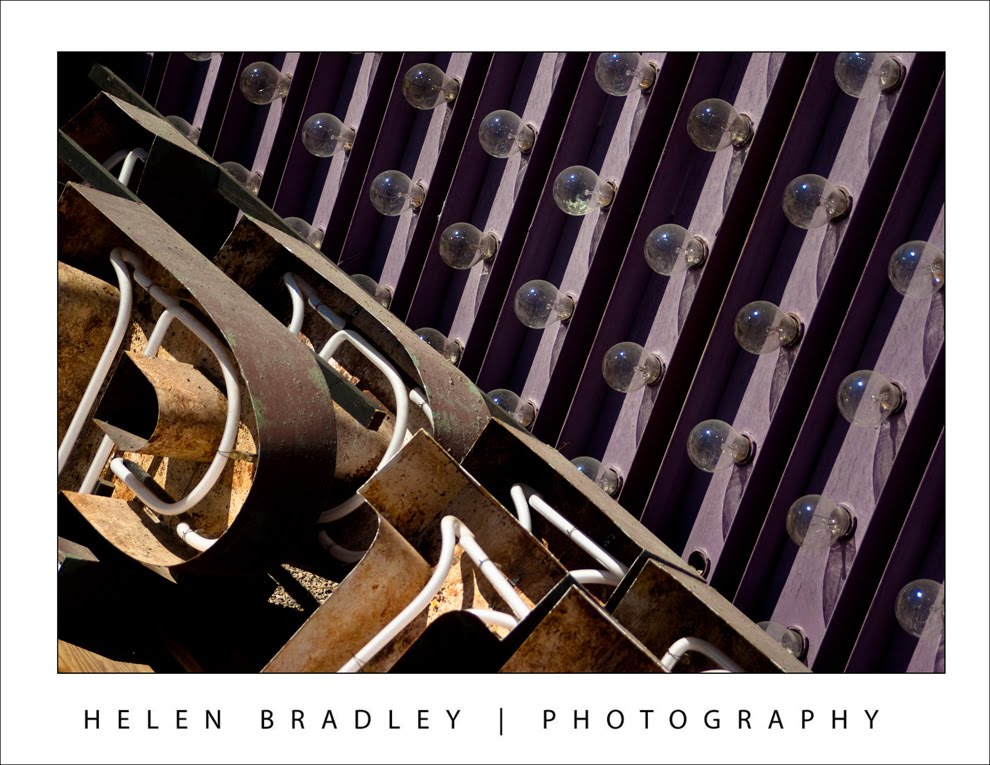
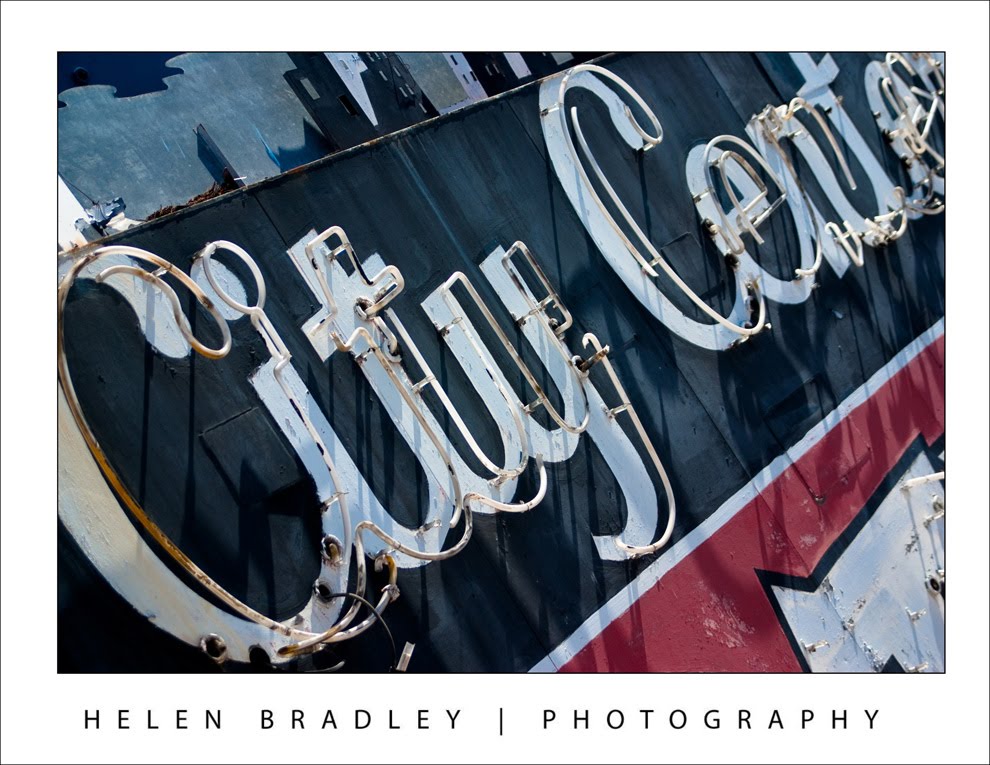
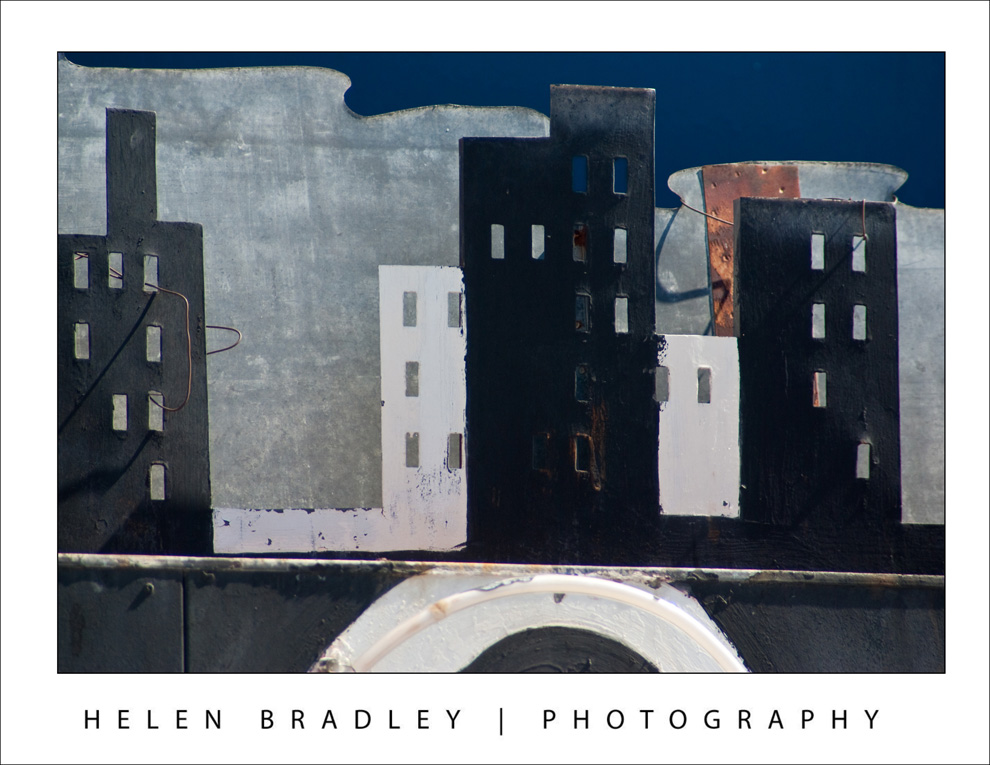
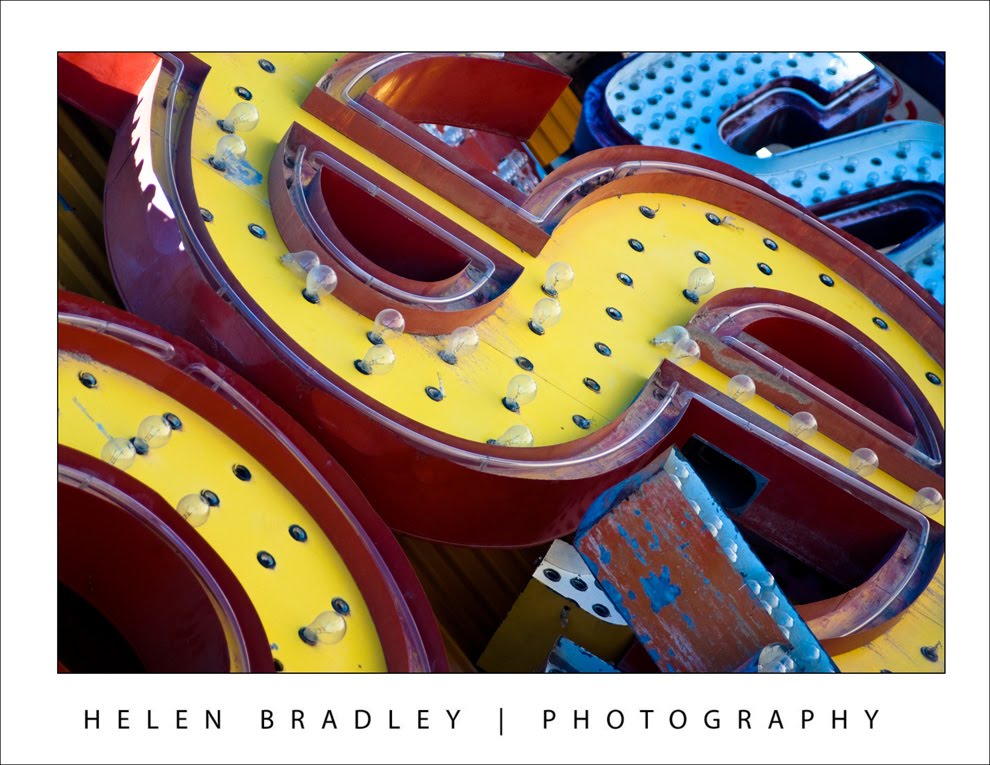
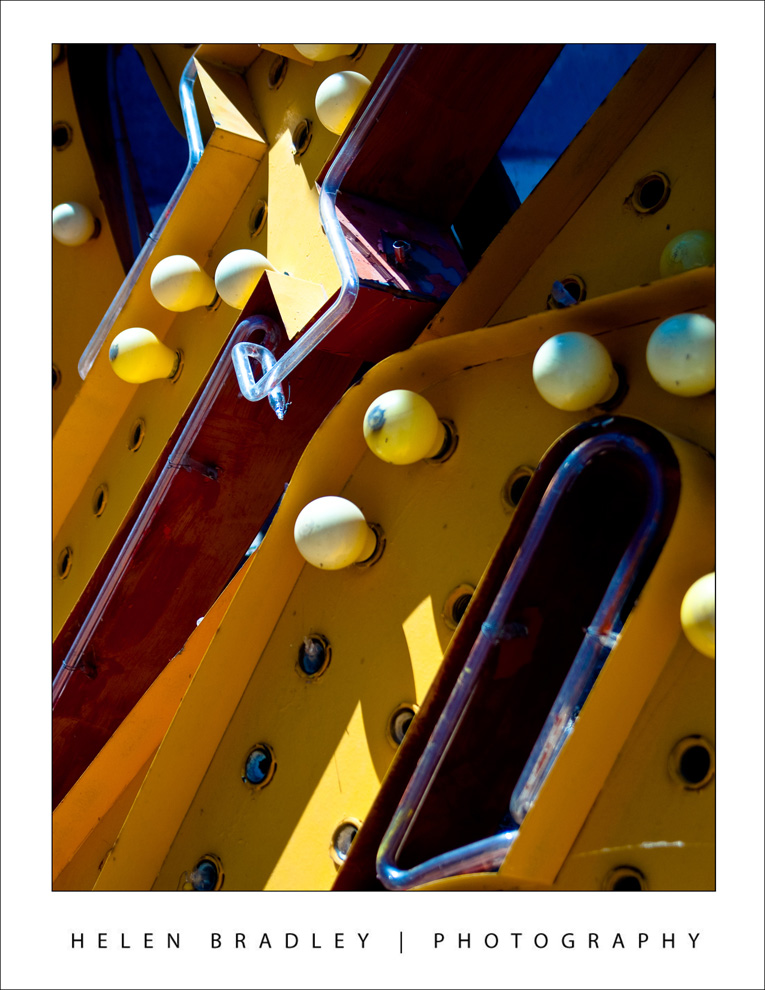
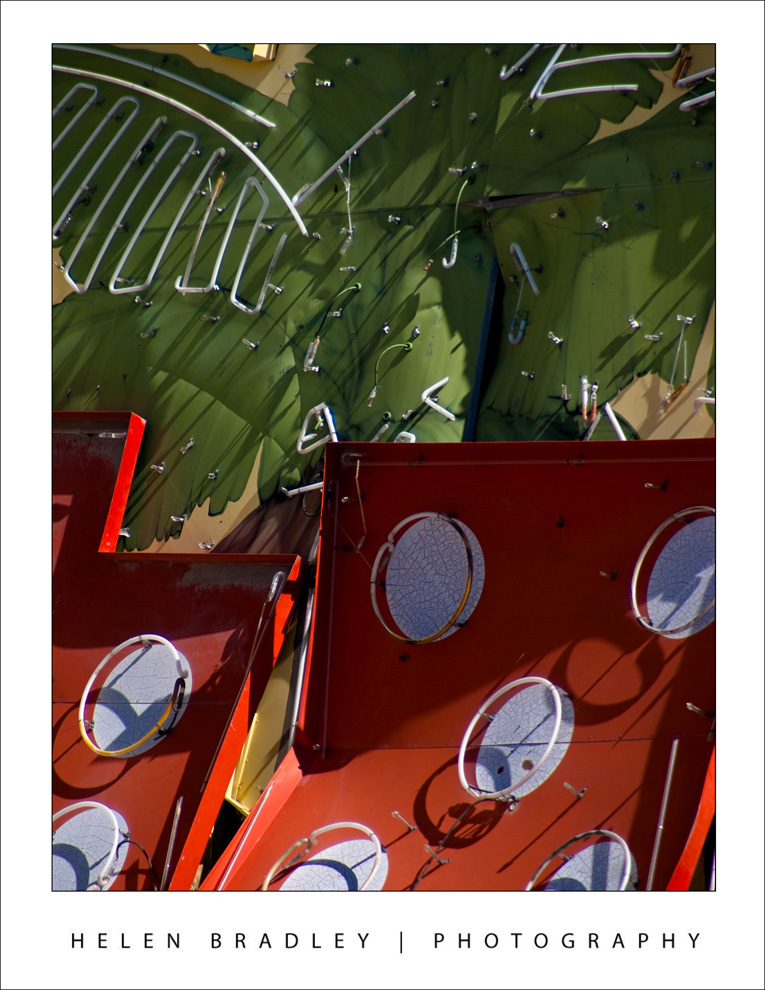
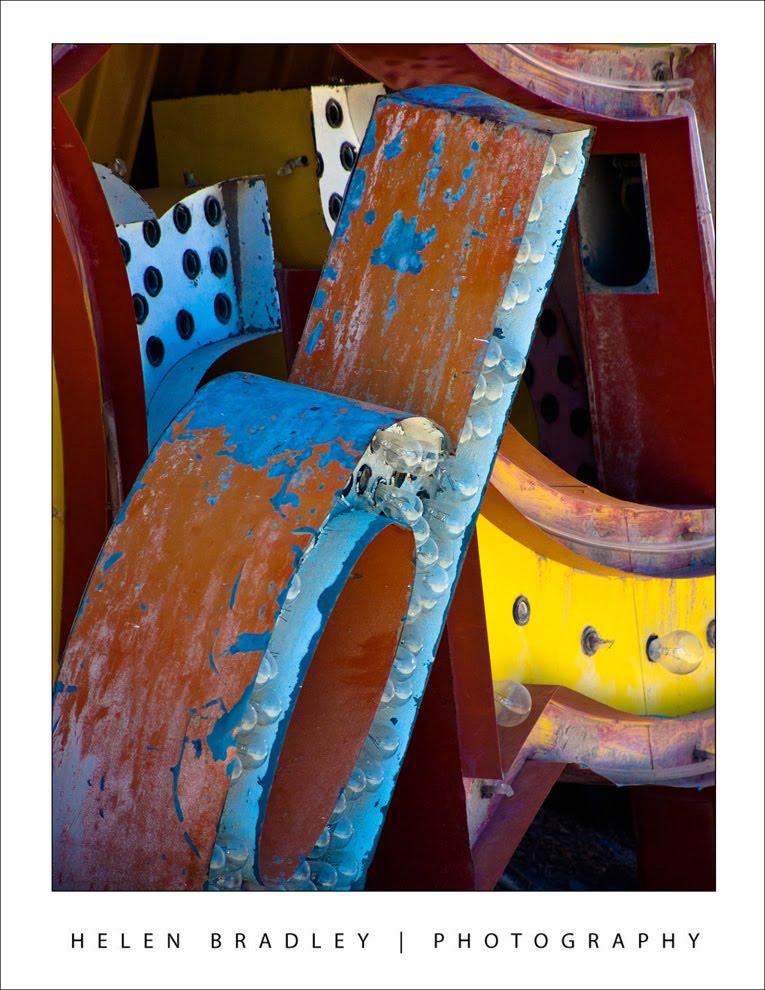
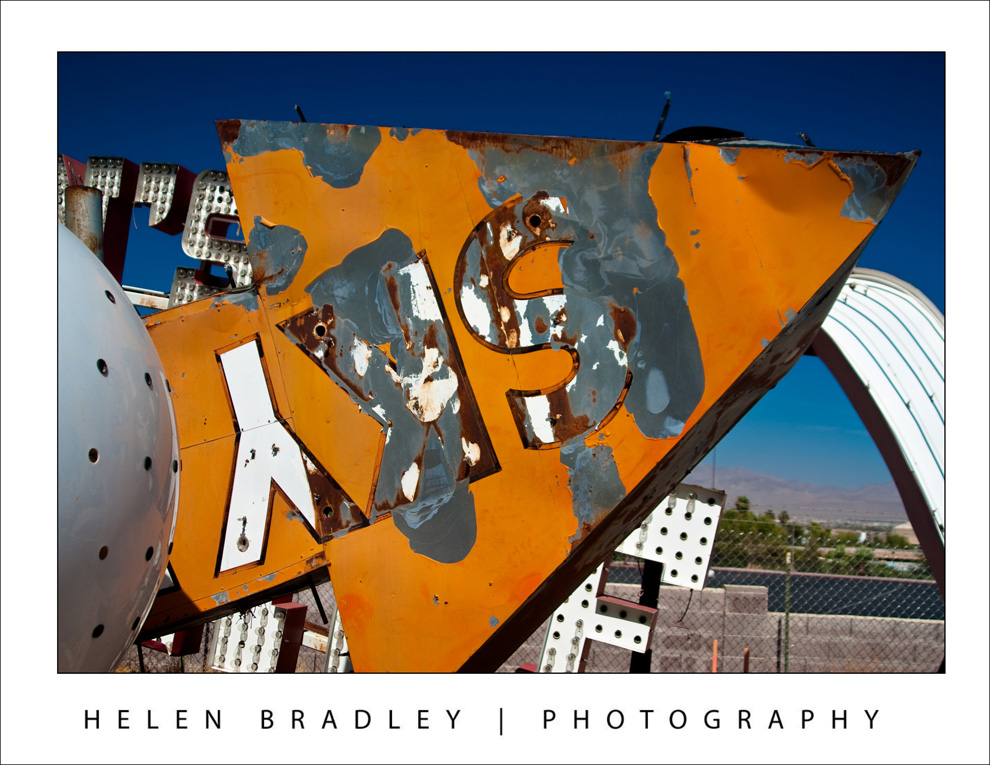
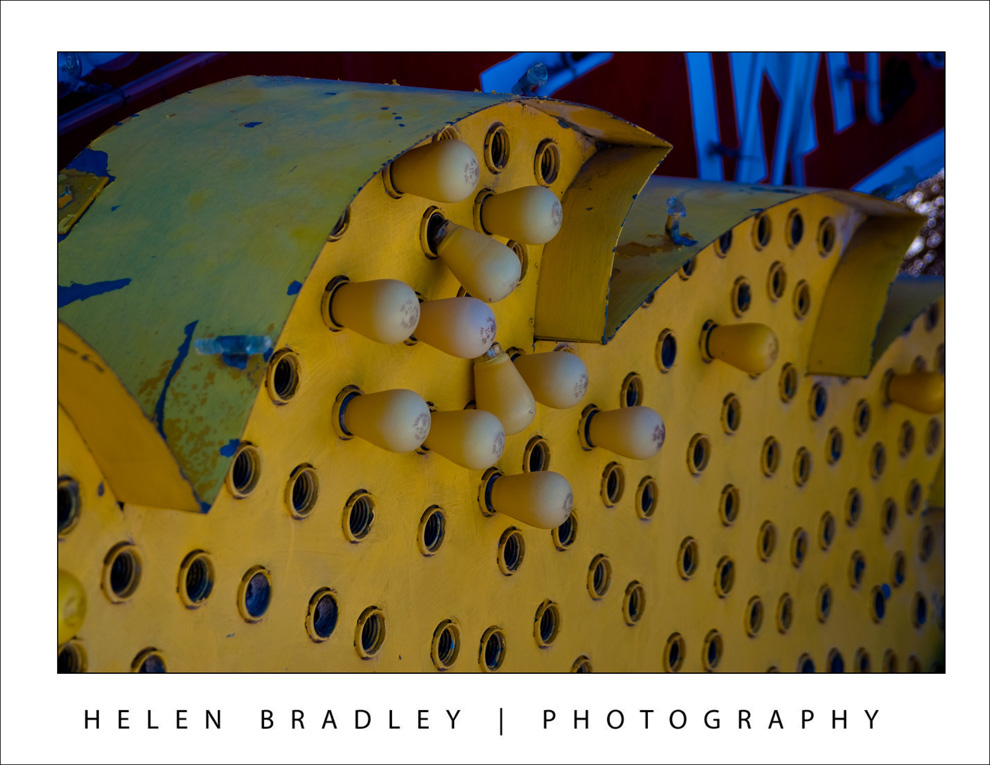
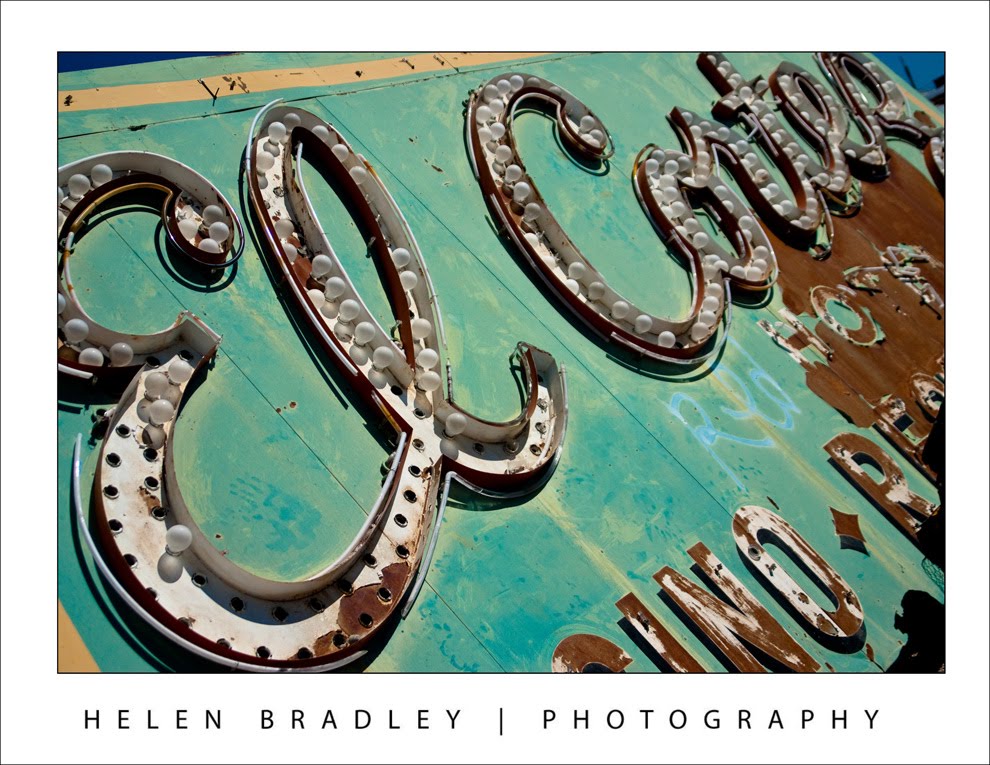
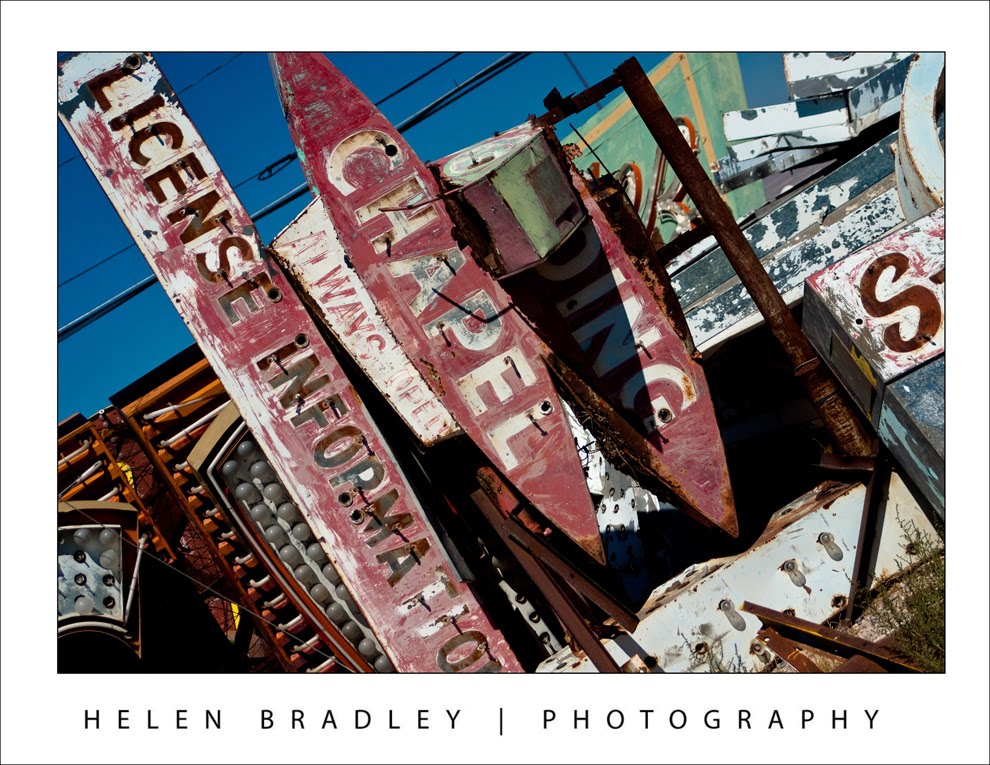
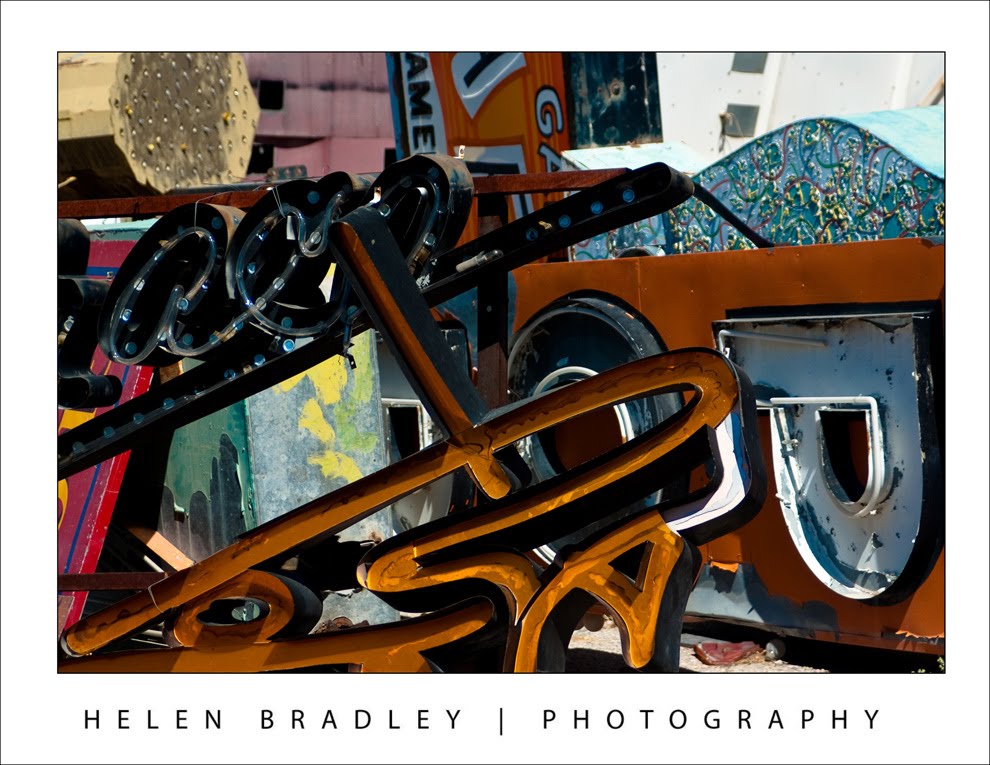
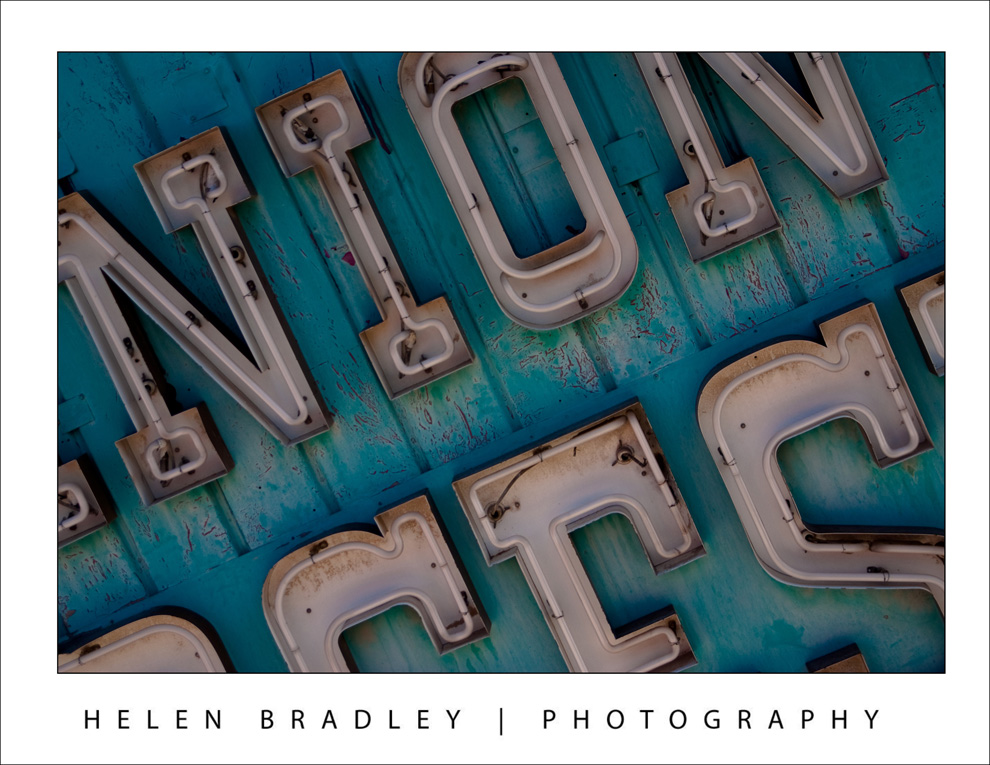
The Neon Boneyard in Las Vegas is home to old neon signs discarded from Las Vegas casinos. Has to be about the most wonderful place to go visit in Vegas.

Here are some images of the old signs:


Labels: ,