Articles | Office Tips Blog | Photoshop Blog | about me | e-mail

Helen Bradley - Pro Photo Blog

ProPhoto is a photo site for every photographer. We help you understand what you need to know to take better photos and how to share and enjoy them.

Sunday, January 31, 2010

Love is in the air


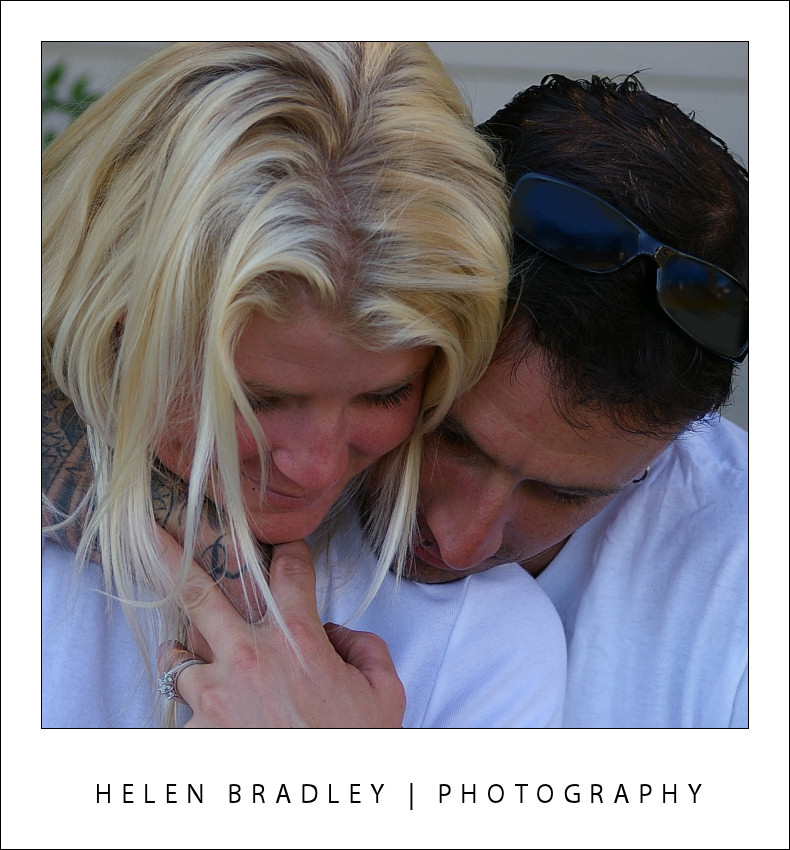
This engagement photo is casual and relaxed – it's not a typical pose but it makes a pleasing composition.

In February, love is in the air. It's a time that focuses on couples both new and old. When you think of photographs of couples you probably think of more formal arrangements with both people looking at the camera or at each other and holding themselves very stiff. However, couples photos don't have to look that way. The wonderful thing about couples is that they know each other well and there is an intimacy between them that you don't see in other relationships. If you can capture that intimacy in your camera lens then you'll go a long way to getting some truly memorable shots.

In days gone by, photos were typically taken of couples at big occasions like an engagement and wedding. From that time onwards, photos tend to be taken as families and you probably won't see the couple again in a photograph together without other family members until a memorable occasion such as their twenty or fifty year anniversary or their long awaited trip to Paris when they pose together, dwarfed by the Eiffel Tower behind them. Along the way we miss out on recording photographically the day to day progress of our lives. Although we take the time to note it in other ways such as celebrating anniversaries and with an eternity ring on the birth of the couple's first child.
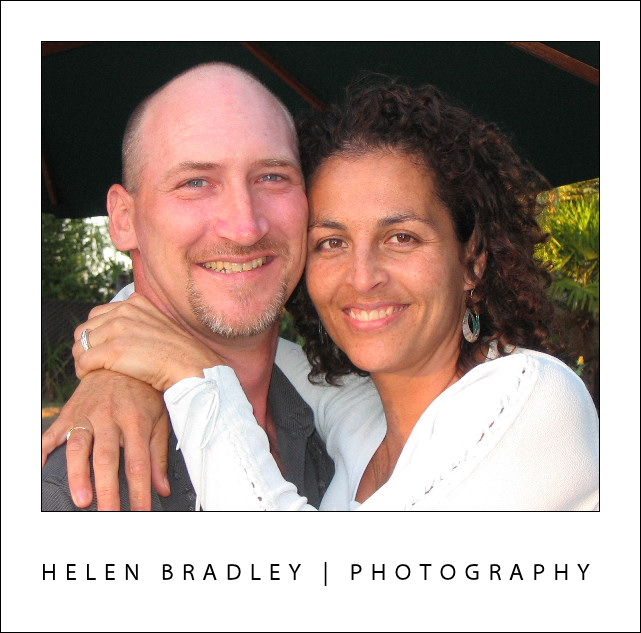

This couple was captured at a party – their closeness makes for a warm and charming photograph.

Choose your location
So how do you photograph a couple so you have compelling images rather than just a series of somewhat boring side by side posses? The first thing is to choose your setting. If you live in a rural area you're blessed with a myriad of choices. A foot bridge over a river, under a tree in a field, a stile on a tow path. In the city, a local park will offer a variety of options but don't overlook options on the street too. Shot in black and white, a table at a street café and even a cross walk offer can offer possibilities.

Dress up
Make sure your couple dress for the occasion. Avoid clothes with colours that clash with each other or that are highly patterned. If you're shooting some casual shots in the country dressing in casual clothes will give the right feel to the shoot. If your couple is celebrating a big occasion like an engagement or anniversary or, the biggest of them all – their wedding, then it can be more formal and they will generally dress more formally. Suggest to the woman that she wear light makeup as this generally produces more even skin tones.
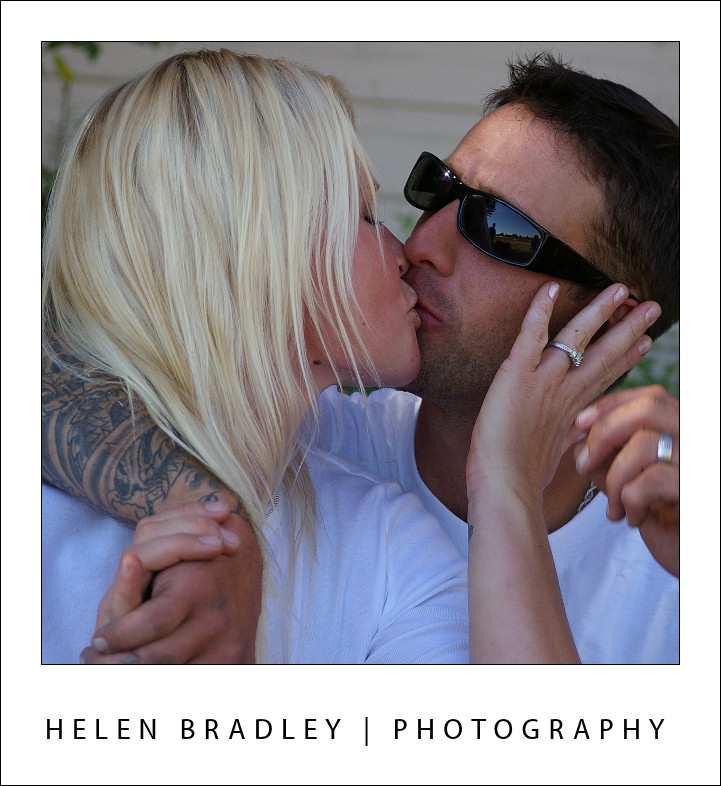
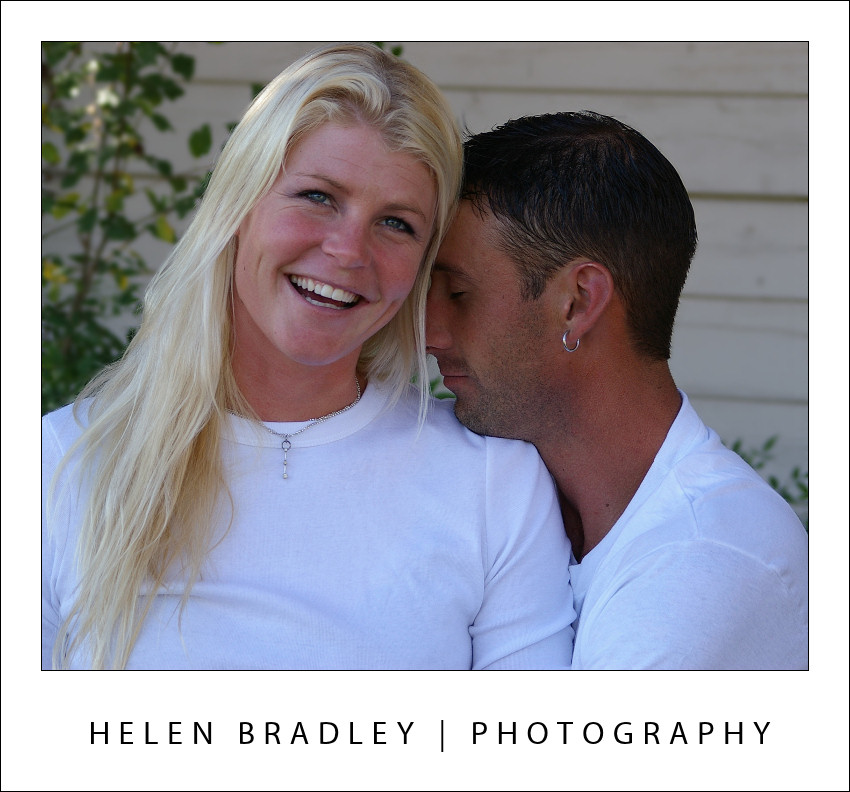
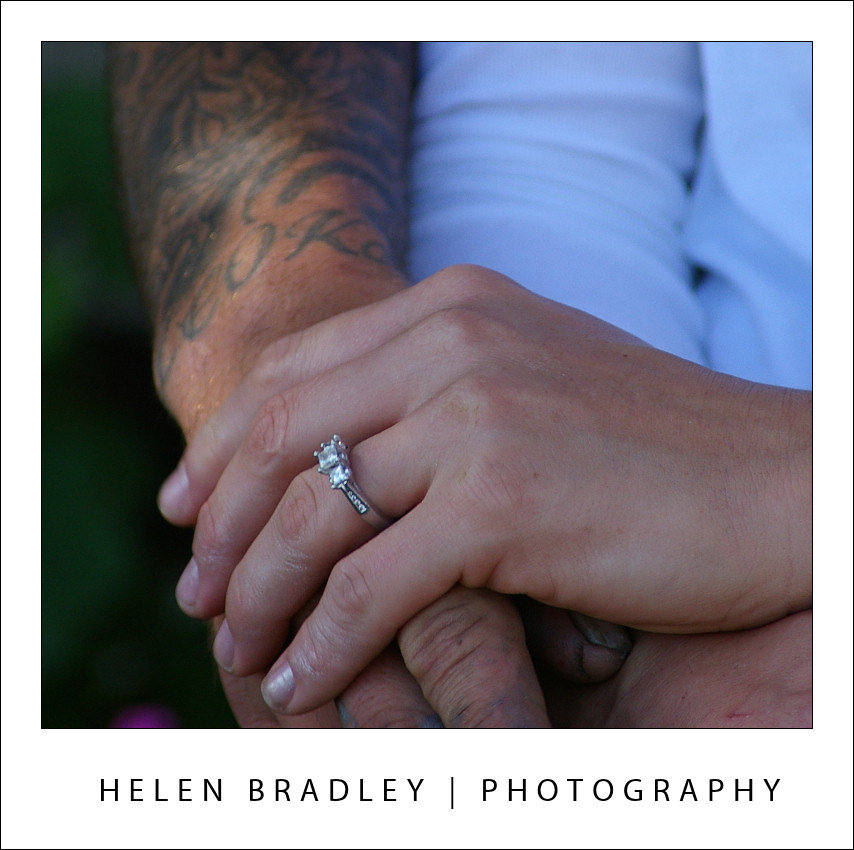

These photos show the warmth of a newly engaged couple – in some of them, the camera is merely a spectator.

Take your time
Allow yourself plenty of time to take the shots. Trying to capture something great in ten minutes is very difficult but with an hour to work you should get good results. Some couples are relaxed enough to be natural around the camera so they're very easy to shoot. If the couple isn't so relaxed, ask them to stand close to each other and then pause so you can frame a few shots before getting them to change poses and pause again for some more.

You may find that giving the couple an object to play with such as a flower will relax them as they start interacting with the object and with each other. Often when the couple are engrossed in their own play, the camera becomes a mere spectator capturing candid moments between them.

Posing tips
Don't hesitate to ask the couple to try a pose for you if you think it might be fun or interesting. If it doesn’t work, try something else. If you think one person would look better if they hold their head up a bit or look in a different direction, suggest this to them. Remember that you're the only one who can see potential flaws like double chins and shadows and asking for a small movement may result in a much better shot.
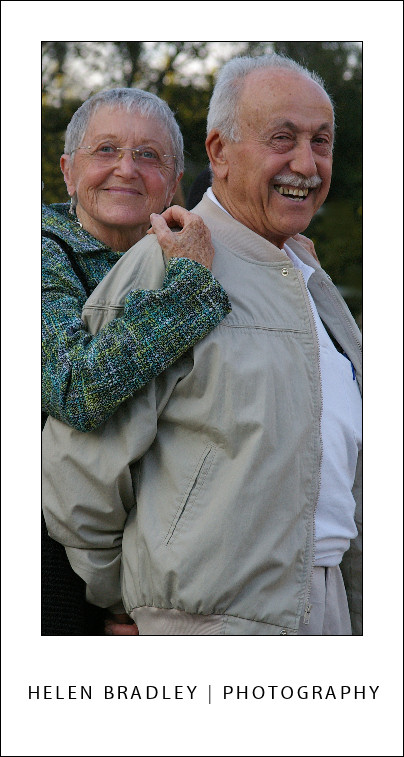

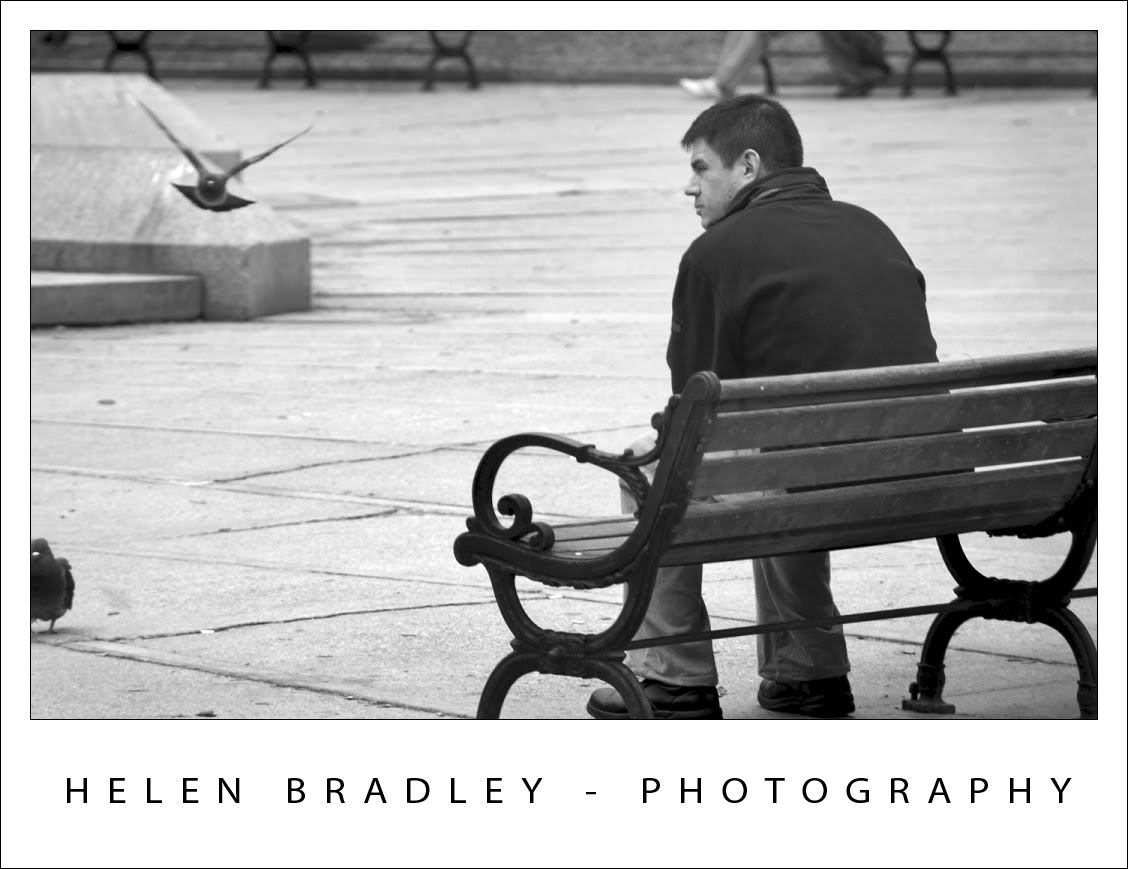
This candid photo was captured as the couple waited in line outside a restaurant, the woman's arm around the man gives it a warm feeling.

One pose to try is to have one person sit with the other sitting or standing behind them and looking over their shoulder. Posing a couple on stairs can often give you just the right difference in heights to make this work very well if the couple is naturally around the same height. For a couple with very big height difference arrange them so the height difference is reduced and their heads are close together. This lets them interact with each other more easily and will give a much better shot. Options include sitting the taller partner and asking the shorter partner to stand or have one sit on the other's lap. When positioning their heads you will get better results if one person is just a little higher that the other.
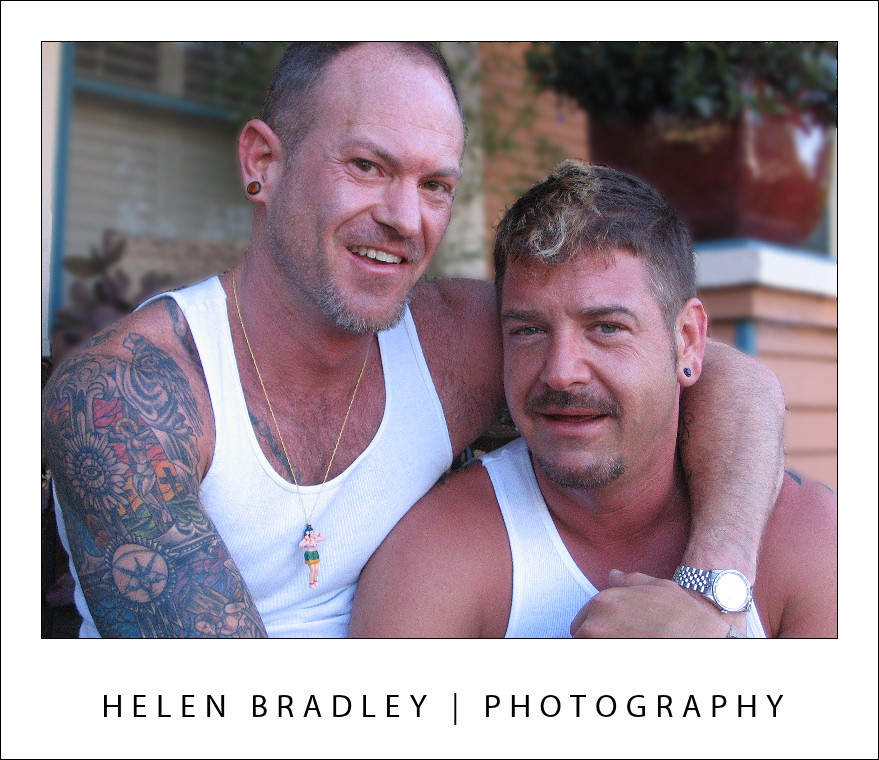

These men were so relaxed with the camera and having so much fun that it was impossible to take a bad shot.

When posing your couple, encourage them to touch each other - it might be holding hands, touching nose to nose, one might wrap their arms around the other – whatever feels natural and fun to them. As they move, follow their movements using the camera's LCD screen (or view finder if you're using a SLR) and look out for opportunities to take a shot. I like to vary between shooting in portrait and landscape orientation. While portrait mode lets me capture full body shots, working close up in landscape mode gives me the opportunity to capture the couple close up and exclude a lot of distracting background detail.
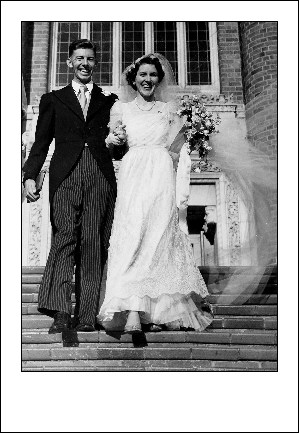

In my parent's wedding photo the photographer has caught a fun and active young couple obviously very happy.

Not all couple shots you take will be taken in a prearranged manner like a photo shoot. Look out for photo opportunities when you're around couples and when they are interacting naturally with each other. Since couples can't generally take photos of themselves, when you take them for them, you're helping them record a bit of their history. With luck, someday, someone will do the same for you.

Finishing touches
As with any portrait shot, always check your photo before printing. Remove any unsightly skin blemishes using the program's healing brush.

Labels: , , , , ,

Thursday, January 28, 2010

Better Photos Tip #8 – Take 2 steps forward


When capturing an image, get in close to the subject so they fill your viewfinder.

If there is one technique most digital camera users can use today to instantly improve their photos it is to stand at least two or three steps closer to their subject.

Most photographers stand too far away from their subjects so the subject ends up being very small relative to the rest of the photo.

When you move closer to your subject you make them larger in the viewfinder so they fill the photograph.

The result is not only a much more interesting photo but, because the subject fills the screen, there is less distracting background detail. If you can't get physically closer to your subject use the zoom on your camera to zoom in closer.

Labels: , ,

Sunday, January 24, 2010

Better photos tip #7 - Don’t just look – See

When you really look at a scene you may find things to photograph you might not have noticed at first glance.

When you are looking for things to photograph, study your surroundings. There are plenty of photo opportunities even in places that look anything but photographic.

A good exercise for budding photographers is to set yourself a challenge to photograph a predetermined subject matter such as numbers, signs, a particular colour or shapes like circles or rectangles.

Go out with your camera and set yourself an hour to complete the task. When you set yourself a challenge to capture a particular subject, you have to look to find it in a larger scene.

As you do you’ll see a range of things that you may not otherwise notice.

Part of what sets a good photographer apart from a mediocre one is the ability to see the possibilities in a scene.

Labels: , , ,

Wednesday, January 20, 2010

Better photos tip #6 - Depth of field

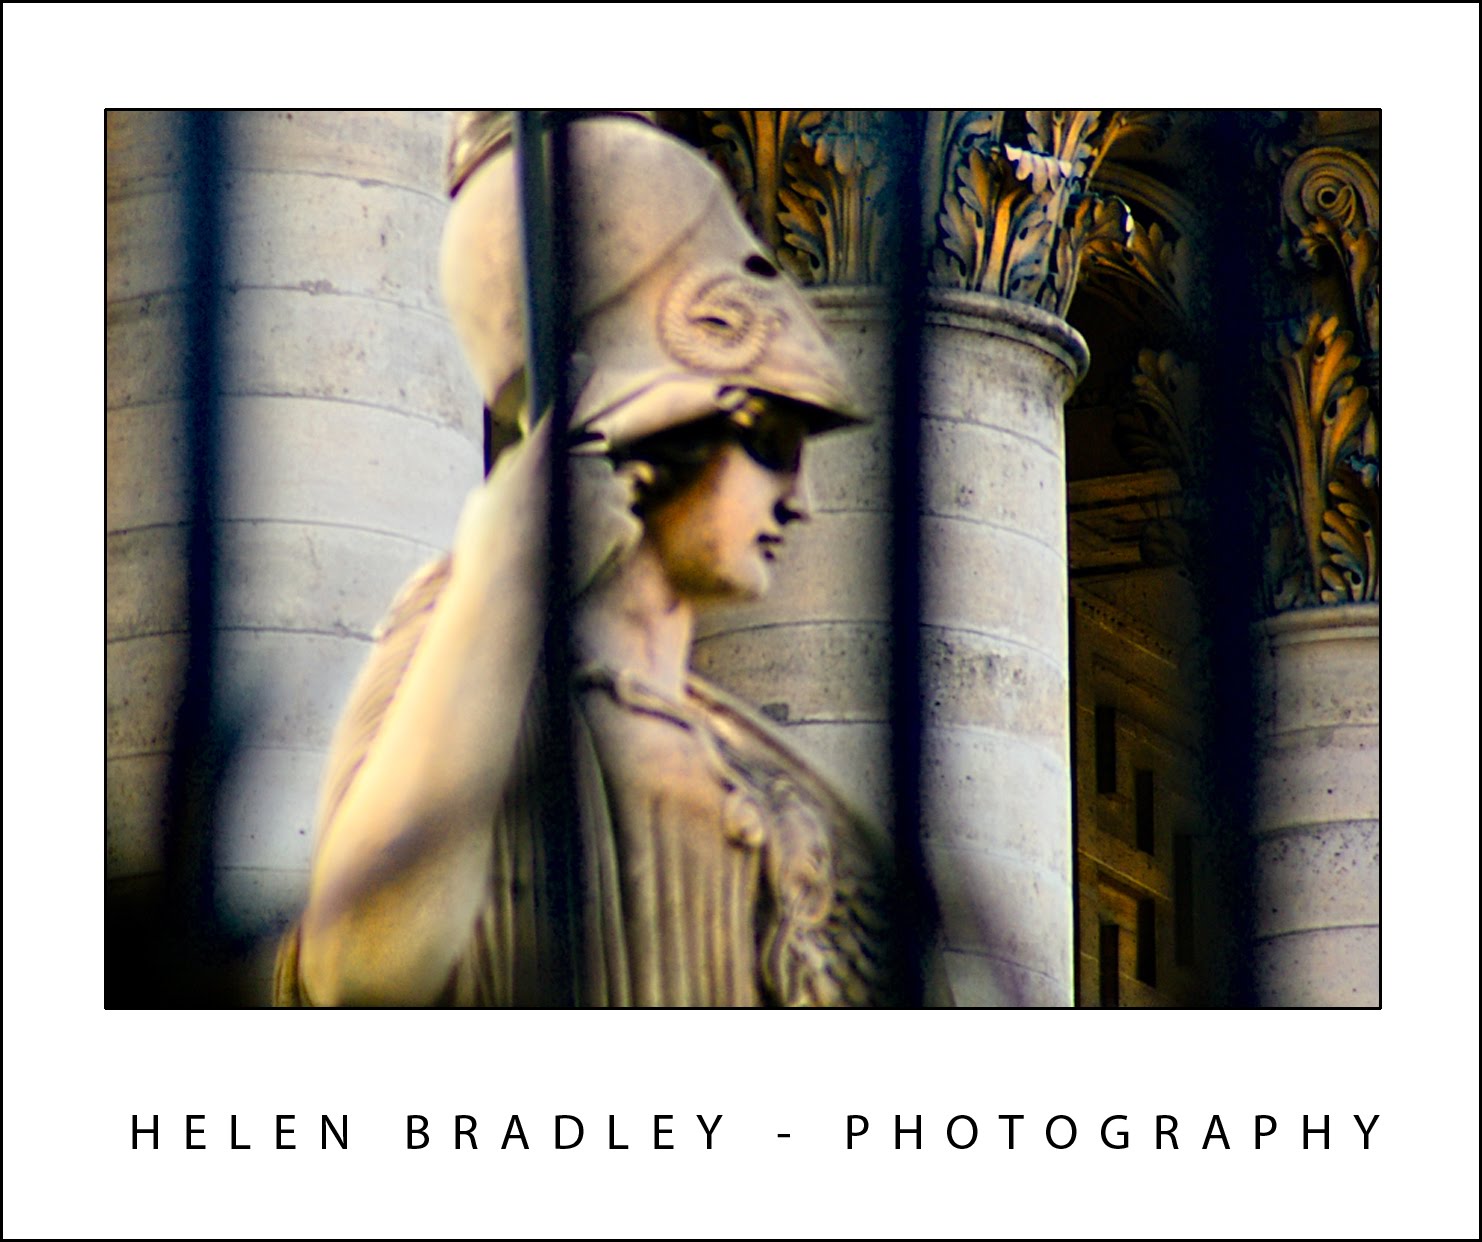
This image shows a shallow depth of field - the statue is in focus but everything else is nicely blurred.

There is a benefit you get when you use the macro setting on your camera and that is that when you use it your camera generally captures the image using a very small depth of field.

Depth of field is the area in focus around and in front of and behind the subject of the image. When you have a large depth of field, everything is in focus and where the depth of field is small, only a very small portion of the image is in focus.

Shooting with a small depth of field requires some skill because you have to make sure that the subject itself is in sharp focus – so that the rest of the image is not.

Check the LCD screen or viewfinder to ensure that the subject looks crisp and in focus before shooting. When you have taken the shot, check the image and zoom in to it and make sure the subject looks sharp – the LCD screen preview at the regular size won't show clearly enough if you have the subject sharp enough.

Depth of field will be a new concept if you've only used inexpensive film cameras in the past. Automatic film cameras shoot with a very wide depth of field so that everything in the photograph is in focus. In the days of film, only SLRs were capable of capturing images with a small depth of field.

Digital cameras changed that and many point and shoot cameras can capture images with smaller depths of field if you know how. The secret is in using the camera's manual controls to set the aperture manually rather than leaving the camera to make the choice. This same option is available with digital SLRs and the results, because of the lenses you use, are generally better with a digital SLR.

For a small depth of field, adjust the aperture to a value such as f2.8 or f3.6 so it is very wide and so the camera takes in a lot of light. To get a large depth of field so everything in the image is in focus, use an aperture setting of f8 or f16 for example. This setting lets in less light so the shutter speed will be much slower than when shooting with an aperture value of f2.8 for example.

Labels: , , ,

Saturday, January 16, 2010

Better Photos Tip #5 – Use Macro

Use your camera's macro setting to shoot flowers and other objects up close.

When you are shooting within a few inches (or centimetres) of your subject your digital camera will make a poor job of focusing on the subject unless you use its macro setting.

Macro is indicated by a small flower icon on a dial on your camera or configurable within its menu system.

The macro setting ensures the camera will focus on an object which is only a few inches or centimetres from the camera. Use this setting when shooting a close up of a flower or an insect in the outdoors or when capturing detail indoors like objects on your desk.

If you're using a digital SLR you won't generally find a macro setting on your camera and the lens that it came with probably won't focus well enough to get good close up shots.

Instead, consider investing in a telephoto zoom lens with a macro setting so you not only get a good telephoto lens but it doubles as a macro lens too.

One benefit of this setup is that you can stand back from your subject and still get in very close to the subject so you don’t scare small insects.

Labels: , ,

Tuesday, January 12, 2010

Better Photos Tip #4 – No flash at night

When taking photographs at night, turn off the flash and take a long exposure to capture the lights.

When shooting a night time concert, sporting event or even the city lights you might think your camera's flash is a necessity. Unfortunately it's not only next to useless at a distance of over 2-3 metres but using it will force the camera to use a faster shutter speed than you need so all you'll get is a severely underexposed image.

Instead, disable the camera’s flash and switch the camera to night mode shooting so it will meter for the surrounding darkness and set a slow shutter speed allowing you to capture the detail in the scene.

A downside of the slow shutter speed is that any camera movement will result in the subject being severely blurred. When shooting at night without a flash, use a tripod or brace the camera so that it does not move.

On the flip side, when you take long exposures at night you can capture light trails from car headlights and taillights as they pass in front of you which can look really great.

Labels: , , ,

Friday, January 8, 2010

Better photos Tip #3 – get down low

The best photos of animals and kids happen when you get down to their level.

When you are photographing children and animals, get down to their level so you shoot from the side and not the top of their head.

This may require you to sit on the floor or to put the animal or the child on a table or bench.

If you are capturing animals that move a lot it can be helpful if you have a handler to hold the animal while you take the photograph.

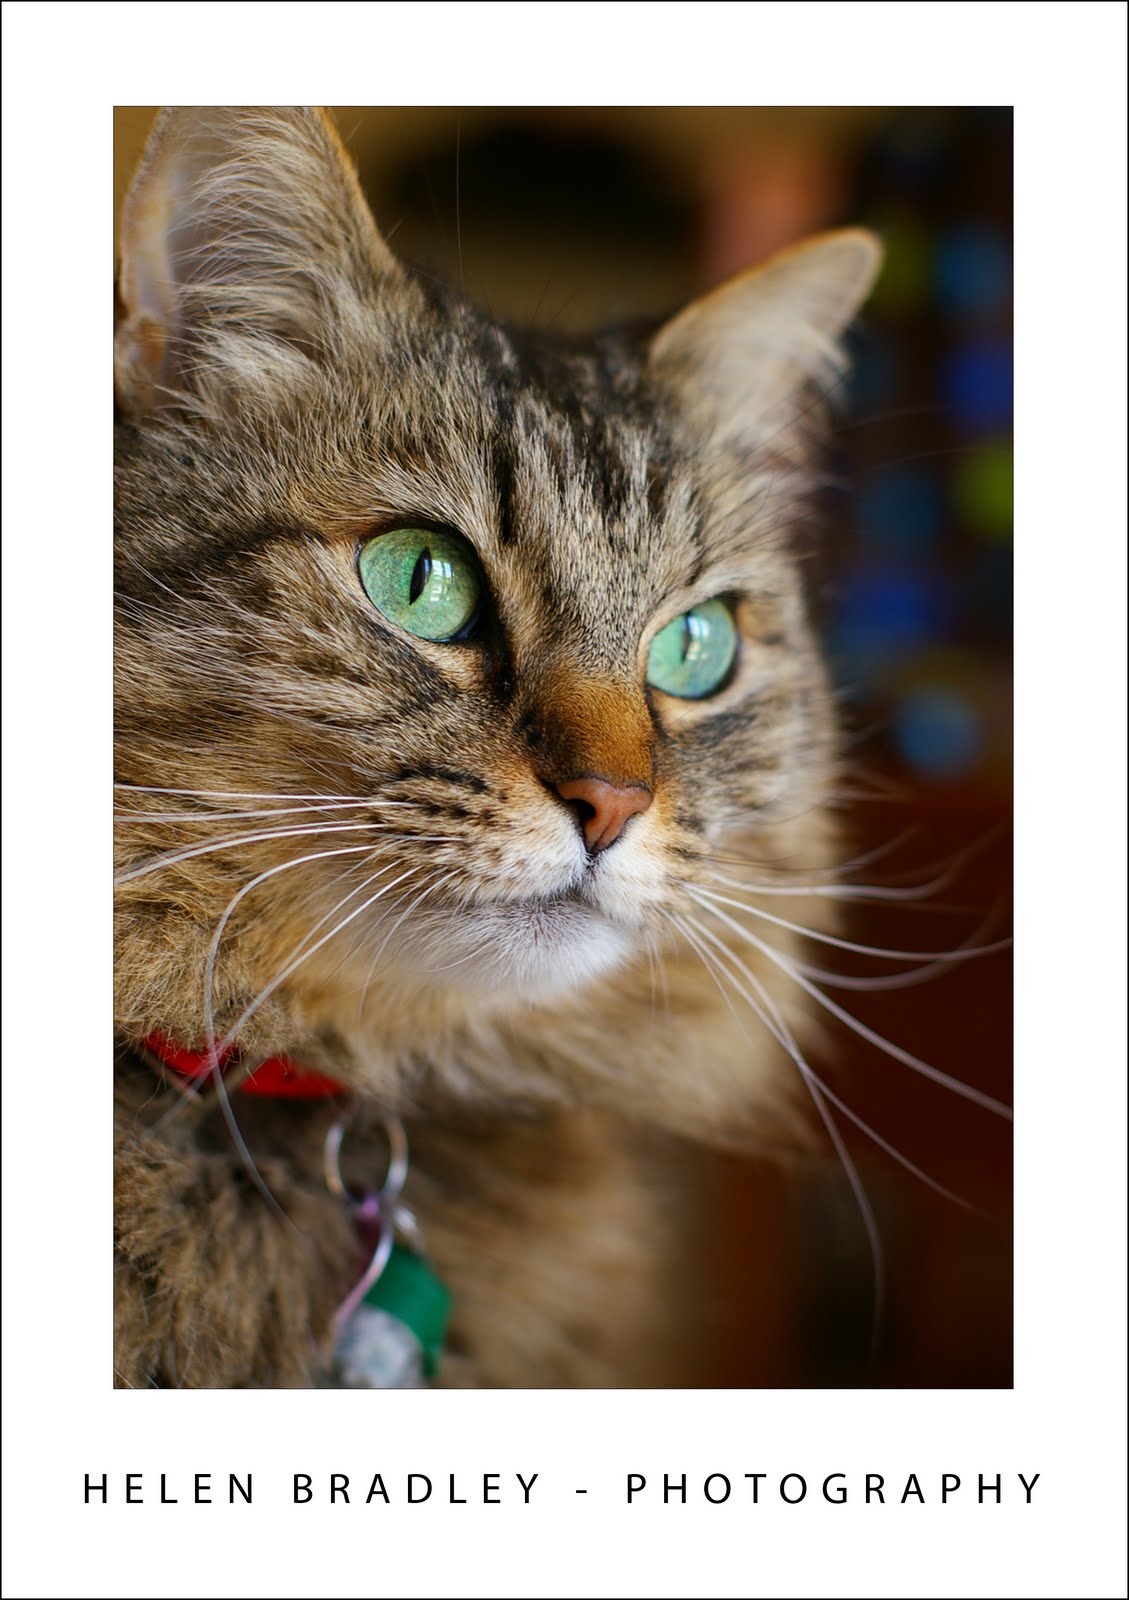
A good time to photograph the family cat is when they are basking in the sun or asleep.

Labels: , , , ,

Monday, January 4, 2010

Better photos Tip #2 – Hold the camera right

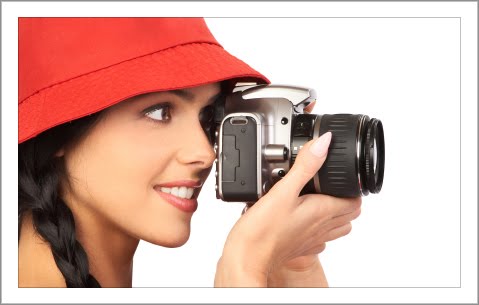
© Iryna Kurhan,istockphoto.com
Hold your camera in both hands as you shoot to steady it and to ensure your shot is in focus.


When you are photographing, take care to hold the camera steady so your photos won't be blurred.

Hold your camera in both hands and position your arms close to your body with your elbows tucked in to form a solid foundation for supporting the camera.

Press the shutter release half way down and pause to let the camera's auto focus system focus on the subject.

Then press the shutter the rest of the way down to capture the image.

If possible, hold your breath as you do this, to avoid the movement which would otherwise occur if you breathe in and out as you are taking the shot.

Labels: , ,

Friday, January 1, 2010

Better photos Tip #1 – Rule of thirds


Place objects at the intersection of lines on an imaginary noughts and crosses board for a more interesting image.

When you are composing your photograph have in mind the principles of the rule of thirds. This rule suggests that you draw an imaginary noughts and crosses board over the photograph that you are about to capture. Where the lines intersect is a good place to position the subject of your image.

For example, if someone’s eyes are located where the lines intersect you will get a much more interesting photo than if the person is positioned dead centre of the photograph.

In addition, placing the horizon along one of the lines of the noughts and crosses board is more interesting than placing it across the middle of the photo.

Simply moving your camera a little bit to the right or left, or up or down can be the difference between a so-so image and one which looks much better.

Labels: , , ,