Articles | Office Tips Blog | Photoshop Blog | about me | e-mail

Helen Bradley - Pro Photo Blog

ProPhoto is a photo site for every photographer. We help you understand what you need to know to take better photos and how to share and enjoy them.

Saturday, February 27, 2010

Step 6 Photo-editing workflow - Fixing muddy images
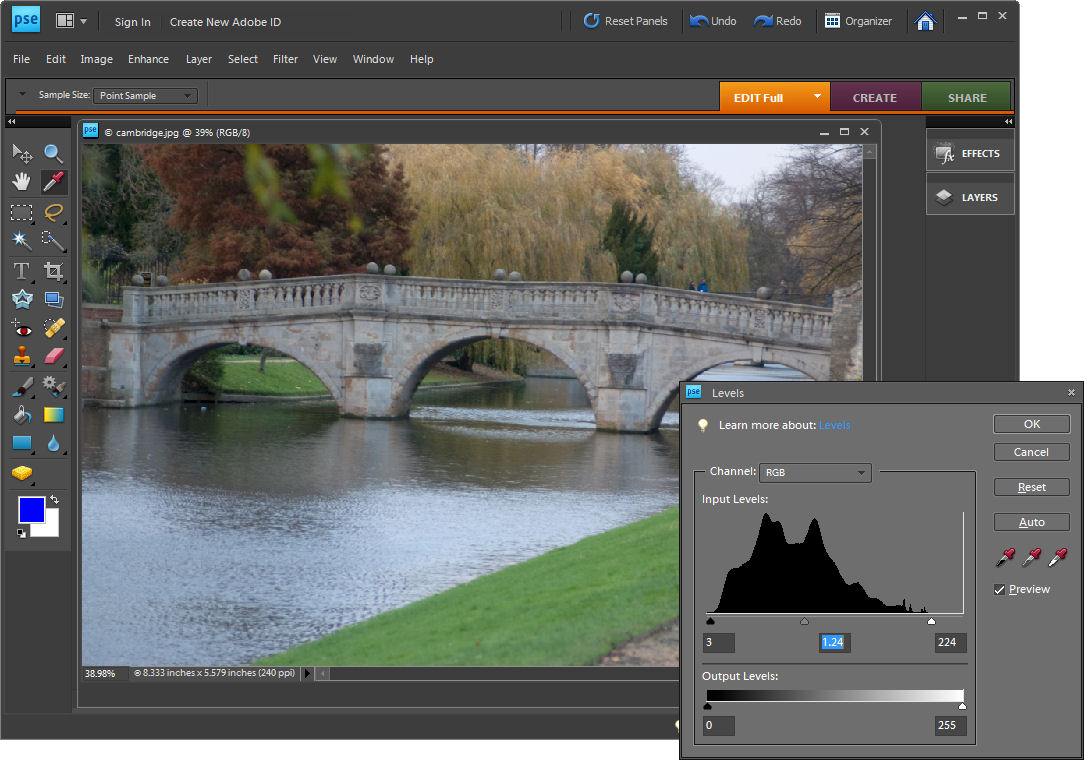


Images which lack a full tonal range (a range of colors from very light/white to very dark/black), often look muddy and the colour in these images will also look flat. To adjust the tonal range of an image to darken the dark areas and lighten the light areas thus stretching the colour you have over the widest possible range.

In Photoshop Elements choose Enhance > Adjust Lighting > Levels. The levels histogram shows the tonal range of pixels in the image – ideally the chart should stretch the full width of the area it is contained in. If it doesn't reach from the very left edge to the very right edge, drag the sliders underneath the chart inwards so that they sit under the points where the chart data begins and ends. You can adjust the middle slider to lighten or darken the midtones in the image.

Labels: , ,

Wednesday, February 24, 2010

Step 5 Photo-editing workflow - Fixing over and underexposed images


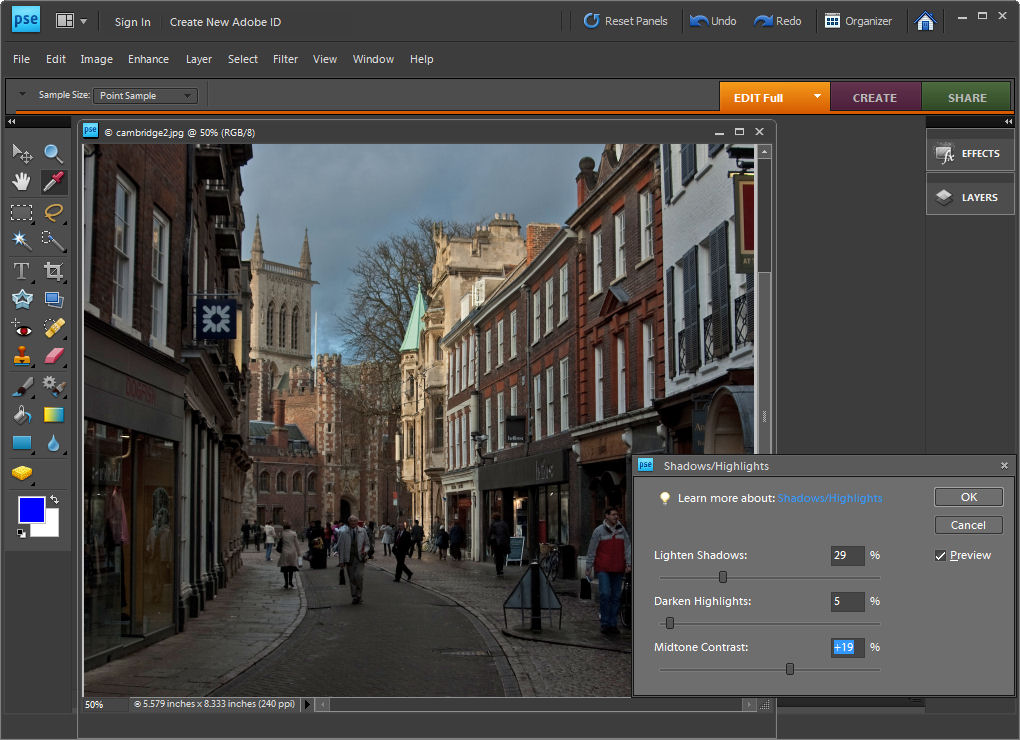
If you have an image which is under exposed or over exposed you can recover some of the detail in the light and dark areas using the Shadow/Highlight adjustment.

In Photoshop Elements choose Enhance > Adjust Lighting > Shadows/Highlights. The default setting lightens the shadows but leaves the highlights untouched but you can adjust each of these areas using the sliders to bring back into the shadow and highlight areas.

Adjust the Midtone Contrast slider if necessary to get the desired result.

Labels: , , ,

Sunday, February 21, 2010

Step 4 Photo-editing workflow - Straighten


A photo where an obviously horizontal line like the horizon or the foot of a building runs at an angle instead of straight across an image is disconcerting to the eye.

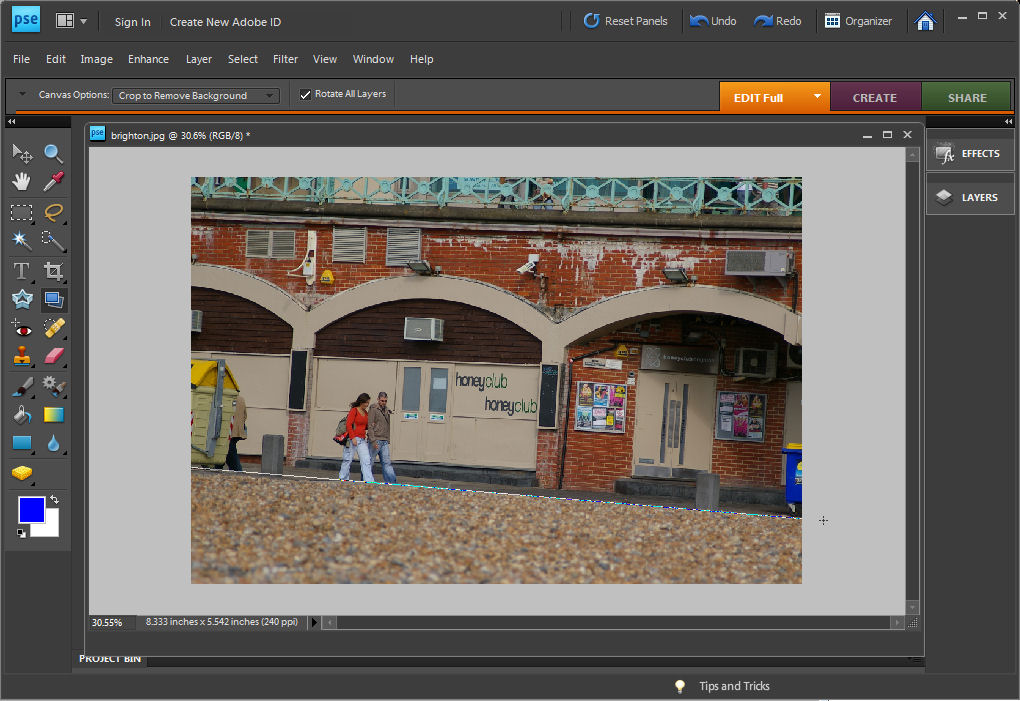
To straighten a photo click the Straighten tool on the toolbar and drag a line across what should be the horizon in the image. In Photoshop Elements when you let go of the mouse, the photo will automatically be straightened using the line you have drawn.

Before you draw your line you can choose one of the options on the toolbar to configure the tool. These include choosing CropToRemoveBackground which ensures that uneven edges of the image are cropped away in the straightening process.

Labels: , ,

Thursday, February 18, 2010

Step 3 Photo-editing workflow - Crop


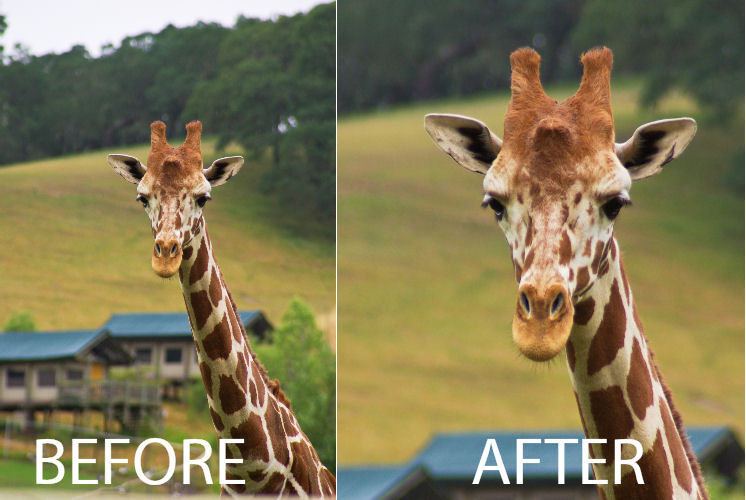
Use the Crop tool to focus in on your subject and remove unsightly background.

To crop an image and remove the excess, click the Crop Tool on the toolbar and click and drag the crop marquee over the image.

Adjust the edges of the marquee so they surround the portion of the image that you want to retain. Double click on the image to crop the excess away and to leave only the portion of the image that you want to keep.

Keep the rule of thirds in mind when you crop your image and, where possible, place the subject off centre for a nicer resulting image.

If your subject is moving such as a car or if it is a person who is looking to the right or the left, make sure to allow plenty of room 'in front of them' when you crop.

If you put a moving object too close to the edge of the image it will send your viewer's eye off the edge of the image in the direction of the movement.

Labels: ,

Monday, February 15, 2010

Step 2 Photo-editing workflow – Duplicate the image


Save the image with a new name before you begin to make sure you never overwrite the original.

There is nothing worse than destroying an original image by being just a little careless. You will never do this if you don't work on your originals.

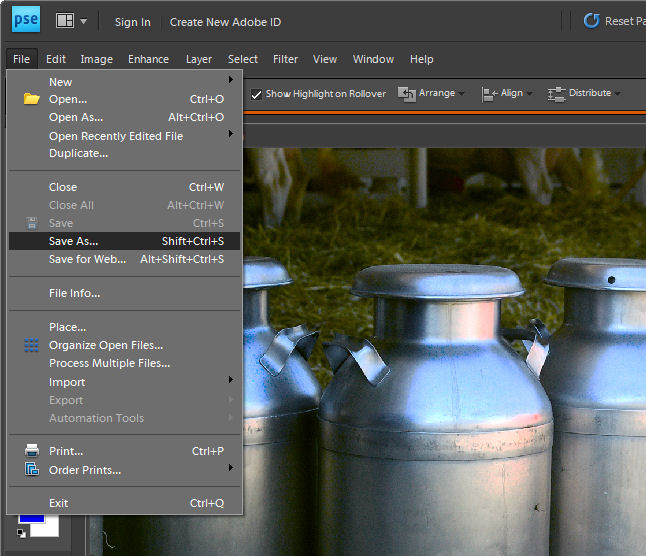
So, before you begin any fix, open your photo in your photo editing software and save the image giving it a new file name. This ensures you do not overwrite the existing image when you save the file later on and ensures you'll always have your original image.

To do this, choose File > Save As and give the image a new name. Check the title bar of the image window to ensure you are now working on the saved copy not the original. If not, close the original image and open the copy before continuing.

Labels: , ,

Tuesday, February 9, 2010

Step 1 photo-editing workflow – assess the image

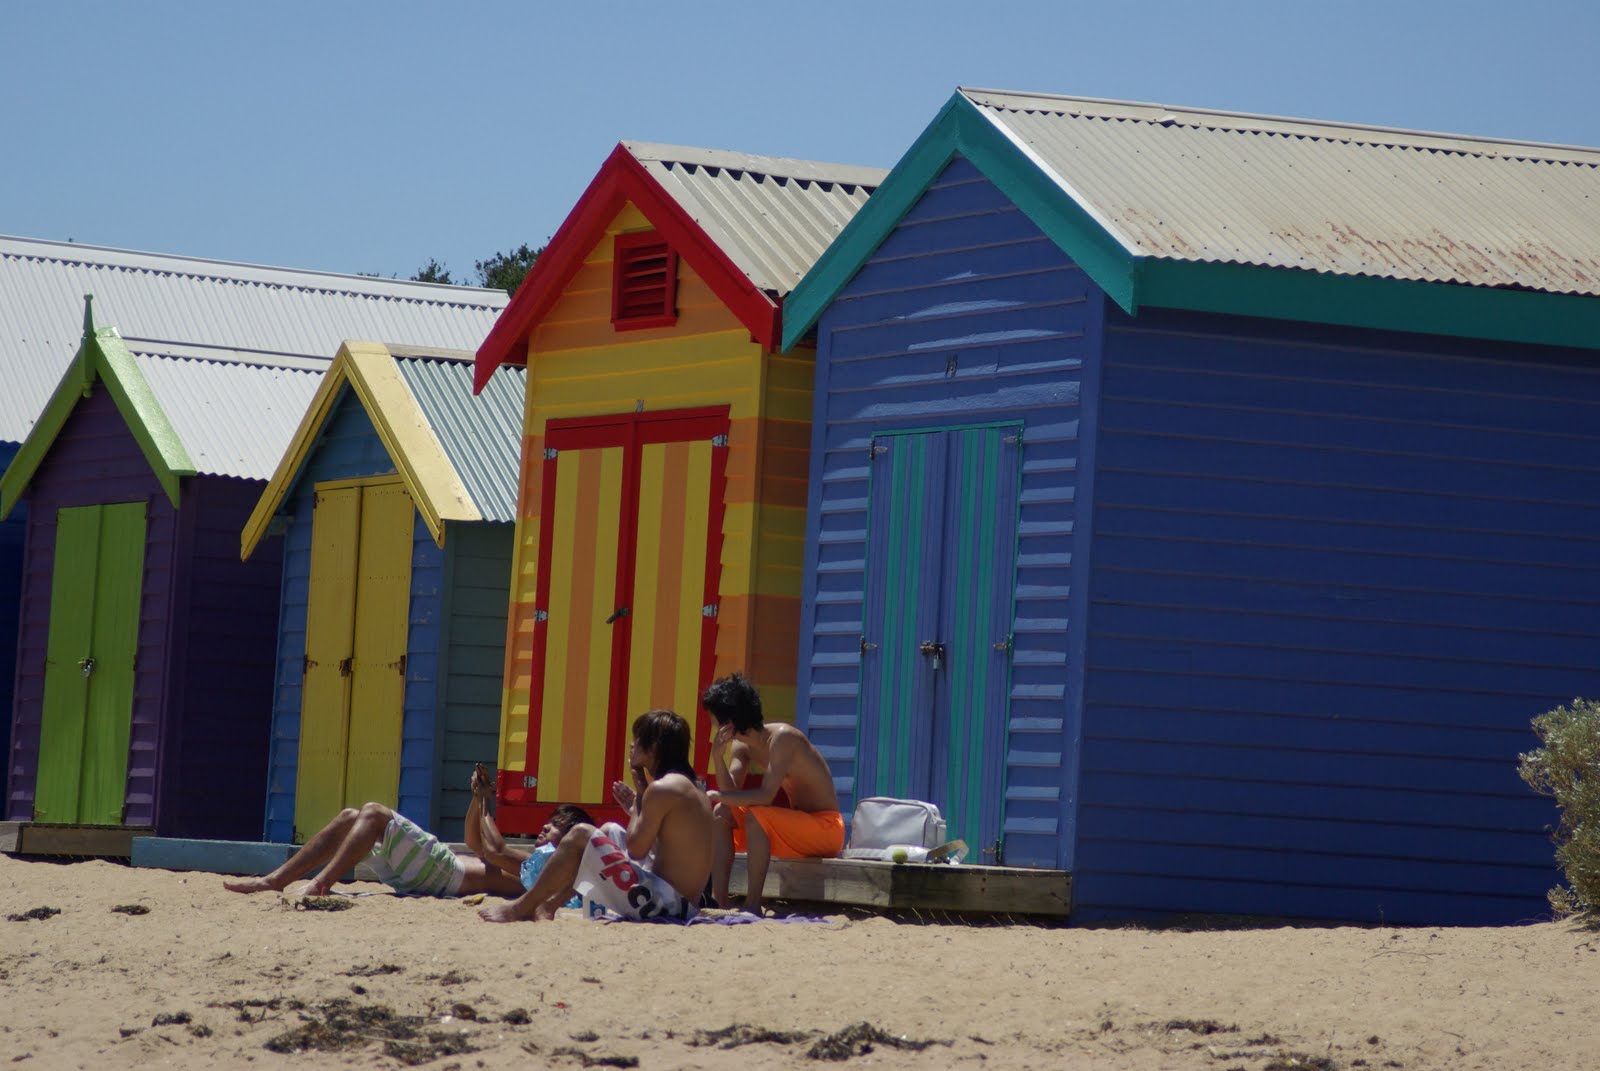
This image needs work, it is underexposed, it has lackluster color and it is not straight.

Despite your best intentions you'll often capture a photograph which needs some fix to improve it. If this is the case you'll use your photo editing software to fix the problems.

When you do, there is a handy workflow that you can use that will streamline how you work and ensure that the image is processed efficiently and effectively. I’ll show you how to assess your image to determine what it needs, how to fix the image and prepare it for printing or sharing online.

I’ll illustrate the process in Photoshop Elements but the steps are the same in any photo editing program. If a step isn't appropriate to your image, skip it and move onto the next.

Assess the problems
Before you begin, take a look at the photograph and determine what needs to be done. Check to see it is straight or if there extraneous elements that should be removed.

Check the colour in the photograph to see if there is a colour cast that needs removing. If the image is muddy or lacklustre then it may need an adjustment to increase the tonal range in the image to create darker darks and lighter lights. If the image is overly dark or too light then a shadow/highlight fix can be applied to lighten or darken it as required.

Also look to see if there are any flaws in the image. If there are electricity wires or distracting elements such as a rubbish bin that needs to be removed make a note of this.

For portraits check to see if there are any skin blemishes that need to be removed. Finally, determine what you want to use the photograph for as the final steps in the fixing process will vary according to your intended use of the photo.

Labels: , ,

Sunday, February 7, 2010

Better Photos Tip #10 - Camera Raw vs, jpeg

Capturing in Camera RAW offers superior image adjustment options for your photos.

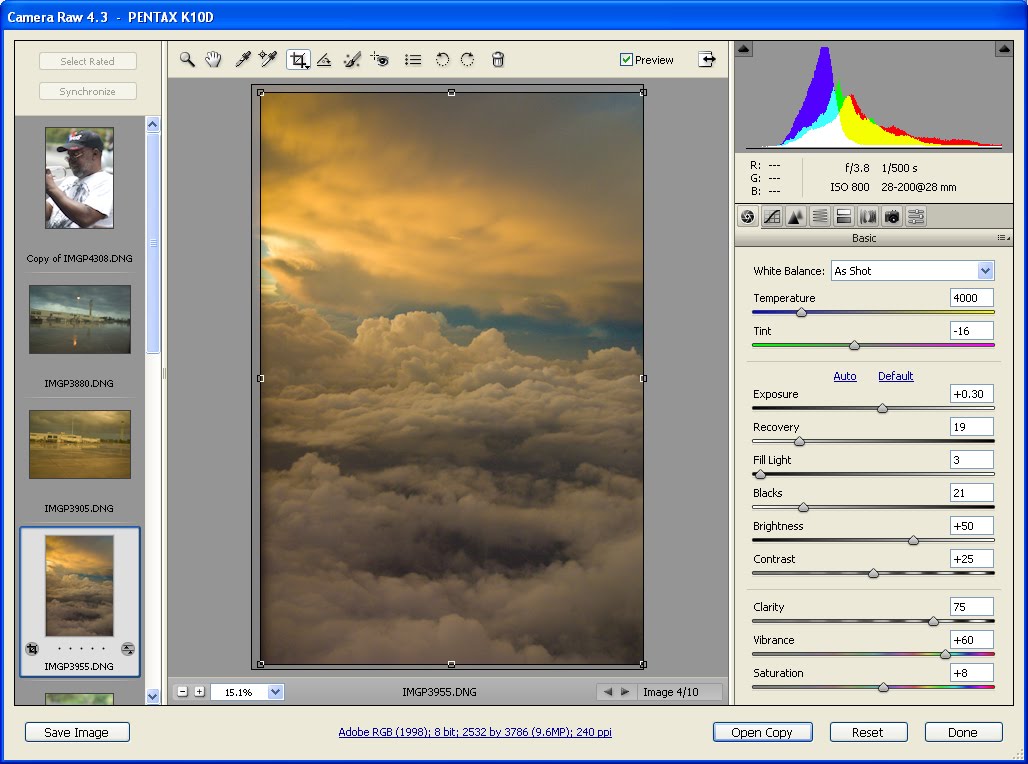
If your camera is capable of capturing images using the RAW format, this will allow you more editing opportunities later on.

It's a good idea to capture JPEG when shooting regular snapshots simply because JPEGs are easier to process and use and to use RAW for more creative captures.

Some cameras have a button you can press which gives you a one shot RAW capture so you can shoot in JPEG but easily capture a single RAW shot when you need one.

Labels: , , ,

Wednesday, February 3, 2010

Better Photos Tip #9 – Read the Histogram

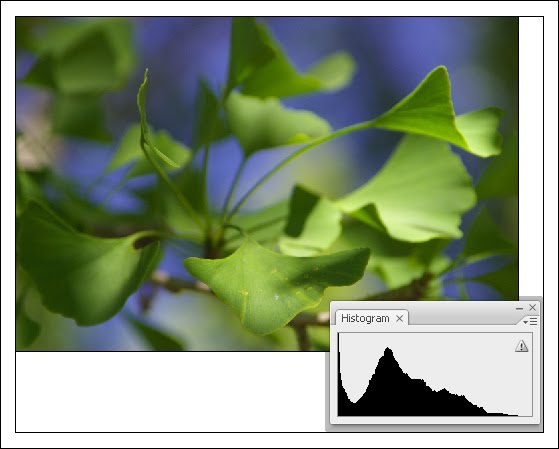
The image histogram on your camera shows the tonal range in the image, use it to assess the quality of the image. Here there is a little too much data in the shadows (we say the shadows are plugged) and we could adjust the exposure accordingly.

To understand if you need to adjust your exposure, check the image histogram in the camera rather than relying on the image that appears in the LCD screen.

The histogram gives you a graphical representation of the image's tonal range. If the chart data doesn’t extend from one edge of the chart to the other, you will probably have a muddy lacklustre image.

If the chart is too far to the left, you need to lighten the image and if all the data is to the right the image is being overexposed.

If you're using a digital SLR you control the exposure by enlarging the aperture or decreasing the shutter speed to let in more light or vice versa to reduce the amount of light.

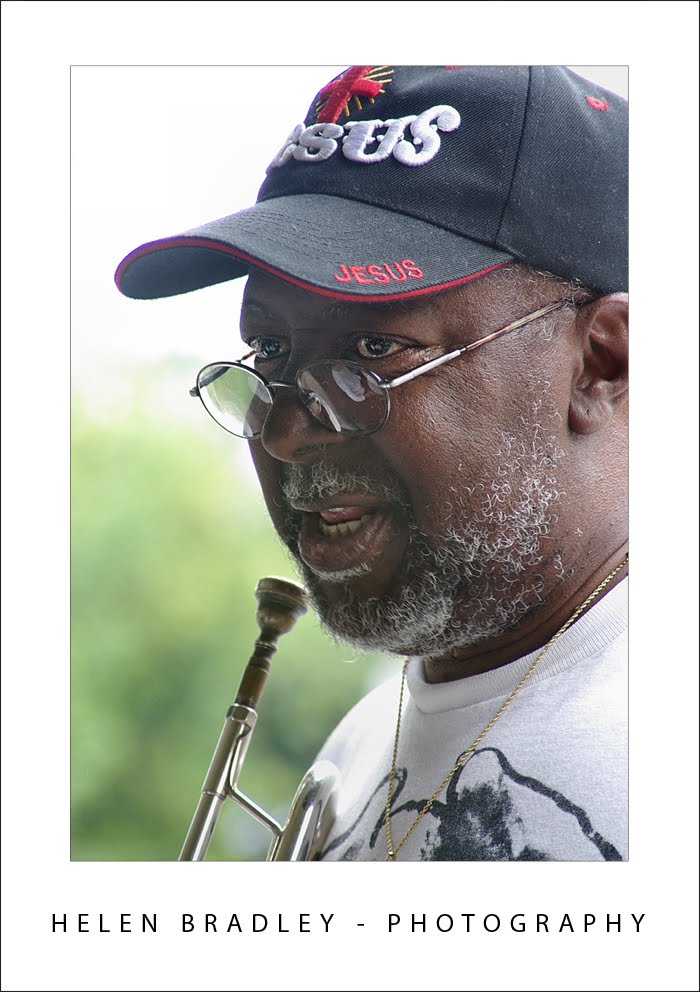
On a point and shoot camera, the exposure compensation feature lets you adjust the exposure amount to compensate for lighting issues. Typically you can adjust the exposure by any amount in the range -2.0 - +2.0 to darken or lighten the image. Exposure compensation was used here to expose this musician correctly against a very light background - I traded blown out highlights in the background for a properly exposed foreground.

Labels: , , ,