Articles | Office Tips Blog | Photoshop Blog | about me | e-mail

Helen Bradley - Pro Photo Blog

ProPhoto is a photo site for every photographer. We help you understand what you need to know to take better photos and how to share and enjoy them.

Sunday, June 28, 2009

Take your photography up a notch

Owning a digital camera isn't a panacea for taking bad photos. In fact, all too often, having a digital camera means you take many more bad photos – you just don't pay to have them printed. Take a quick look through the photos you've taken recently and see how many great photos you've taken compared with how many you're disappointed with.

If you're erring on the side of having too many photos in the not so good category, then read on! This month I have some great tips for taking much better photos and they're simple solutions that don't need special tools or expensive cameras. In fact they're techniques that are guaranteed to take anyone's photography up a notch.

Cut the clutter
When your photos are marred by untidy backgrounds and general clutter, there are two simple solutions. One is to move closer. Most people shoot from way too far away from their subjects so it's inevitable that there will be other extraneous detail in the shot. You can tell if you're standing too far away if you look at the photos you take and identify how much of the surface area of the photo the subjects take up. If it's less than 50% you're not getting close enough.

Next time you're about to take a photo, take one good big step towards your subject and check the LCD screen. Mentally calculate how much of the photo area is covered by the subject, if it's not at least half, then take another step and check again. At the same time, ensure that the scenery behind your subject is attractive. If not, move yourself or the subject until you have a more attractive background (or move in closer still), and then take your shot.
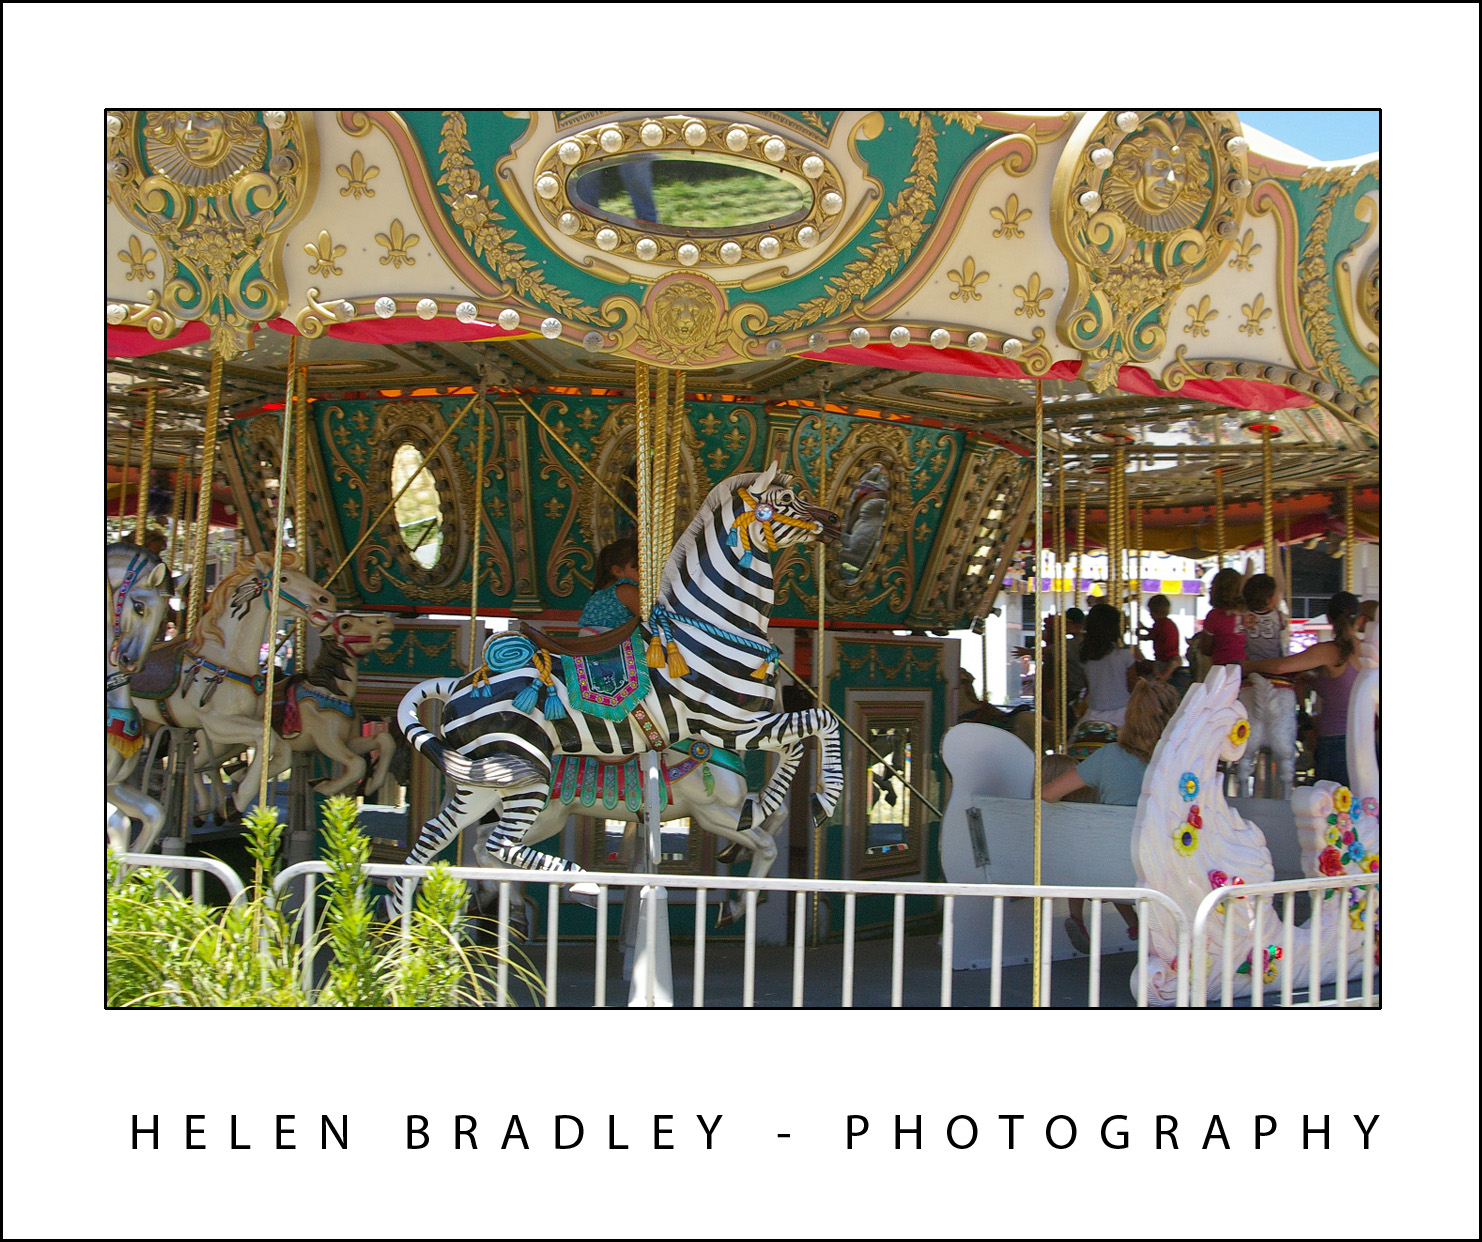
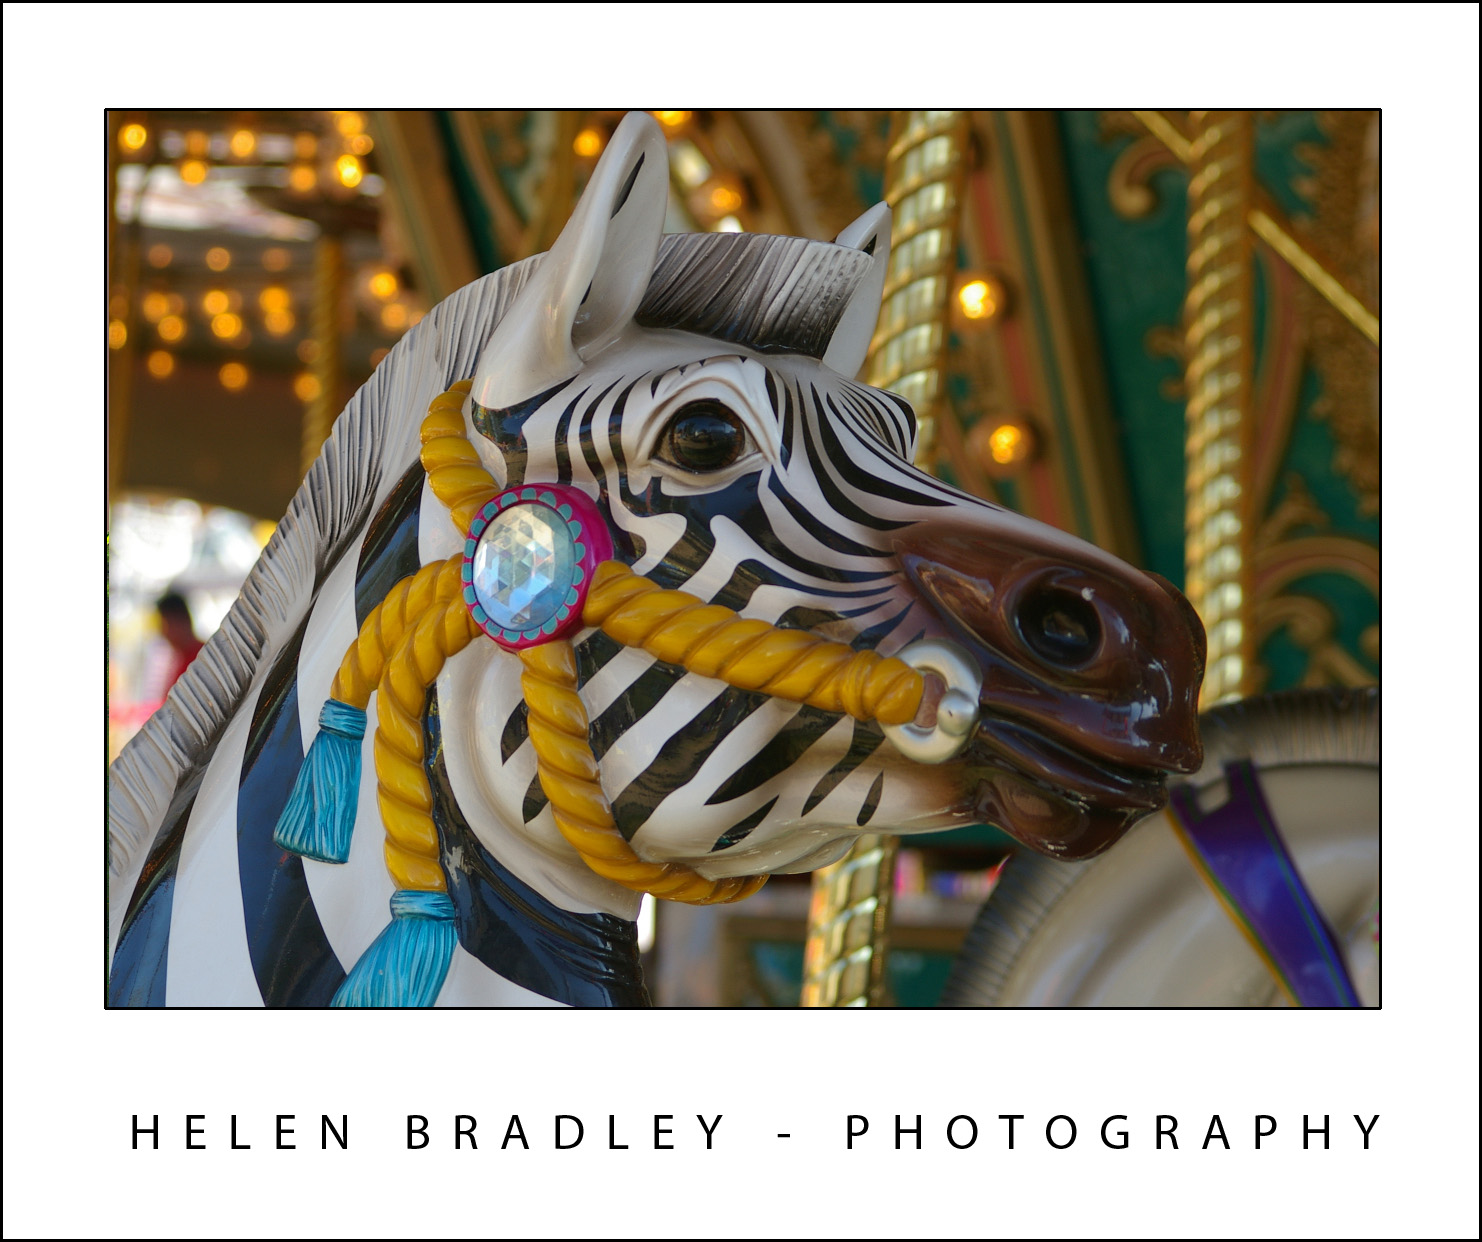


Getting in close to this carousel turns the shot from ho-hum into wonderful.

No more blur
Blur in photos is great when you want it and disastrous when you don't. When you want a sharp, clear photo and all you're getting is blur, there are some things to check. One is that you're not too close to your subject. Your camera's manual will tell you the ideal range at which the camera can focus – if you're closer than recommended then your photos will be blurry. The solution is to move further away from your subject so the lens can focus or switch to macro mode. Macro mode is indicated by a small flower icon and it is used for close up photography. Again, check your camera's manual to see just how close you can be to your subject in macro mode – you will find this is usually a minimum of around 5cm. When using macro mode, zoom out (not in) as the camera generally won't focus in macro mode if you're using the zoom at the same time.

If the blur cannot be attributed to being too close, it might be caused by camera movement. When taking a shot, hold the camera in both hands and brace yourself. Take a breath, push the shutter release half way down to allow the camera to focus on the subject. Then push the shutter release the remainder of the way down to take the shot before breathing out again. Taking and holding a breath will avoid a lot of camera movement and pressing the shutter release half down gives the camera's auto-focus mechanism time to focus correctly before you take the shot.
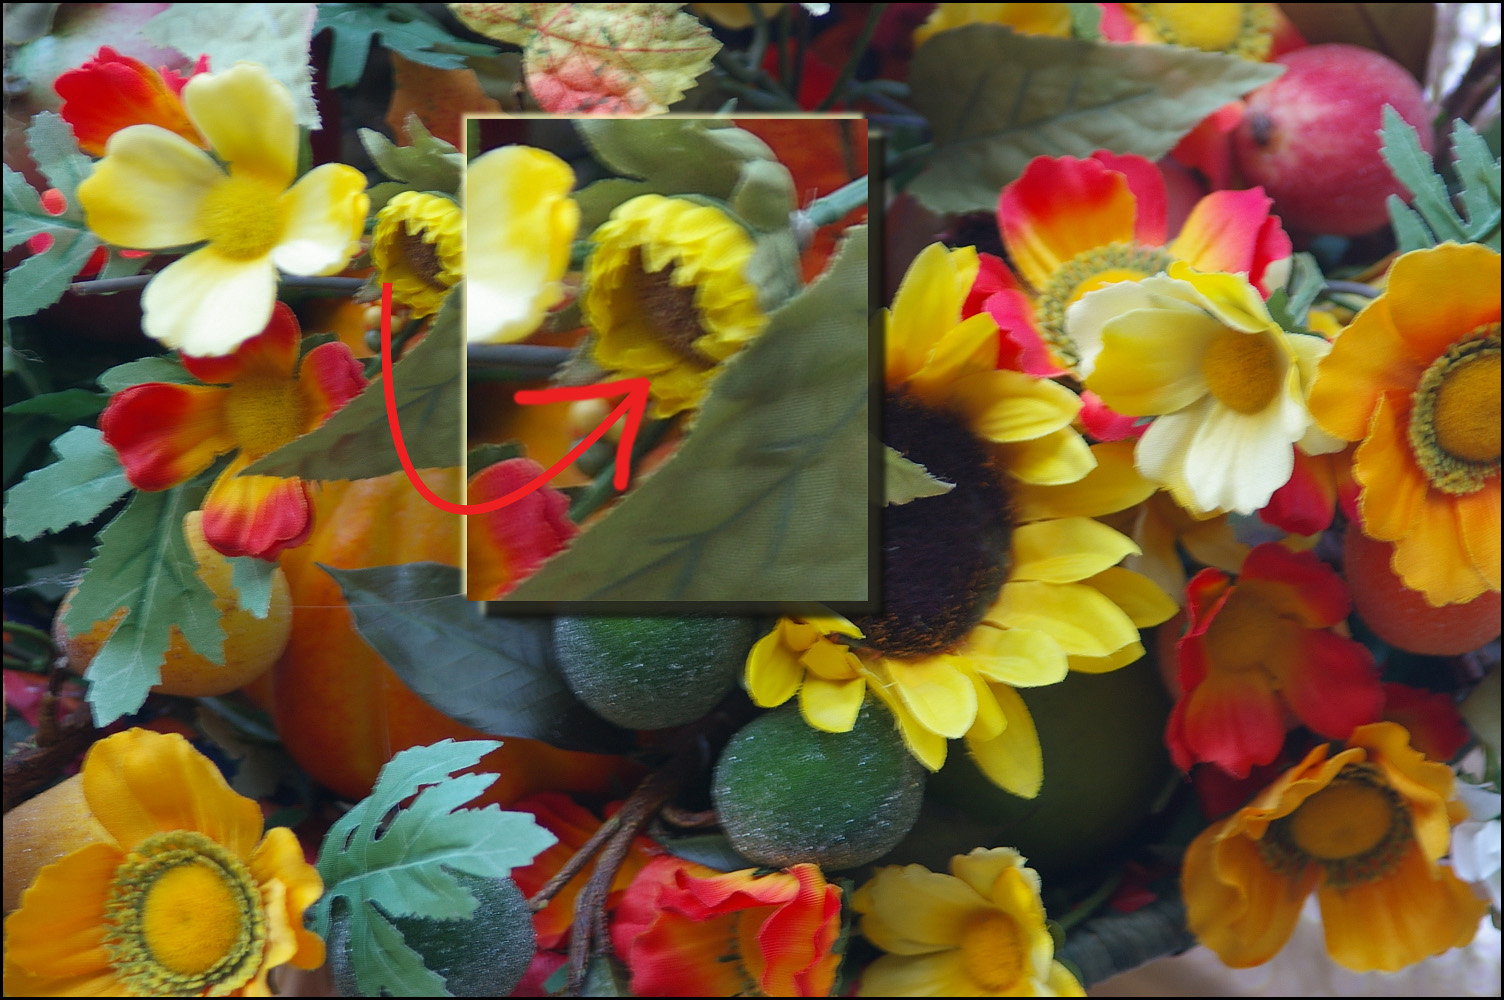

The camera moved a little as this shot was taken resulting in a slight blur.

When your subject is moving, taking a sharp picture is more difficult than when it is stationary. In this situation, switch the camera to sports mode so the shot will be captured faster and so there is less chance of the movement causing a blurry shot. It will also help if you adjust your placement so the movement is occurring towards you and not across the path of the shot. Of course, in some situations this is not possible, for example, standing in front of horses racing around a track is generally not possible, however it will give a clearer shot!

Too much light or too little
When your photos are repeatedly too light or too dark, adjusting the camera's exposure may help. To do this, check your camera's manual to see if it has an exposure compensation option. Generally you can adjust the exposure up or down by approximately 2 stops – these are marked -2, -1, 0, 1 and 2 on a scale. Zero is the value that is used by default and, to get a darker image, set the value towards the negative, generally around minus one third to minus half a stop is sufficient. On the other hand if your shots are too dark, adjust the setting to a positive value of around one third or one half. Exposure compensation settings are often lost when you turn off your camera so you should check it each time just in case.
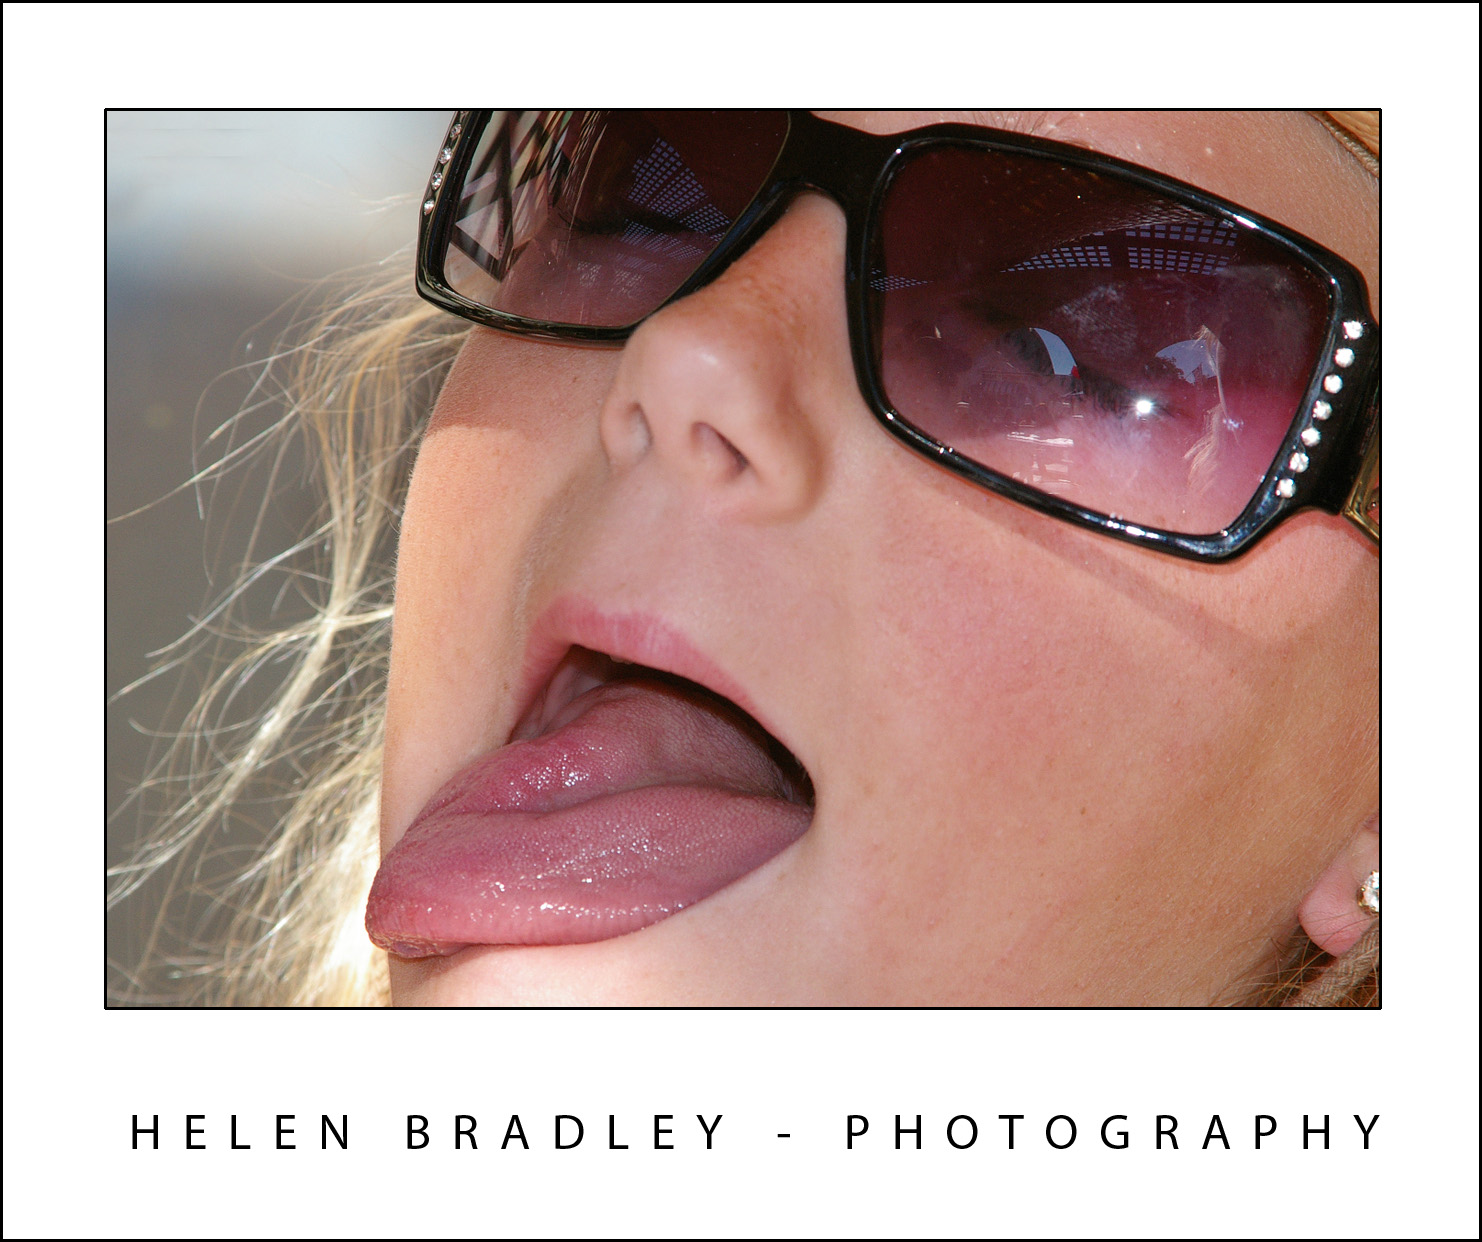

If you're shooting in bright daylight, and particularly if you are shooting portraits or a person standing in front of a scene, use the forced or fill flash setting on your camera. This forces the flash to fire in circumstances that it would generally not be required. The flash will light the person's face and give a much nicer portrait shot and the background will still be captured just fine too.

Labels: , , , ,

Thursday, June 25, 2009

When to use your camera's flash and when not to


Depending on how you use it, your camera’s flash might be your best tool for lighting a shot or the fastest way to ruin one. It's all in how you use it, and when.

In this post I'll show you how to tame your camera’s flash to ensure it works for you and not against you.

Configure the flash
The first step for using the flash on your camera is to knowing how to configure it so you can, in an instant, turn it on or off as required. If you’re unsure, check your camera’s manual to see the flash options you have, how to identify what the current flash setting is and how to change it.

This is vital even if you only ever shoot out of doors in full sun – that is, surprising as it might seem – one time you should use your flash and it's one time your camera won't default to using it. So, you need to know how to force the flash to fire.

When you are checking for flash options you're sure to find that your camera has a redeye reduction flash option. This makes the flash fire twice, one low strength flash and one full strength flash. The first flash shrinks the pupil size of your subject so that you're less likely to get a redeye effect in your photo.


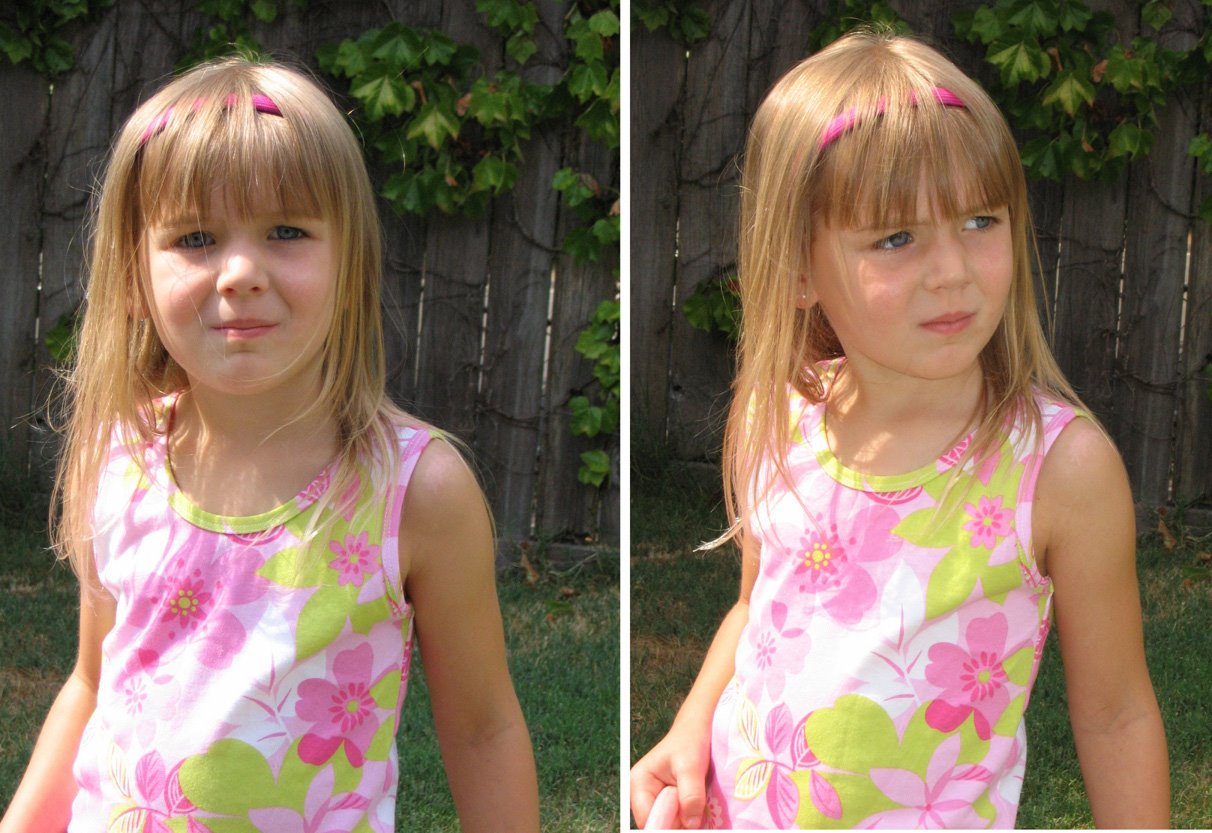
The image on the right was shot with a fill flash to light the young girl's face – it is a better photo than the one on the left.


Unfortunately your subject often misinterprets the purpose of the first flash and thinks the photo has been taken so they move away and you lose the shot.

It is often a better solution to disable the redeye reduction flash and use your photo editing software to remove redeye later on. You can reduce the redeye effect other ways too, one easy option is to increase the room lighting – the lighter the surrounds are, the less likely you are to get a redeye effect.

Some cameras also have a flash intensity setting so you can set the fill flash to flash but not at full power so you don't blow out your subject's skin but you still get a nice light.

How far can you flash?
If you’ve tried using a flash at a night time sporting event or concert you'll know it is pretty ineffectual. The range of your camera's flash is around 3 yards/metres so unless you're very close to your subject it will be of no use at all.

In this situation, turn off the flash and set the camera to night mode. Brace the camera using a tripod or on something steady and take the photo – without the flash. It might take a second to capture the shot but the result will be much better.


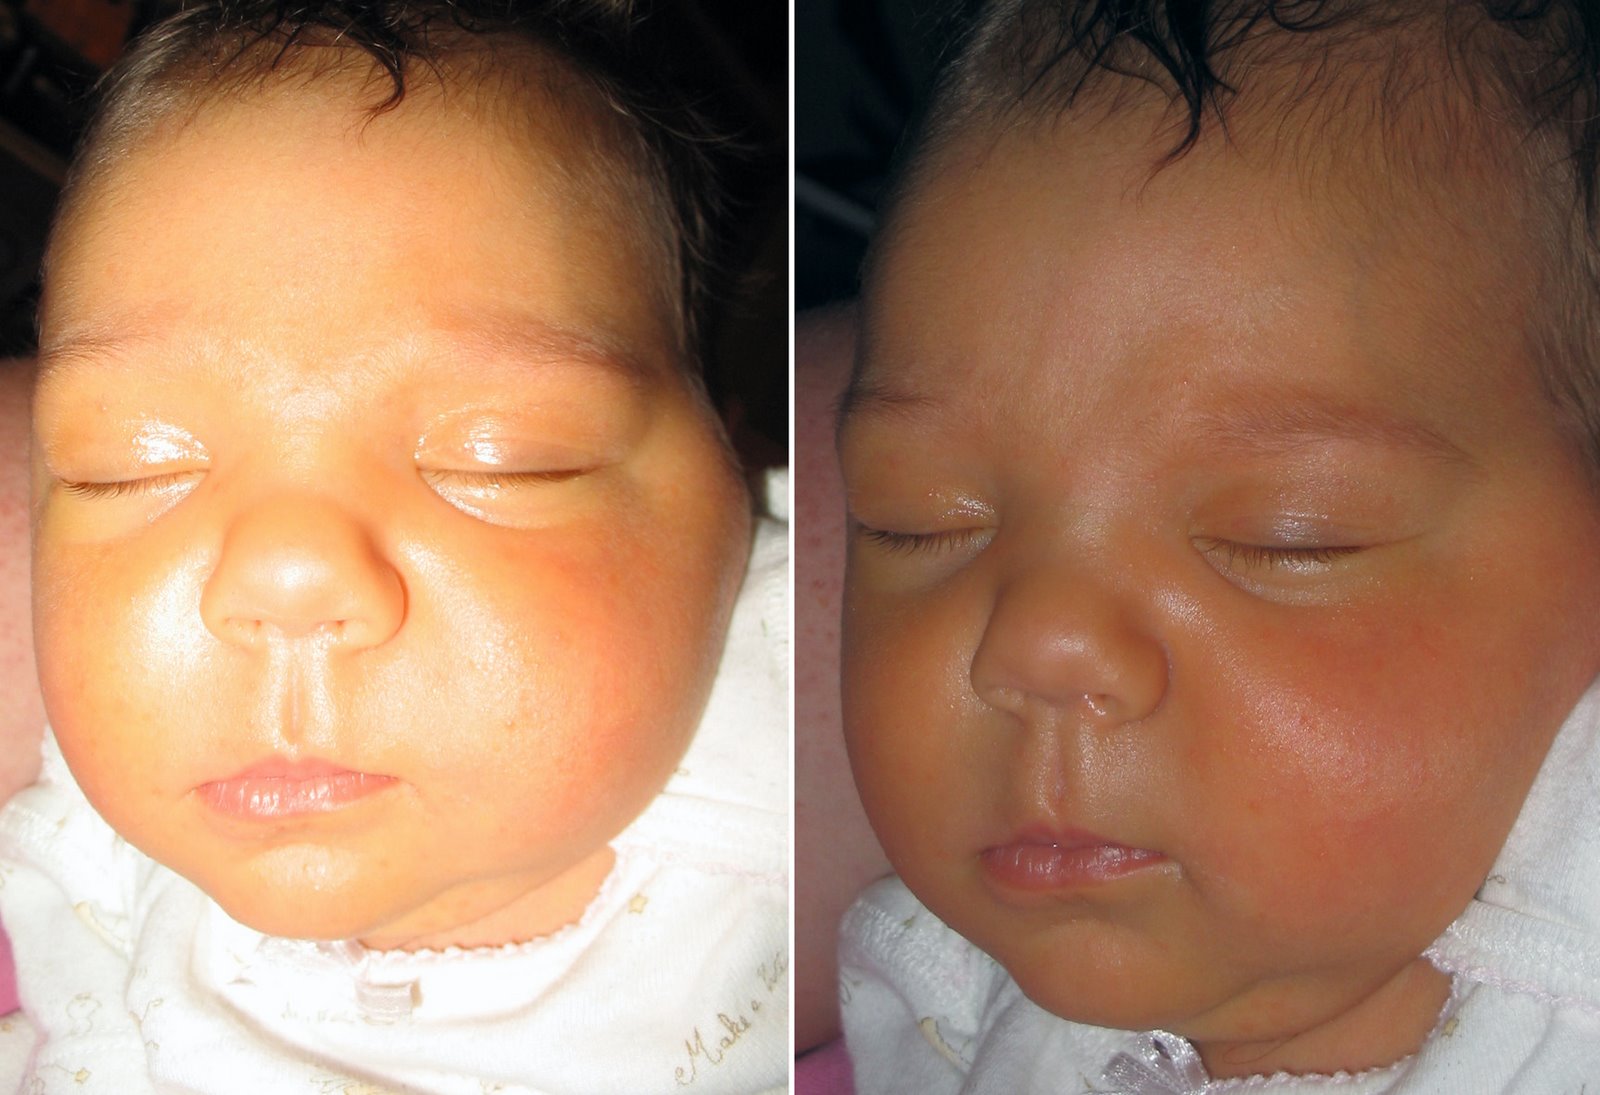
Using the flash too close to this small baby has washed out her face, turning the flash off gives a better result.

Should you use your flash on a sunny day - YES!
When you first start taking photos you'll think that the last place you need to use a flash is in full sun. Long time photographers, however, know that full sun is misleading and someone standing in full sun in front of a landscape, streetscape or beach won't be correctly lit unless you stand close enough to them and use the flash to light their features. The flash won't have any effect on the background but it will improve how your subject looks – one hundred percent.

Check your camera's manual – some cameras have a special daytime fill flash which you should use for this situation and, if not, just use the regular flash.

Too much flash
With many point and shoot cameras the flash has a tendency to be too strong and it will wash out your subject. You have a couple of choices in this situation, either move further away from your subject so the flash has lost some of its power by the time it reaches them or diffuse the flash.

To diffuse the light, place something in front of the flash to reduce the light – a small piece of wax paper taped over the flash is one option or you can hold a small piece of shiny white cardboard underneath the flash angled upwards to bounce the light upwards – this will create a more diffused lighting effect.


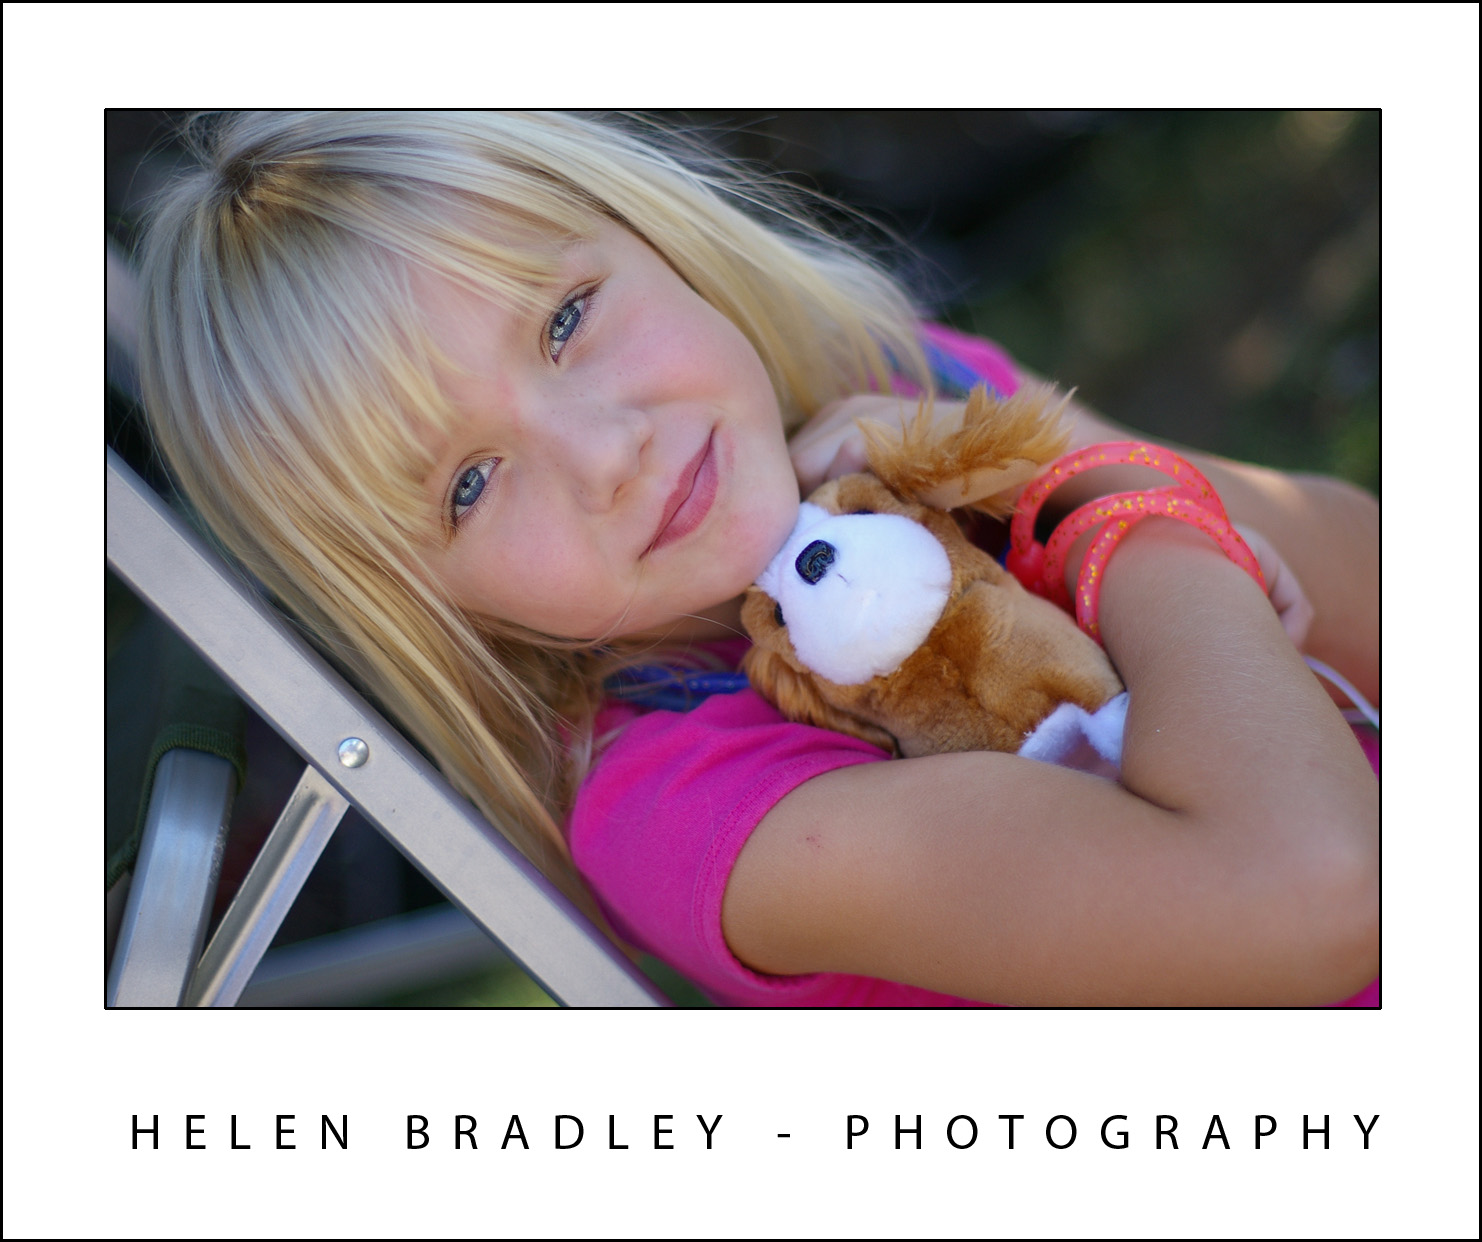
This little girl was photographed in a shady place with no harsh shadows and she was relaxed cuddling a favourite toy.

Knowing when to use the flash, how to work when you can't use it and when it's best turned off will help you take your photography skills up a notch. You'll be able to take great beach shots, you'll get photos of your favourite bands at their concerts and your friends across the dinner table.

Labels: , , , , ,

Monday, June 22, 2009

Capture great cell phone photos

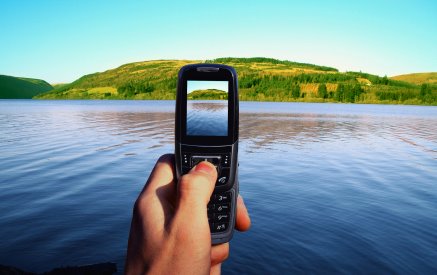
You'll probably never win a major photographic award with a photo snapped from your cell phone. But that doesn’t mean you can't get some wonderful photos if you work within its limitations. Most cell phones lack most of the features of even an entry level point and shoot digital camera but, when you know what it can do (and what it can't), you can capture some fun and dare we say it, artistic photos.

Let's start with the limitations of your cell phone. First of all it probably doesn’t have a flash and, if it does, it's range will be so small that it will be next to useless. So, taking shots in poor light or at night is seldom an option unless your cell phone has a night mode or unless you can light your subject some other way. If your cell phone has a night shooting mode, use this and hold the phone very steady to shoot in the low light as the shot will take longer to capture and any movement will ruin it. On the other hand, the cell phone probably won't do so well in extremely bright sunlight either without some help. If your cell phone takes photos that are blown out in sunlight, see if you can adjust the exposure levels so the photos are darker and less blown out. If not, move around your subject to find the best place to shoot from – often moving around so the sun falls in a different place will be the difference between a well exposed shot and an average quality one.


As you probably won't have a zoom on your cell phone, you need to get up close – that means moving closer to the subject so it fills the viewfinder and then some. If you're used to having a lot of room around your subject's face, move closer so that their face totally fills the viewfinder. Don’t worry if you cut off a person's ear or part of their head as you do this, the photo will be all the better for doing so. If your cell phone shoots landscape mode photos, turn it on the side to shoot portrait or vice versa – the difference can have an impact on how much you fit into your shot.

Shooting right
When shooting with your cell phone, hold it steady – like any other camera the shot won't be in focus if you move. Forget taking a photo holding the cell phone with one hand out from your body, instead, hold it close to you and, where possible, with both hands or brace it against a fence, wall or tree. Just before you shoot, take a deep breath and hold it as you take the shot, then breathe out.
© Matthew Ludgate, istockphoto.com

When looking for things to capture, concentrate on fun and whimsical subjects and think of your photos as being a be a visual diary of your life. You can snap informational subjects like bus timetables and train routes, restaurant menus or a picture of the wine label of a bottle you like and want to buy again. Instead of sticky notes, capture a picture of the note so you have the information with you. Most cameras let you use an image as the wallpaper for the phone and you can use anything for this – fun to look at or practical to use – it's your choice.

When photographing small things that are close to the ground like pets and children, get in close – bend your knees, kneel or sit at the same level to capture the shot. The results will be more compelling when you do.

Many sites are popping up with tools and features to help you download your camera photos and do something with them. For example, Yahoo Flickr has a tool you can use to email photos direct from your camera phone. Sites like this overcome the problem with many phones of having to organise to be near a computer to download your images.


Always edit your photos where possible on your computer rather than using your phone's tools simply because the tools available on your computer are far more sophisticated than those on your phone. Some programs like the new Microsoft Digital Image Suite 2006 have special fixing tools for camera phone photos – this removes any colour cast and noise and adds some sharpening to make the image clearer.

If your phone offers a choice of quality for capturing your images, it's best, where possible, to choose the highest quality. Although you may not notice a difference in quality when viewing the photo on your phone, you will notice it if you're viewing it on a computer screen or if you capture a really nice shot that you want to print.


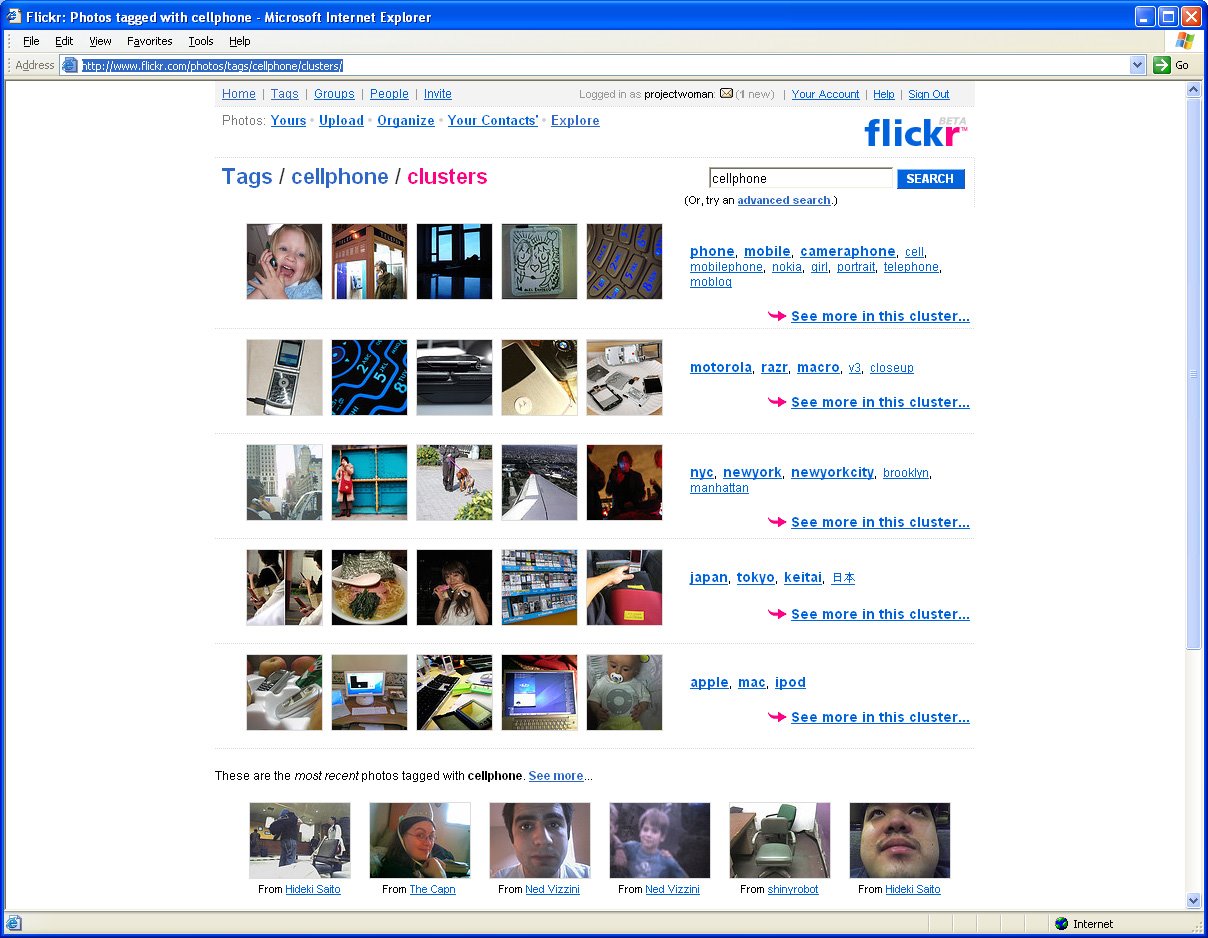
If you're interested in just what shots people are taking with their camera phones, visit this Flickr cell phone stream and check out the gallery there. You'll find a range of subjects and you just might be inspired to try some of them yourself.

Labels: , , ,

Friday, June 19, 2009

Photographing buildings


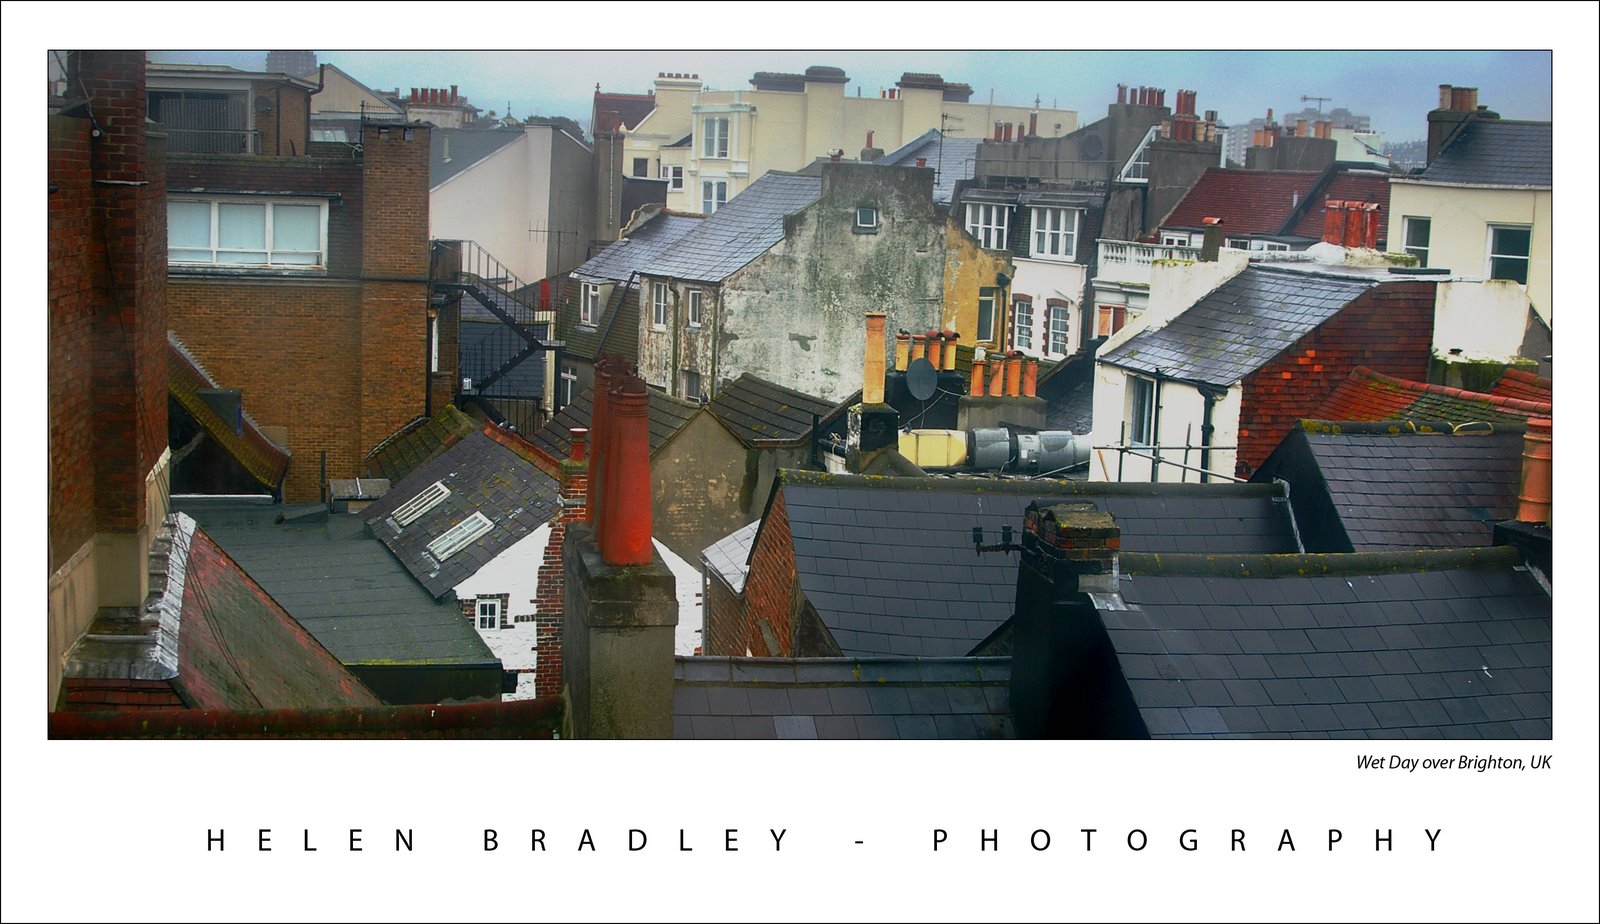
Buildings are a great subject for photographers. Buildings don't move and that's a big plus when you're starting out. They also reflect changes in light throughout the day so photograph a building in the early morning and return at midday and you'll have an entirely new perspective on it. However there are some tricks to composing good shots of buildings and the first step is to consider what you'll photograph.

When you're photographing a building there are a couple of possible approaches to take. One is to give the building some context by including elements around it in the photo so you get a feeling for where it is situated and how it relates to its environment. For example, when photographing a small old building in a big city – the image will look most compelling if you show the building dwarfed by the skyscrapers around it. Farm buildings can also look great when captured as small dots on a landscape of grass and trees – but they also look great close up if you fill the shot with their architectural details.

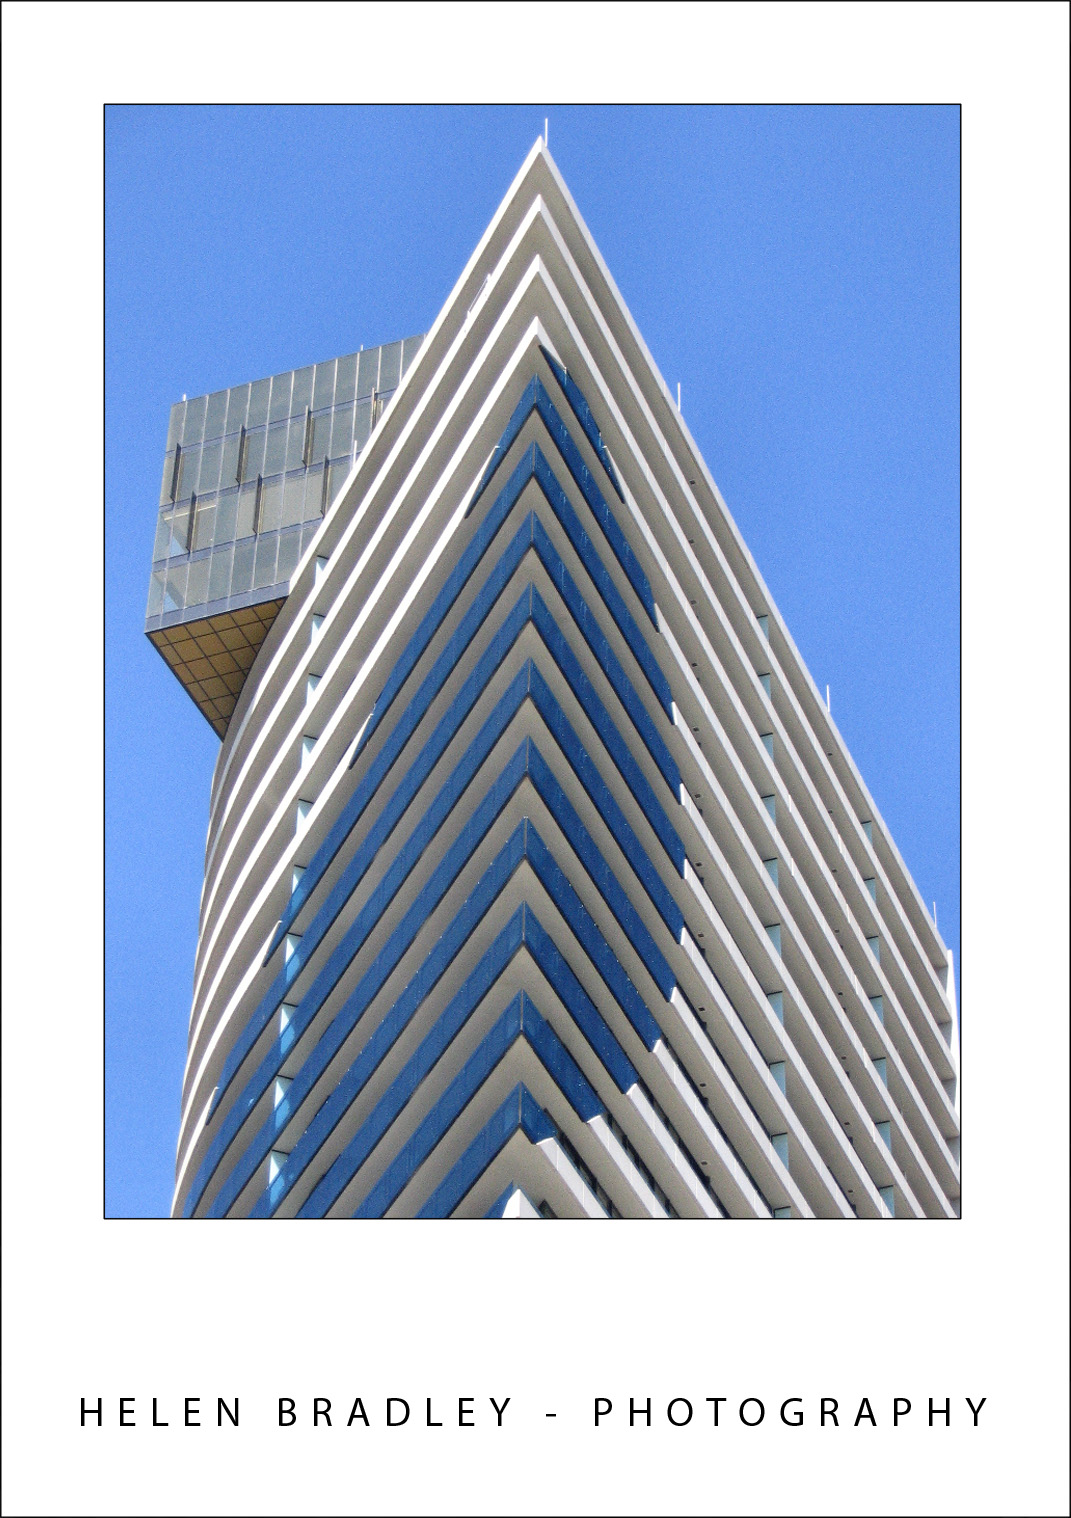
On the other hand, some buildings benefit from being closely cropped so they are the clear focus of the photo and so the viewer is invited to imagine the world beyond the edge of the image.

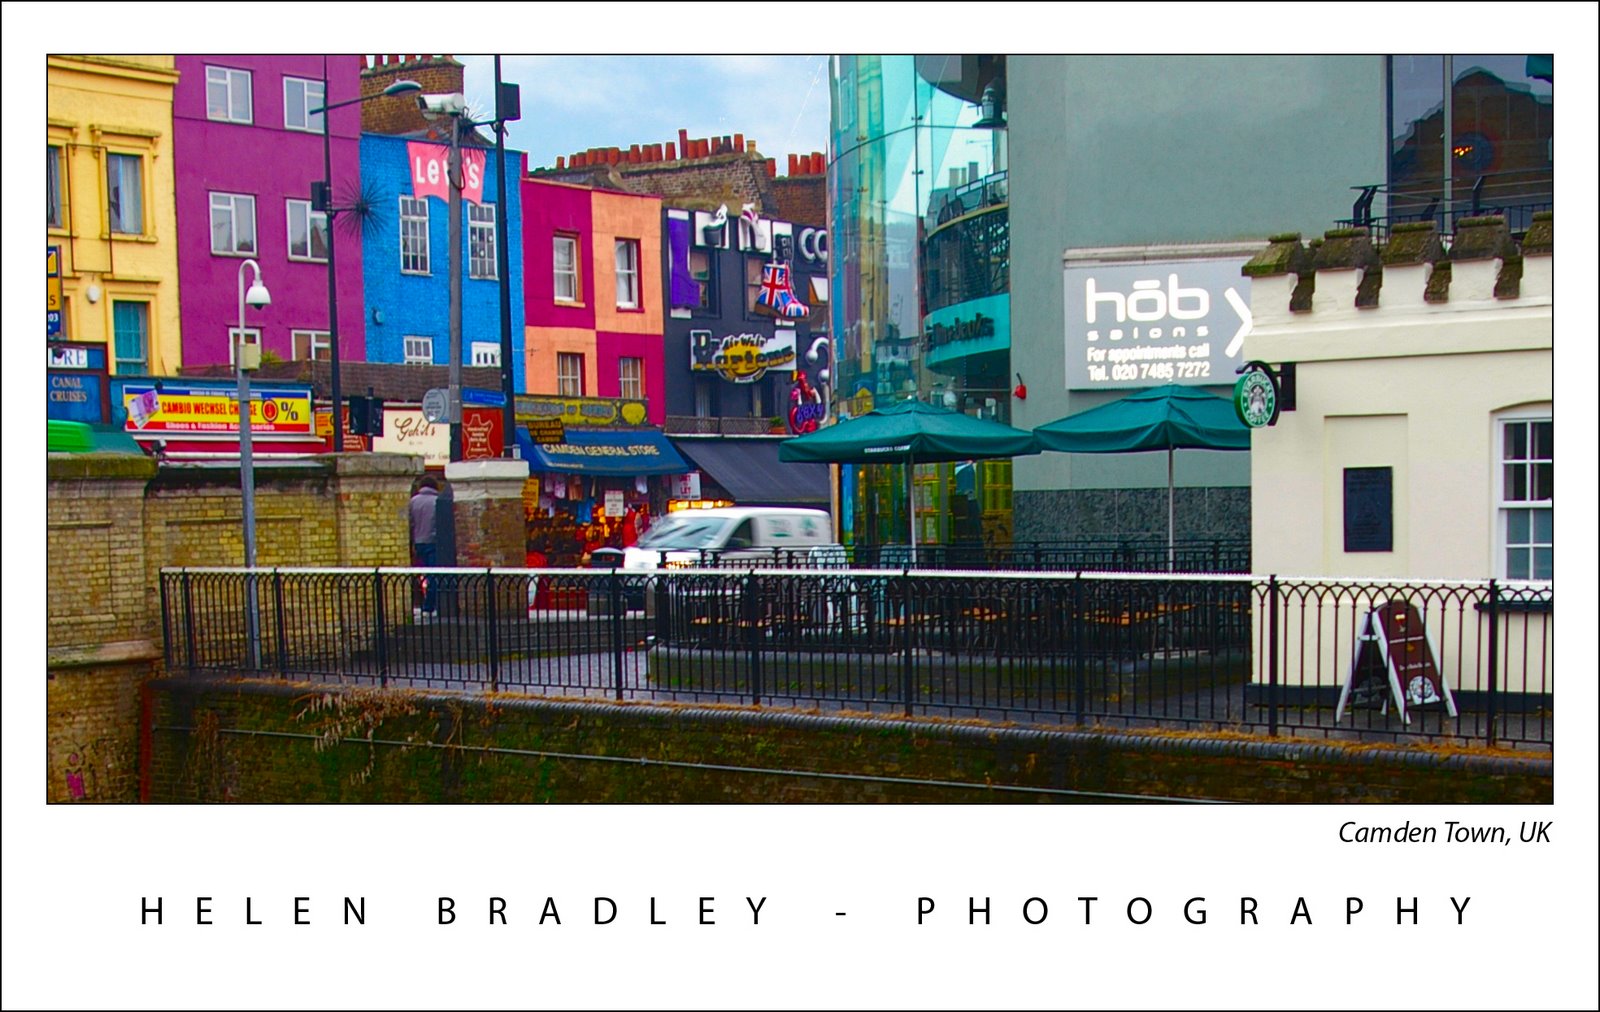
When you're photographing in the city, consider including pedestrians to give the photograph a sense of the busyness of the city. If you're in a foreign city then buildings with interesting colours and signage make for great photos and help to capture the essence of the country you're visiting. Look for colour in buildings too. Quite often you'll find a building painted a different colour to those around and the contrast between the bright saturated colour and dull grey makes for a great shot – but remember that you'll need to include some of the grey buildings for the coloured one to really pop.


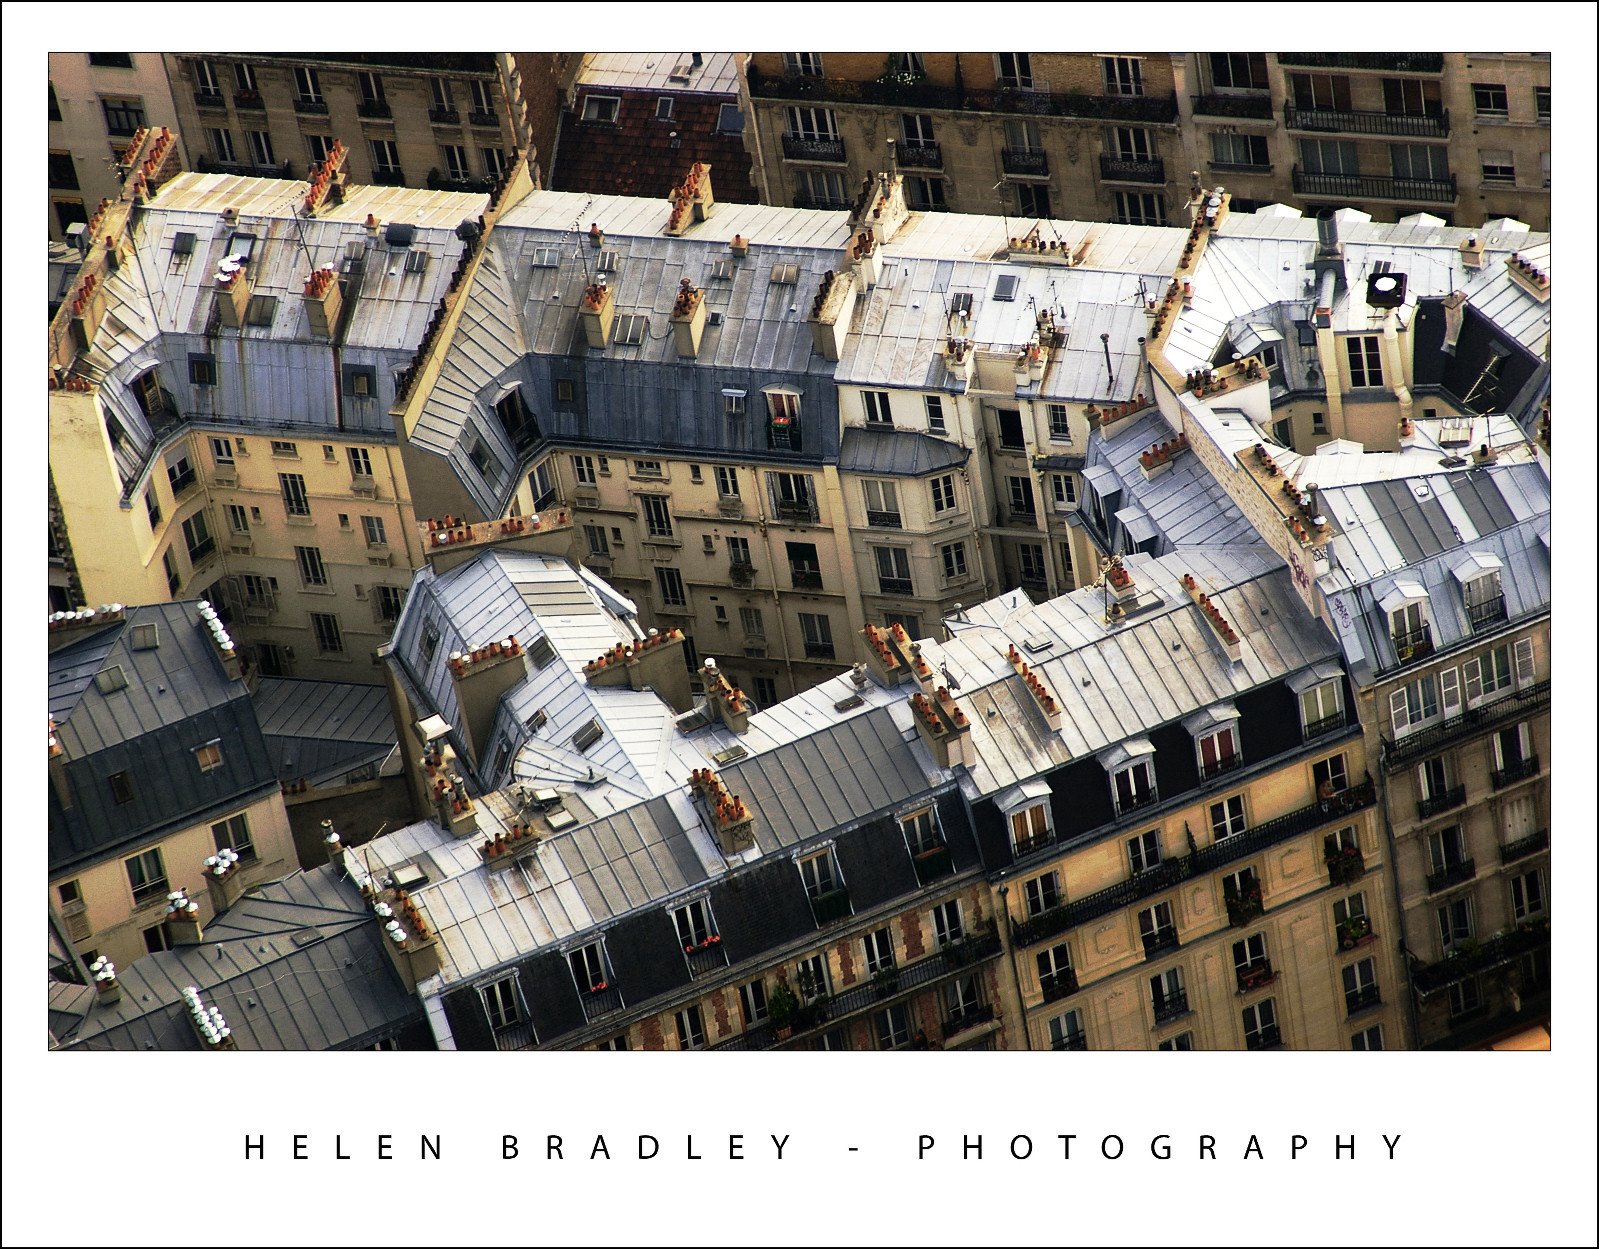
In some situations, it’s the small architectural details of the building that are most compelling. Features like small altars built into the walls or gargoyles make a wonderful shot. In other cases, look for repetitive elements such as a bank of same size windows or arches - while one arch is nice and two is ok, three or more creates a repetitive pattern which makes for a more interesting photo. If you can shoot it so the pattern starts close up and then recedes into the distance, all the better.

It is also possible to photograph a building through an arch, and when you do, you'll find the arch shape is nicely dark and in shadow, providing a simple frame for the building.


Other features that are great subjects for a photo are windows, doors and staircases. In the old part of many cities you'll find interesting old wooden doors and cute windows, in some cases you'll find that the inside of the building or a reflection in the window gives some interesting detail and context for the image. Staircases and paths draw the eye along the direction of movement and into the photo.

When photographing swimming pools such as at a hotel, either capture part of it framed in the landscape around it or get up high and photograph it from above. If you do this in the early morning before anyone is around you'll get a very different photo to the one you'll capture at midday in summer.

Bridges are also great to photograph - for these, either get far enough away to shoot the entire bridge, perhaps jammed with peak hour traffic or look for a different view. Perhaps a close up of an architectural detail or the city framed in its shape. As with all subjects, any building is best shot either early in the morning or late in the afternoon and not at midday. The exception to this is where there are some interesting weather details that throw a different colour or type of light and which will help add warmth and interest to the photo.

Night time opens up a world of possibilities as even the most ugly skyscraper takes on a magical glow as the sun goes down. The trick with night photography is to take long enough exposures so you capture the detail. Start by using a tripod and set it to night shooting and disable the flash (its range is only around 3 metres so it’s useless for long shots). If your camera allows you to take timed exposures, experiment with different timings. With a long exposure time, set a small aperture such as f/16 or f/22 to minimize overexposing the strongest lights in the scene. Alternately, use a shorter exposure with a larger aperture such as f/2 or f/3.5. When you combine a small aperture and a long exposure time, you will capture delicious streaks of light from car tail lights and the lights of city buildings will give the photo a great glow.

Some buildings or streetscapes are simply too wide to capture in a single shot. For these, put your camera on a tripod and capture a series of shots of the buildings from left to right overlapping each by about 20% so you can stitch these into a panorama later on. If your camera has a panorama function, use it to help line up the successive shots.

Photographs of buildings taken with digital cameras will often display perspective problems and the top of the buildings will be narrower than the bottom. This can be fixed in your graphics software later on but, when you're taking the shot, allow for this correction and capture some extra detail either side of the base of the building so you have plenty of image to work with when you're straightening the photo later on.

Labels: , , ,