Articles | Office Tips Blog | Photoshop Blog | about me | e-mail

Helen Bradley - Pro Photo Blog

ProPhoto is a photo site for every photographer. We help you understand what you need to know to take better photos and how to share and enjoy them.

Sunday, July 26, 2009

Cool Photo Apps #1


Not all good applications come in big shinny boxes like Photoshop and Photoshop Elements. Many cool photo apps are available on the web and they're free.

These apps do things that other programs don't. They are fun to use and practical. In this Cool Photo Apps series I'll show you some of these.

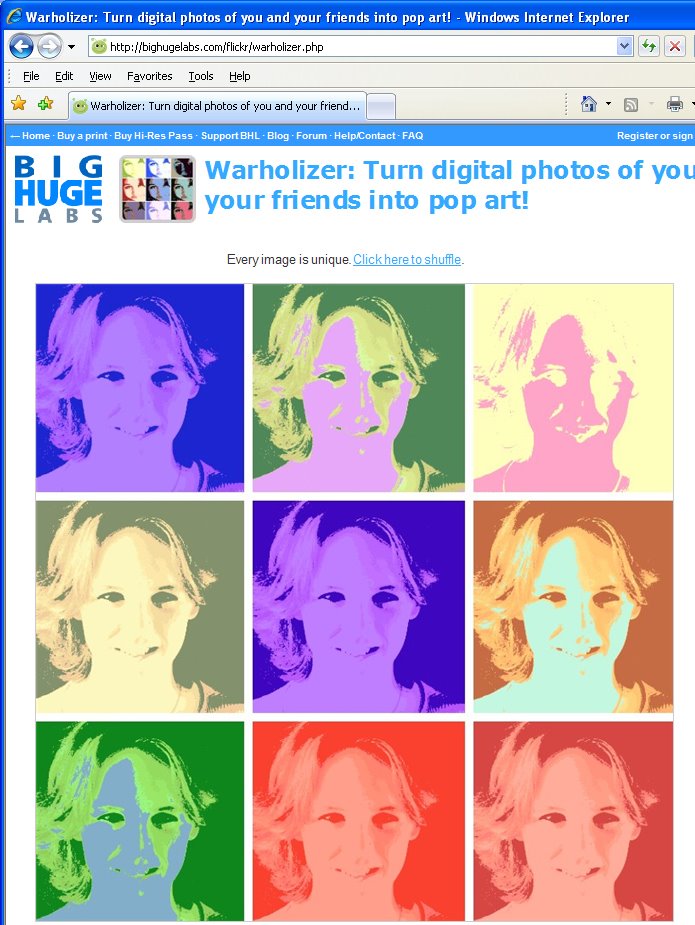
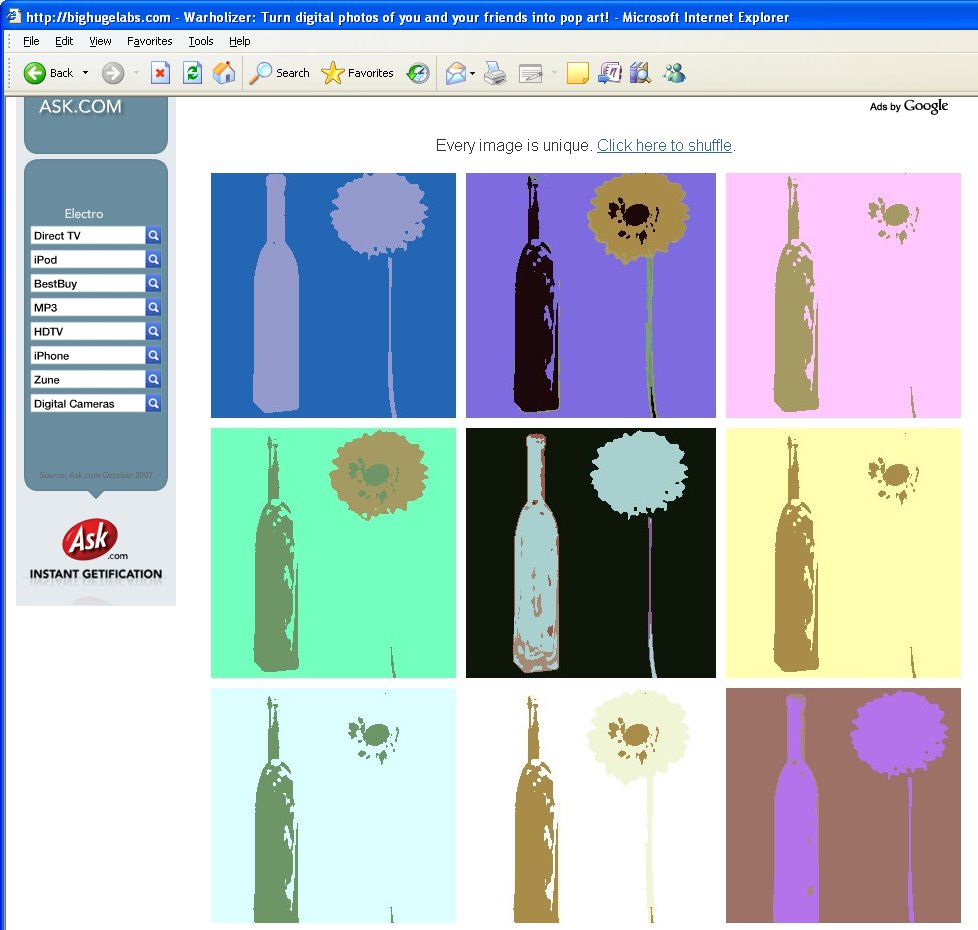
Let's start at the online site bighugelabs.com - it has lots of good niche applications and the one we'll look at today is the Warholizer. Find this at http://bighugelabs.com/flickr/warholizer.php. Here you can upload a photo and the site will create a series of nine mini Warhol like images from it.

If you don’t get great results, try increasing the contrast in your photo before you upload it to see if that gives you better results.

You can use the Warholizer with images you upload from those stored on your computer, you can grab pix from your Flickr or Photobucket account, or use an image located on the web by providing its URL.

Labels: , , ,

Wednesday, July 22, 2009

5 tips for taking Great Summer Photos

Summer is here and the warm weather brings with it good photographic opportunities. There are plenty of things to shoot and, if you're lucky, you'll be traveling to fabulous places, new and old, for your holidays. To ensure that your summer photos are all they promise to be, here are some summer photo shooting tips that will guarantee good photos even in the most challenging of conditions.

1 Warm your images


The harsh summer sunlight, particularly in the middle of the day, throws a bluish cast on your images which, in spite of the heat that you're shooting in, actually makes them look cold.

Luckily, you can easily warm them up and make them more inviting by changing your camera's settings. This works well for summer portraits and for landscapes too. To do this, set your camera’s white balance setting to Cloudy even though you are shooting in full sun.

The cloudy setting compensates for the blue-green cast of filtered sunlight and gives your images an instant subtle pink/orange cast which is more attractive and inviting.

2 Summertime is flash time


Although it sounds counterintuitive and you would think that in the bright summer sunlight the last thing you need is your camera’s flash, in fact it is the first thing to know how to set properly.

Your camera’s flash will not fire on a bright sunny day if you are shooting something which is lit behind by a strong backlight, for example a person at the beach. Your subject will be thrown into deep shadow unless you use the camera’s flash.

The camera's flash provides a fill light which lights your subject without affecting the background which is too far away to be affected.

To use the flash to provide fill light for your subject you must set it so it is forced to fire. Use this forced flash too if you're sitting in a shady position with a light behind your subject such as sitting under an umbrella. Without the flash you’ll get harsh shadows and with the flash you’ll get a much more attractive portrait.

3 Crisp blue skies


When everything is very bright around you, the camera has a lot of trouble capturing the full amount of tonal detail in the scene. Quite often you will find that what was a bright crisp blue sky looks anything but that color when you get the photographs home.

If you are using a digital SLR camera invest in a polarizing filter for shooting in bright sunny conditions. The polarizing filter filters our reflected light so the camera captures only light coming directly into the lens. The result is that your colors will look more saturated and brighter.

The polarizing filter must be adjusted for the best results so, when you look at it, check for a small mark on it indicating its start position. Twist the filter a small distance to the left or right to fine tune the effect of the filter until you get a look that you want.

4 Photographing at the beach


If you’re sunning yourself on the beach this summer you will have plenty of opportunities for capturing great photos. Use your camera’s macro setting to capture small details in the shells washed up along the shoreline.

If you are clambering through rock pools a polarizing filter will let you capture the details in the bottom of the rock pool by minimizing the reflections bouncing back off the surface of the water.

If you are looking for a challenge, feeding gulls will give you practice at capturing images of birds in flight. Set your camera to a fast shutter speed and follow the movement of the bird with the camera to get best results. So the bird does not fly out of the frame, reduce the zoom on the camera so you capture the full bird rather than risk losing a wing tip for example because the bird has moved. You can always crop the image later on to get in closer.

5 Shooting in tourist locations


If you’re off to popular tourist destinations for your summer holidays you’ll get plenty of photographic opportunities. You’ll also come up against the problem of capturing both the monument and the person in front of it both in focus.

If you're using a digital SLR, set the aperture to a value around f16 or f22. This ensures that everything in the image will be in focus. On the other hand if you want the person to be in focus and the monument attractively out of focus, set the aperture to around f2.8 or f3.6. Make sure to focus on the person and use the camera flash to light their face. With a large aperture like this you will get a small depth of field around the subject with everything else in the image thrown out of focus.

Whenever you want to capture a very large object like a monument and a person in front of the monument, you run the risk of capturing the monument at a good size and the person will be so small as to be almost unrecognizable in front of it. There are a couple of ways to avoid this happening. One is to bring the subject very close to the camera so that you get both at good size in the image. The other is to take more than one photo.

Capture the monument at full size and then place your subject closer to the monument in front of an area which has interesting detail in it. Take the second image this time focusing on the portrait aspect and using the monument details as a pleasing background.

Labels: , , , , ,

Monday, July 13, 2009

Summer - 10 cool photo ideas

It's summer time and if you’re a creative photographer you might be wondering just what to shoot. Look no further, here are some cool ideas for topics for summer photography:

1 Perfect Sunsets
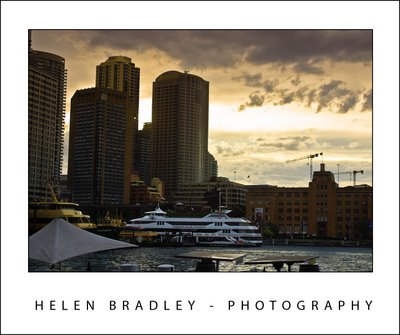

The optimal shooting time in summer is in the early morning and the early evening at sunrise and sunset. At these times of the day the light is much softer and it has a pleasant color cast to it which will warm the image.

To take advantage of these light conditions set your camera’s white balance setting to full sun - do not allow it to sit on Auto White Balance or the camera will remove the beauty of the color of sunset when it attempts to neutralize the color cast in the image. Setting the camera to full sun which doesn't have a color cast means the camera won't adjust the image so you'll get great sunsets and sunrises.

2 Water reflections
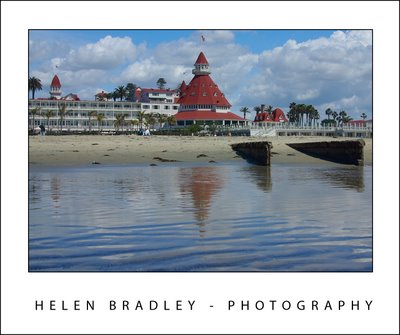

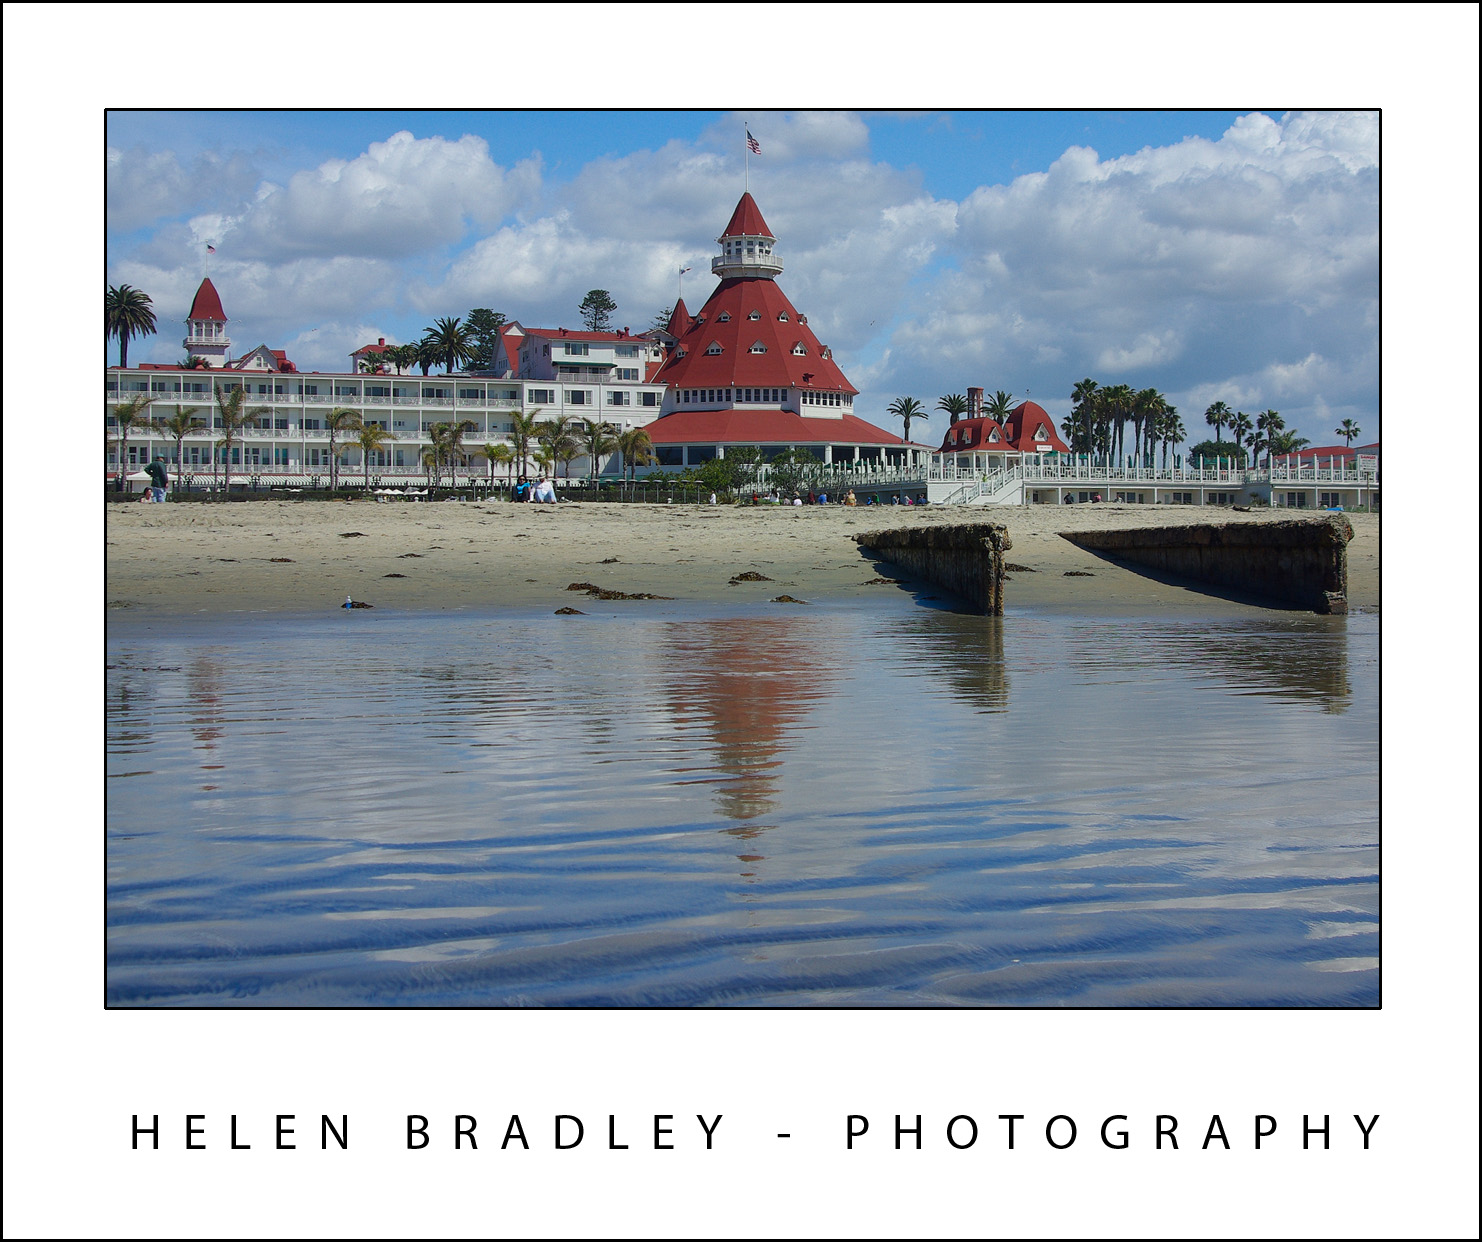
Some of the best summer photos can be captured by looking down rather than across a scene. The reflection in the water as it washes over sand can give spectacular and unexpected results. Even objects set well back from the water can be caught reflecting in it.

If it is safe to do so, position yourself where the waves break over the sand facing back up the beach – make sure you have a good stretch of wet sand in front of you and check to see what reflections you can capture.

3 Capture running water
When you are shooting running water such as a fountain or a waterfall you have a couple of options for capturing the water. If you use a fast shutter speed you can freeze the action. You do this by adjusting the manual settings on your camera using the shutter priority setting (indicated by a T or TV setting). Set the shutter speed to a fast setting such as 1/250 or 1/500 of a second to freeze the action. When you do, you will see water drops in the fountain or waterfall.

On the other hand if you use a slow shutter speed – for example, 1/10 of a second or less you will get a silky even flow in the water. The slower the shutter speed the more silky the effect will be as the camera will capture the movement rather than freezing the action.

Experiment with different shutter speeds to get different results. Be aware that slow shutter speeds will require you to use a tripod to steady the camera. As a rule of thumb, the slowest speed you should handhold a camera at is 1/focal length of your lens so, for a 200mm lens anything slower than 1/200 second should be captured with a tripod.

4 Fairground fun
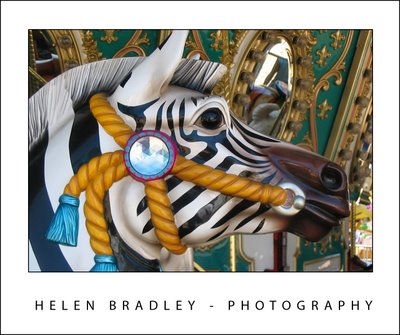

Summer is a great time for county and state fairs. Even if you’re not someone who rides the rides you can still capture all the color and fun of the fair. Look for creative opportunities such as capturing the Ferris wheel at night using a small aperture such as f8 and a long exposure will let you pick up the light trails in the Ferris wheel as it turns.

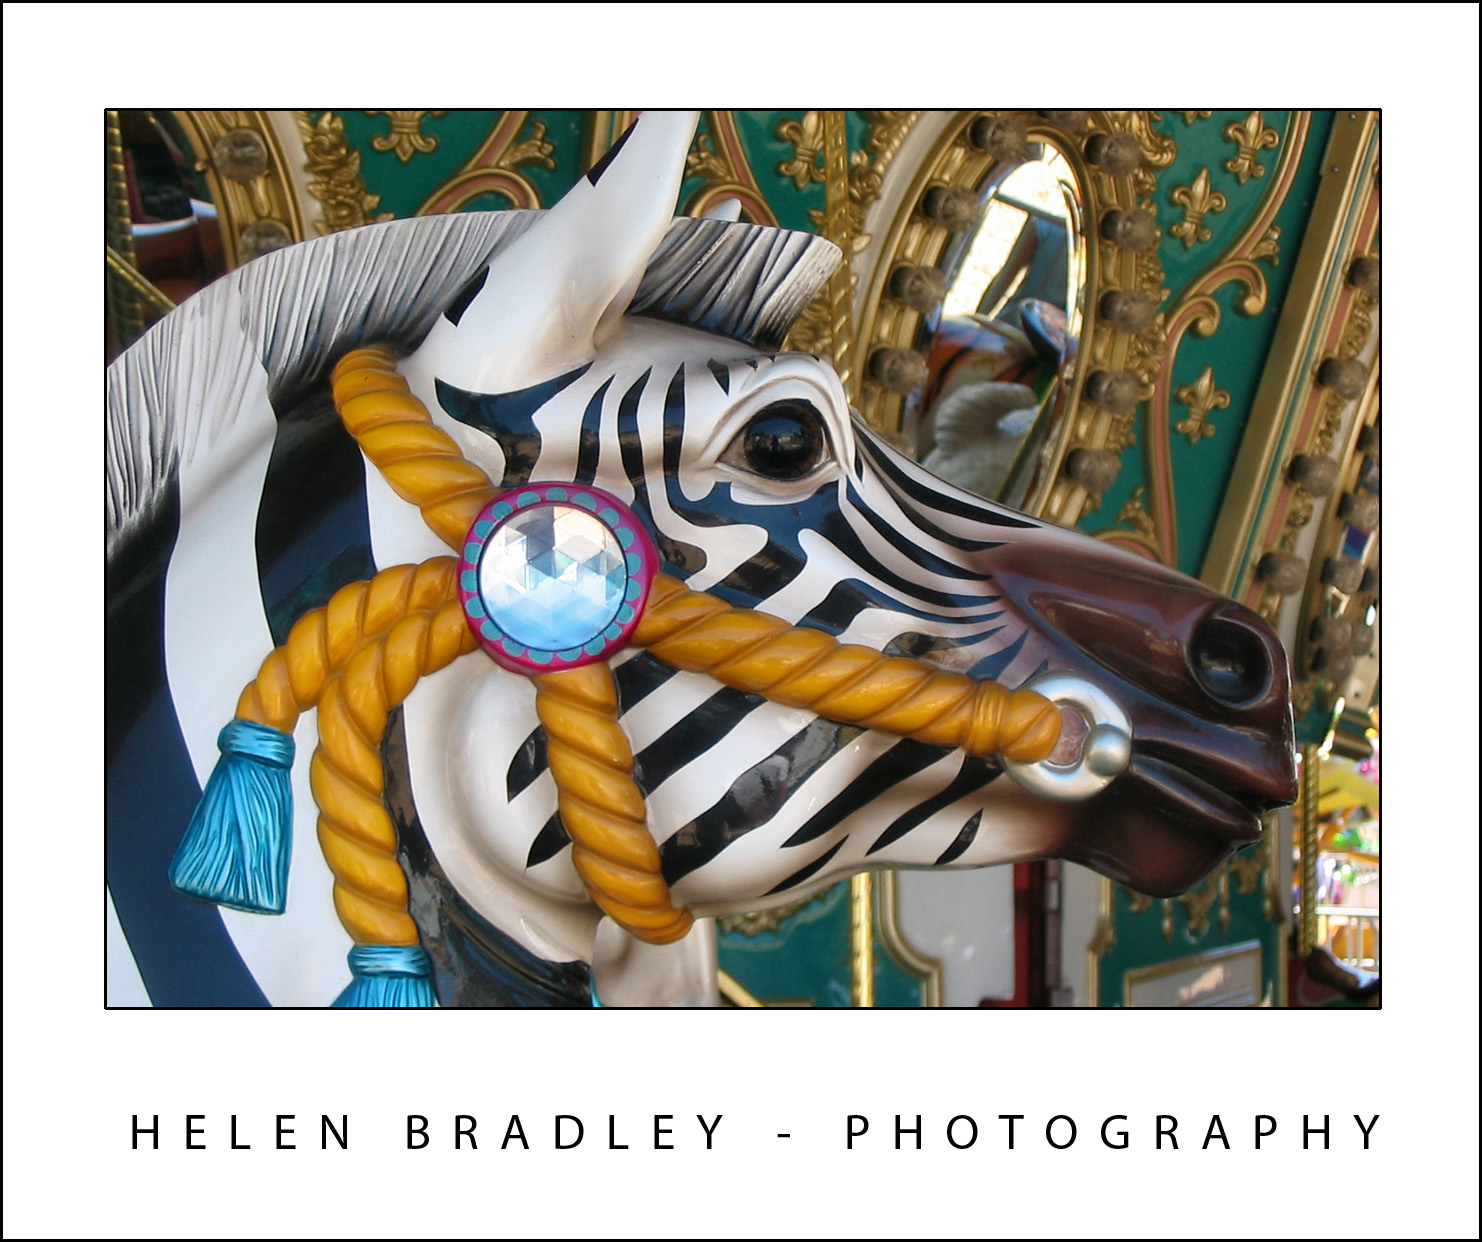
The carousel is also a good place to capture some stunning close up images. If the kids are riding fast rides use your motion capture skills and a fast shutter speed and move the camera with the movement of the ride to capture the kids clearly and blur the background attractively.

5 Fireworks
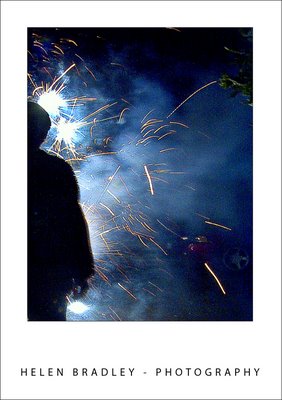

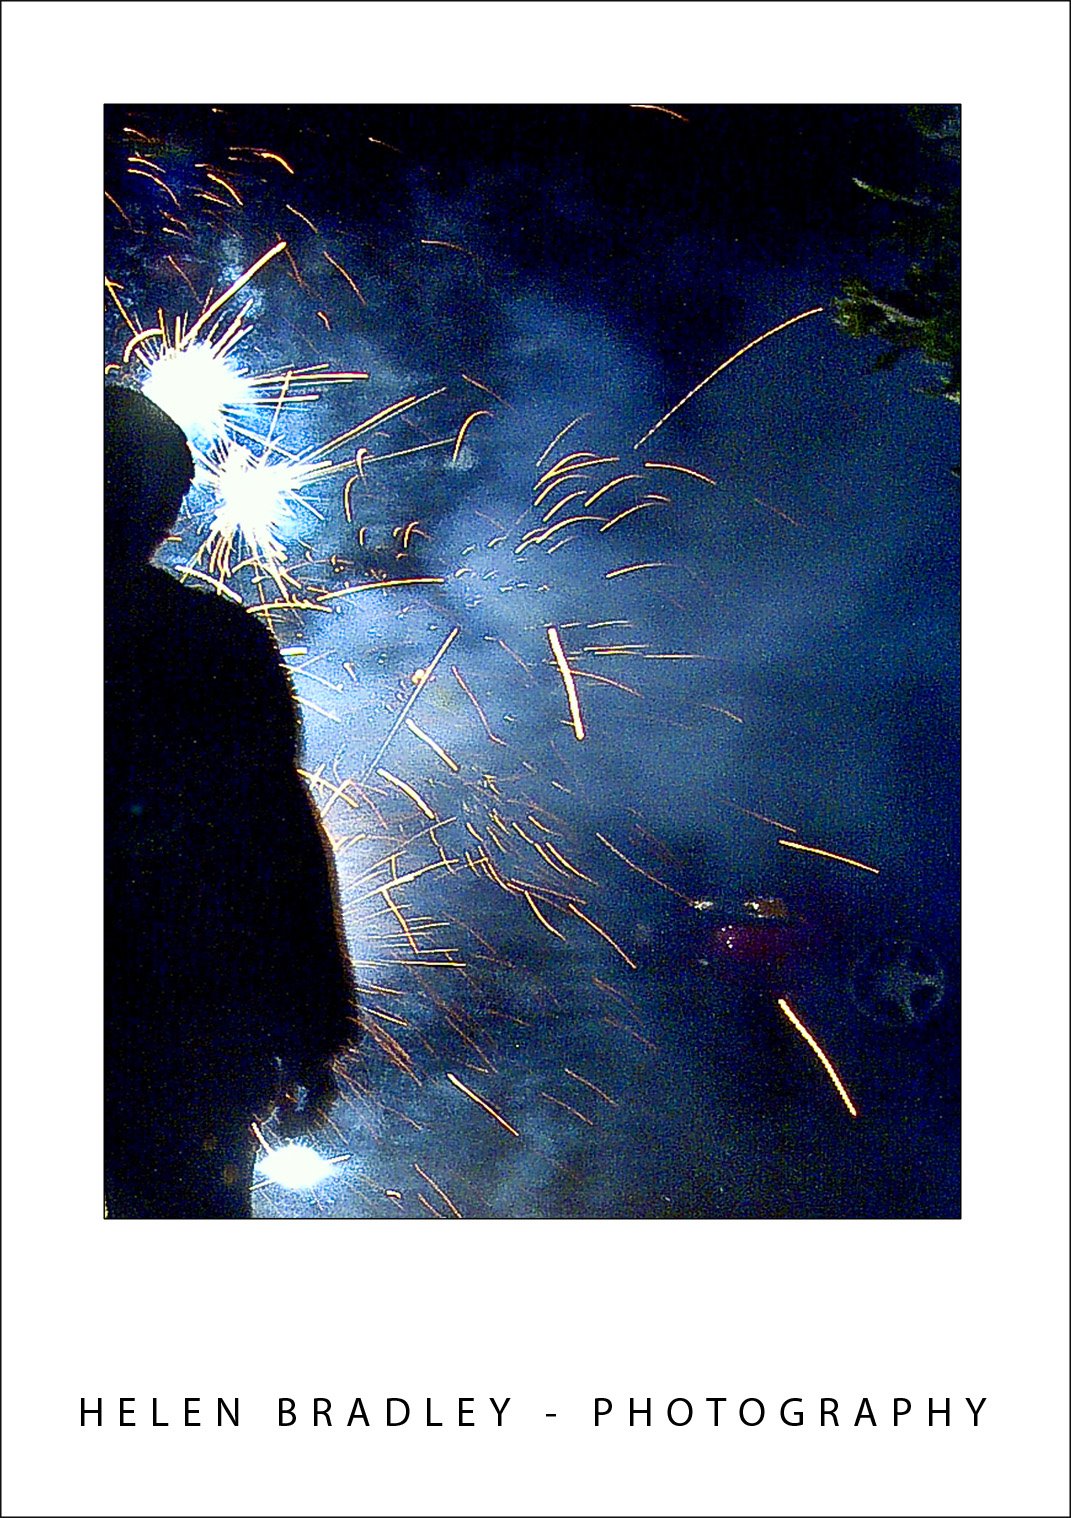
Summer and July the 4th are synonymous with firework displays. To capture fireworks you will need to turn off the camera’s flash and set it to a long exposure. Set the camera on a tripod and out of the way of bright local lights which will ruin the effect because they will provide light at the expense of the fireworks themselves. Set the aperture to a value of f8 or f16 and experiment with different exposure times to find something that gives you a sky full of fireworks color.

6 Nighttime lights
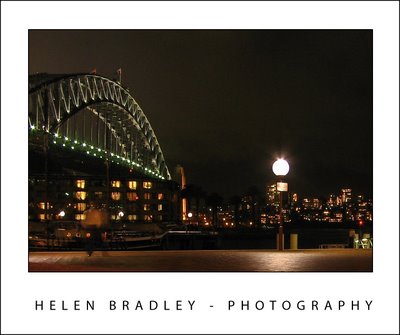

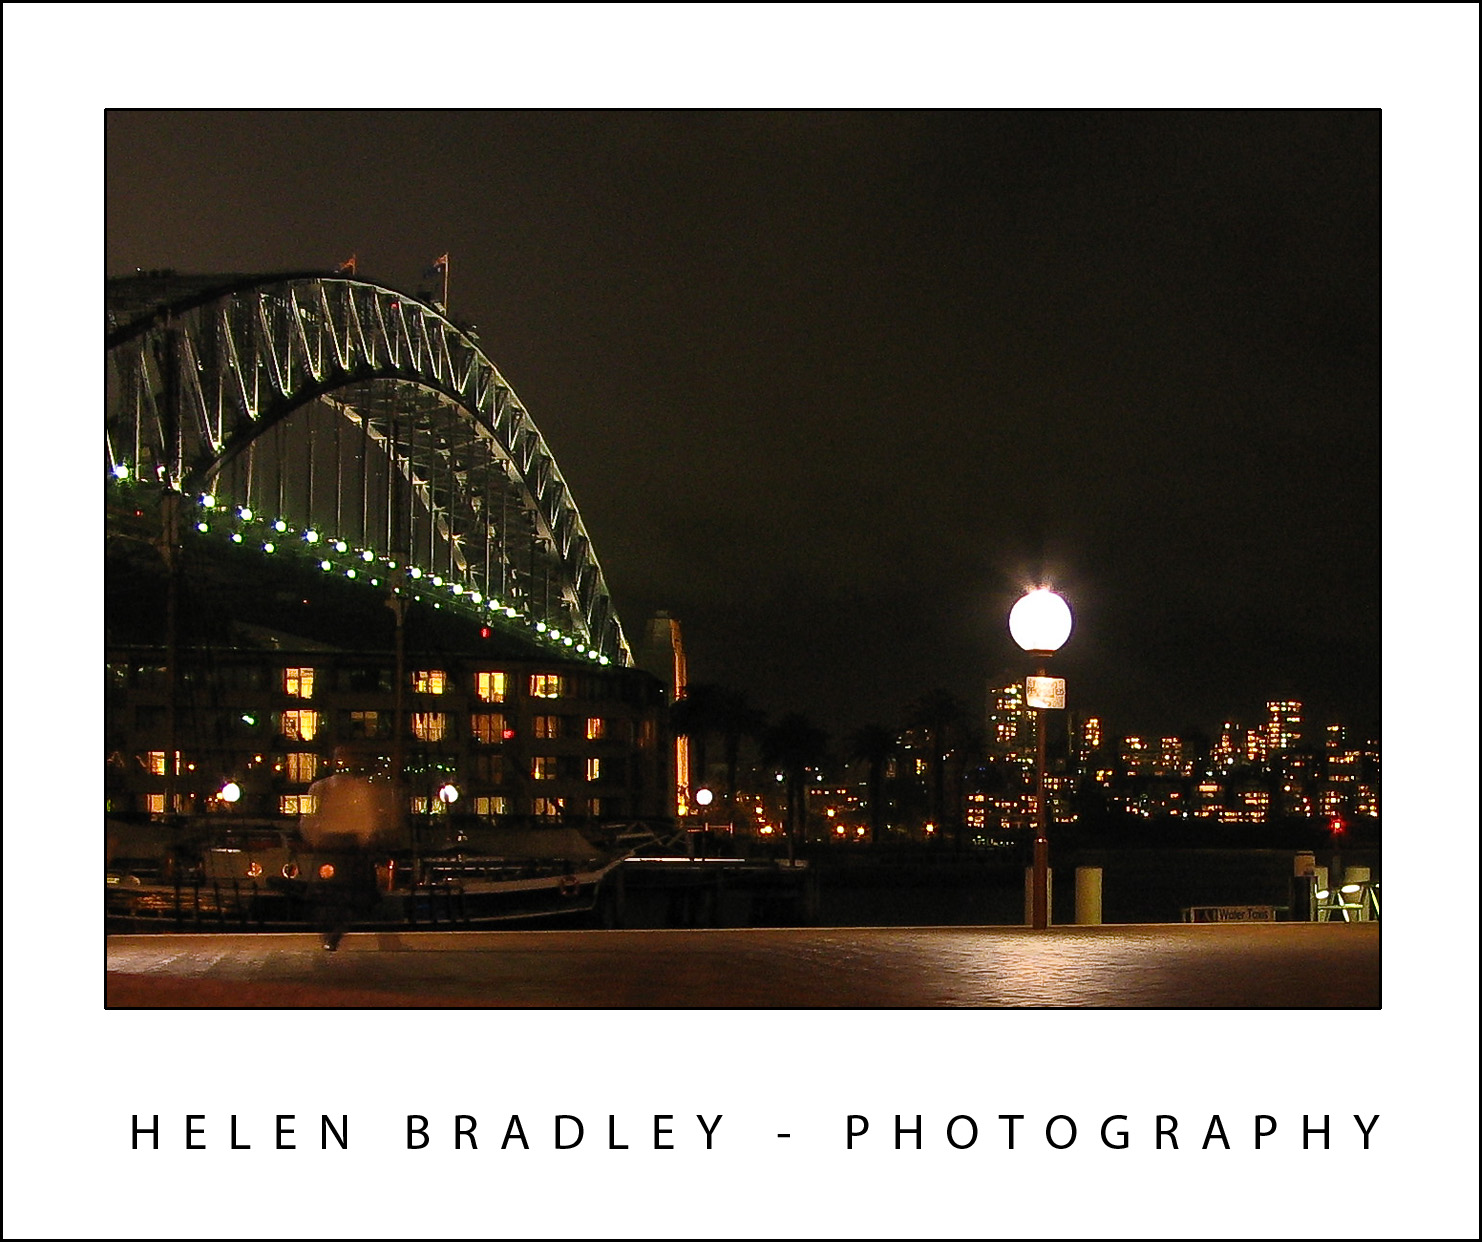
Good weather is a good excuse for getting out in the evenings and carrying your camera is a must do. With the light lasting until quite late in the evening you have good opportunities for capturing a mix of nighttime lights and activity. Set the camera on a tripod and use the flash curtain settings and a long exposure to capture the background night lights with the flash lighting the subject close to the camera.

Most cameras let you set the flash curtain so it either goes off when the shutter opens or just before it closes. Depending on the effect you want to create, you can place a subject close to the camera and light them with the flash. Because the shutter remains open, you will then capture the detail in the lighted scene behind them which would otherwise be black. This way you can capture two different types of images at the one time.

7 Window seat


When you’re flying across country and if you have a choice of seats make sure to get a window seat on the side of the plane that is not looking directly into the sun. This way you can capture images from the airplane window. Avoid using the polarizing filter on your camera in these circumstances or you’ll get funny rainbow colored reflections on your images. Everything from a summer thunderstorm to patterns in the landscape make for wonderful photo opportunities.

8 Build your sky portfolio
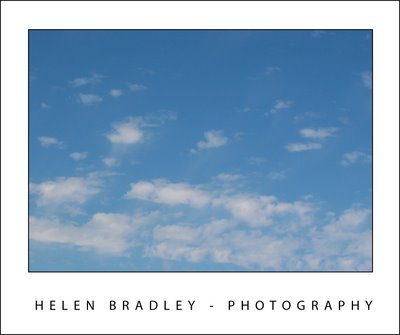

The photos you shot in fall, winter and in inclement weather typically lack the crisp blue skies you see in summer. Summer, therefore is a great time to capture great skies to add to your skies portfolio. Then they'll be ready for you to use later in the year to replace the poorer skies in your other photos.

To build your skies collection, take time every time you're shooting to look up at the sky. When you see an interesting sky whether it be a crisp blue sky or one peppered with clouds, photograph it and store these images in a special skies folder. Later in the year when the skies are lackluster use these skies as replacements so you can produce photos with wonderful skies all year round.

9 Capture silhouettes
Summer is a great time to capture silhouettes because of the very bright light and long twilights. The essence of a silhouette is placing your subject in front of a bright sky or a sunset or sunrise. You'll want your subject to be in deep shadow with the rest of the image properly exposed. This is one time you’ll turn your camera’s flash off so it does not fire.

With the subject between the light source and the camera, take the shot and check to see if you've got a good silhouette or if the subject is still too well lit. If the subject is too light, use the camera's exposure compensation to underexpose the shot by setting it to a negative value. Reducing it to even as little as -0.5 will be sufficient to get a darker silhouette and still have the sky nicely exposed. Good subjects for silhouettes include palm trees in front of sunsets, striking elements such as a person's profile in silhouette and even masses of electric light wires can make for an interesting image.

10 Capturing harsh light
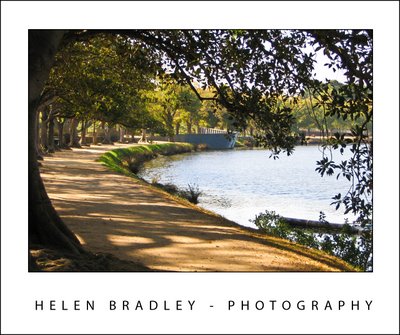

One of the downsides of shooting in summer is the harshness of the light. Because the sun is in the same hemisphere and overhead the light is very crisp and very bright. Shooting at midday is fraught with difficulties because you'll get areas which are very bright and some which are in deep shadow.

On the flipside, this is a good opportunity to capture images which make the most of the mix of light and shadow. Instead of looking at the scene itself, look for the play of light and shadow and for interesting shapes and patterns in the shadows cast by objects such as trees. It's a great time of the year to capture creative images which showcase the harshness of the light.

Labels: , , , , , , , , , ,

Monday, July 6, 2009

Big Occasion Photography


When you are a deft hand at taking photographs you'll find that you're asked to help out or be the main photographer at big occasions. If you're helping out, you can focus on taking candid shots leaving the professional photographer to take the rest. If you're "it" then you have a big job ahead. So, when you’re about to photograph group of people at an occasion such as a wedding, birthday party, graduation, or retirement party, here are some ways to ensure a successful assignment.

Know Your Place
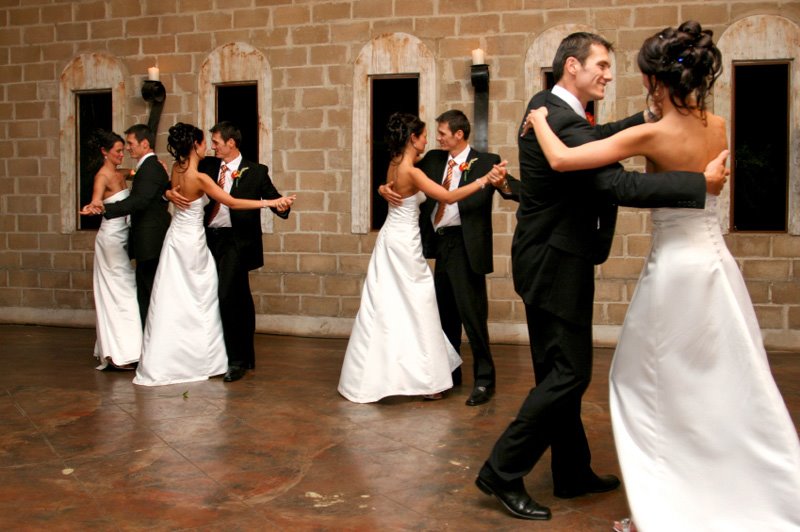
At a wedding where there is a professional photographer already employed, leave the photographer to take the big shots of the bride, bridal party, and key guests and concentrate on everyone else. At key events during the ceremony such as the cutting of the cake and the bridal waltz, use your camera to capture the reactions of the other guests to what is going on.

At the reception, concentrate on taking candid shots of guests and casually composed shots of groups of guests interacting with each other. Ask small groups of people to take a minute or two to organize themselves into a close huddle in front of a mutual or some other attractive background. Take two or three photographs, first warning them that you intend to do so. Don’t hesitate to ask people to stop and pose for you, you'll find that, with a little extra care, you'll get much better quality shots of the guests and your photos will complement the more formal photographs taken by the professional photographer.

When You Are It
When you are the key photographer for an occasion when there are lots of people involved, your key responsibilities will be to get a mix of group and individual shots and some photos that set the overall scene for the occasion. Organize larger groups by having everyone line up in two or three lines with the front row seated and, if necessary, a group seated on the floor at their feet. Again, warn everyone that you intend to take a number of photos so that everyone is well prepared. Frame the shot carefully, ensuring you don't leave out the people at either ends of the group and making sure you don't chop off the heads of the people in the back row.

Where very small children are involved, encourage the parents to hold the children on their knees to keep them steady for the photograph. If the occasion is a birthday party or, for example, a retirement party, take one or two photos with everyone else looking at the guest of honour. Don't forget to take a photo of any special food or gifts like a retirement plaque or the birthday cake. If it is a child's party, take some photos of the decorations and the table so the child, in the years to come, can recall what their party was like.

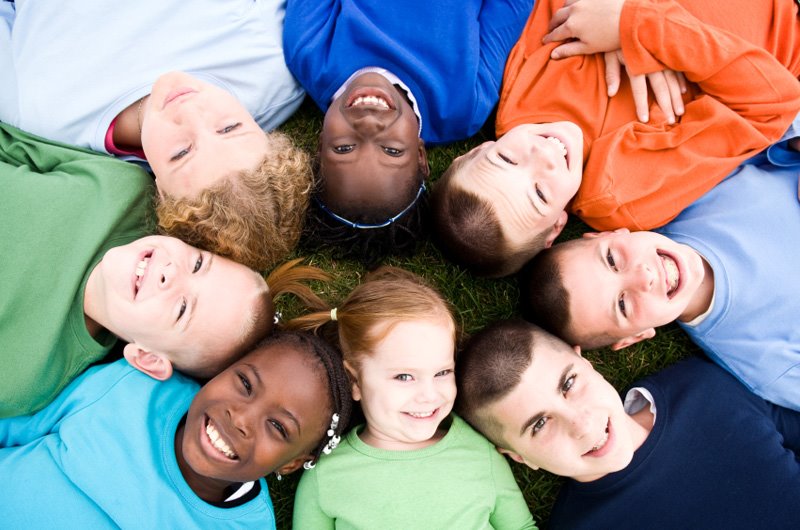
© AngelIce, istockphoto.com

In addition to the main group photos, work around the occasion asking smaller groups of people to pose for you. If you are knowledgeable about who’s who in the guest list, you can encourage partners and close friends to pose for a photograph together making the finished spread of photographs a more attractive collection not only for the people who were at the event but also the guest of honour. Often occasions like birthdays and weddings are times for families that rarely see each other to come together so look out for opportunities to capture family groups and photos of multiple generations.


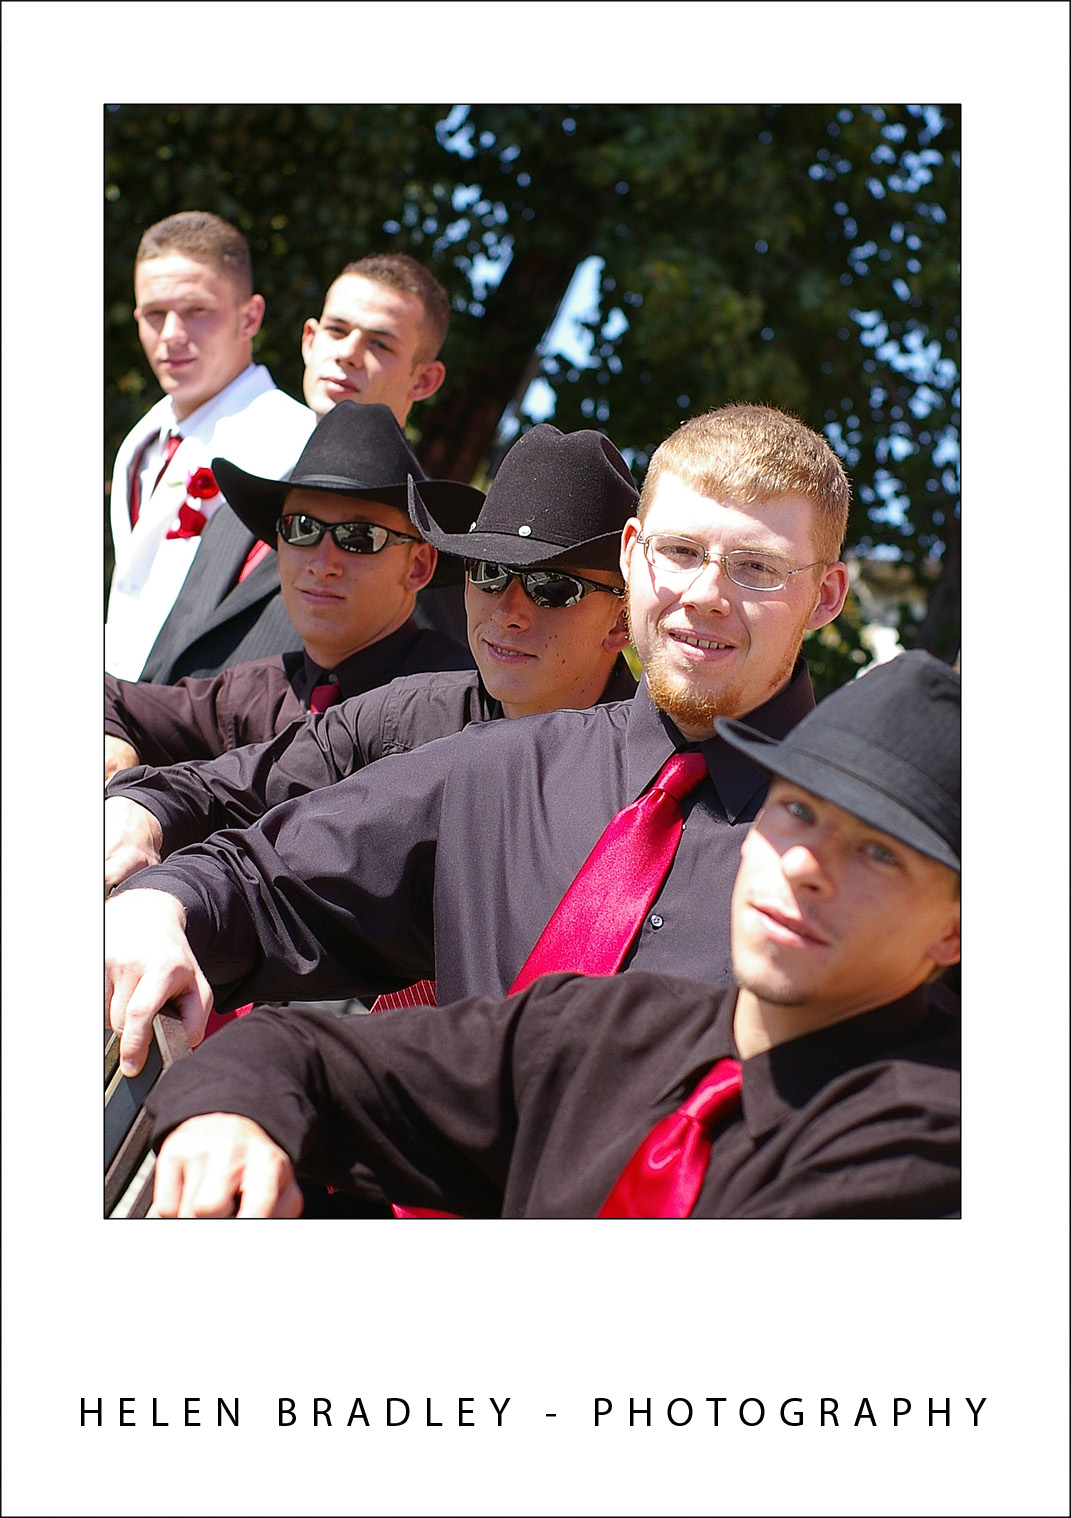
Image © Rosemarie Gearhart, istockphoto.com

When you're organizing people to pose for you, ask them to stand close together and, where appropriate, to put their arms around each other or interact in some way. The warmth of the composition will show through in the final photograph. When posing two people, have them stand side-by-side and arrange three people into a loose triangle for ore visual interest.

Know Your Equipment
Before embarking on any project involving groups of people at an occasion that is unlikely to be repeated, make sure that you know and understand your equipment. Practice taking photographs indoors if that is where you will be taking them or out of doors in the full sun if that's where the party will be. Pack your supplies carefully ensuring that you have a camera card with plenty of space available on it, a backup card, backup batteries, a tripod, and everything you need to take great photos.

Having an assistant or a volunteer to assist you in getting everyone organized will let you focus on composing the photograph and getting a good shot without needing to manage a large group of people at the same time.

When you're done, download all the photos to your computer and burn them onto a series of CDs. If you hand a bunch of CDs to the party organizer or guest of honour, everyone who wants one can have one. You'll find it easier and cheaper to burn a few disks than print mountains of photos for everyone.

Labels: , , , ,