Articles | Office Tips Blog | Photoshop Blog | about me | e-mail

Helen Bradley - Pro Photo Blog

ProPhoto is a photo site for every photographer. We help you understand what you need to know to take better photos and how to share and enjoy them.

Friday, August 28, 2009

Cool Photo Apps #6 Create HDR images

Not all good applications come in big shinny boxes like Photoshop and Photoshop Elements. Many cool photo apps are available on the web and they're free.

These apps do things that other programs don't. They are fun to use and practical. In this Cool Photo Apps series I'll show you some of these, today it will be how to create an HDR image.

Once of the limitations of digital cameras is that they are only capable of capturing an image with a fairly narrow dynamic range. You can, however, create images that have a higher dynamic range if you take a series of images at different exposures and combine them by selecting the best exposed pieces of each.

To do this, ideally, you need images shot using a tripod so there is no movement between images. In addition, the camera settings should not change from one image to the next – except, of course for the exposure settings.

While you can assemble the series of images manually, good software makes it much easier to do. Programs such as PhotoImpact and Photoshop have built-in tools to do this but you can also purchase standalone programs to do the work.

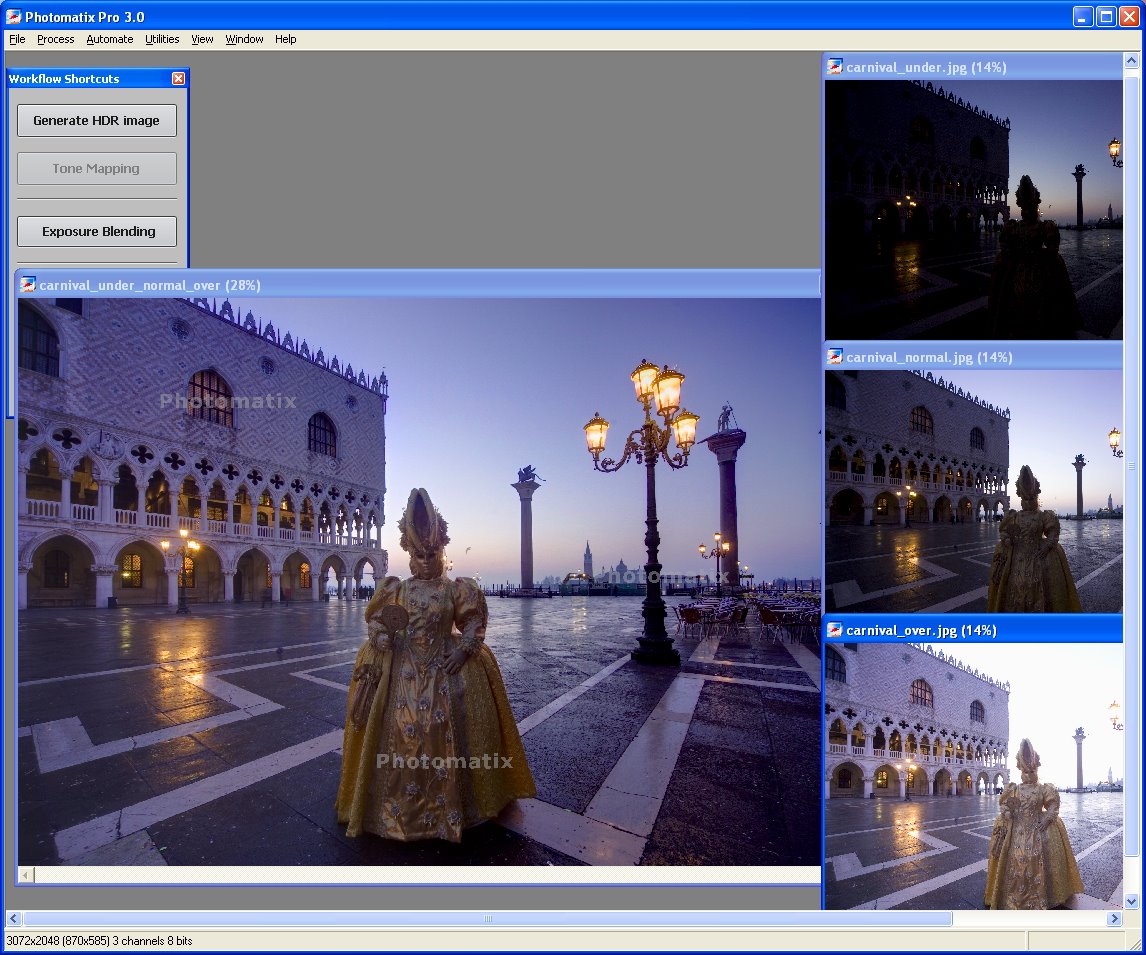
One specialty program is Photomatrix Pro 3 which you can find it at www.hdrsoft.com. Download and install the trial version and, if you don't yet have suitable images to work with, download a set of sample images at the same time and unzip them.

Step 1
Launch Photomatrix, select Exposure Blending > Browse and load the images shot with different exposures.

Step 2
When the Exposure Blending dialog appears you will see the composite image appear and you can select fine tuning options such as Average, Highlights & Shadows - Auto, Highlights & Shadows – Adjust etc.. Select and compare the various options and adjust the sliders until you find a result you like.

Step 3
Once you're done, click Process and the images will be compiled into a final HDR image.

Step 4
The program also includes a Generate HDR Image option which involves a more complex process than Exposure Blending.

Labels: , , , ,

Wednesday, August 26, 2009

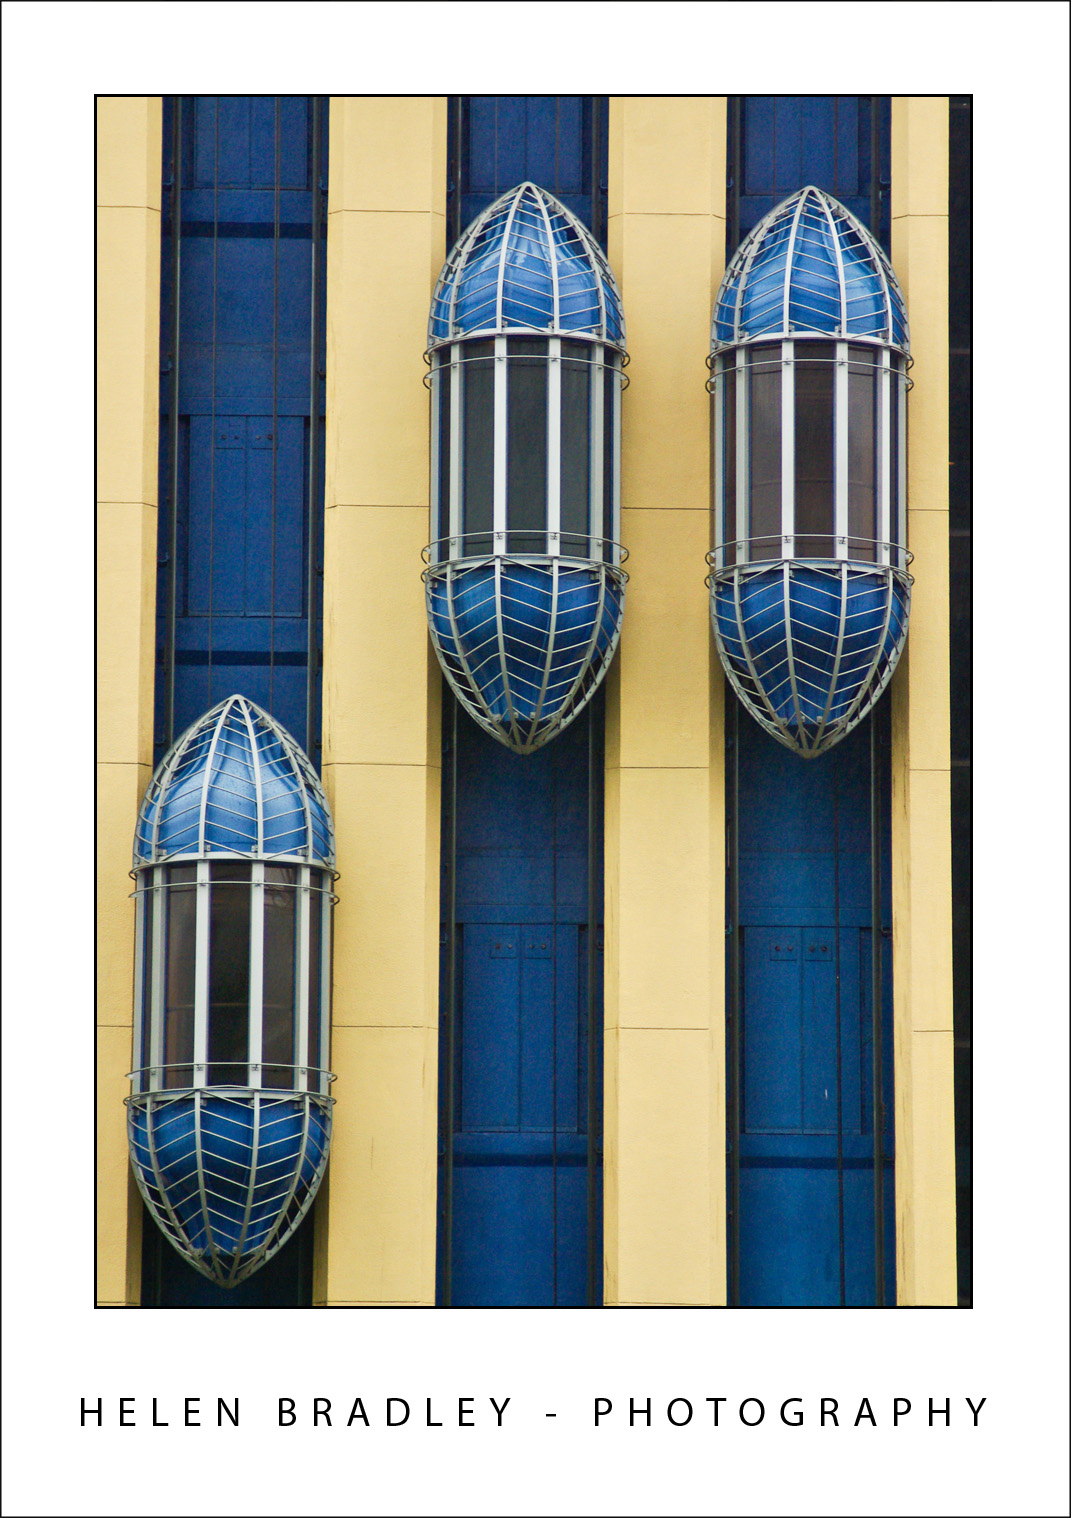
Better Travel Photography #3 - Repetition - over and over again

Do your travel photographs look just like everyone else’s?

If you wonder why you lug your digital SLR half way around the world and still come home with postcard images, it's time to revisit the way you photograph your travels. Here is part 3 in my new series of Better Travel Photography - a guide to getting great travel photos that don't look like everyone else's..

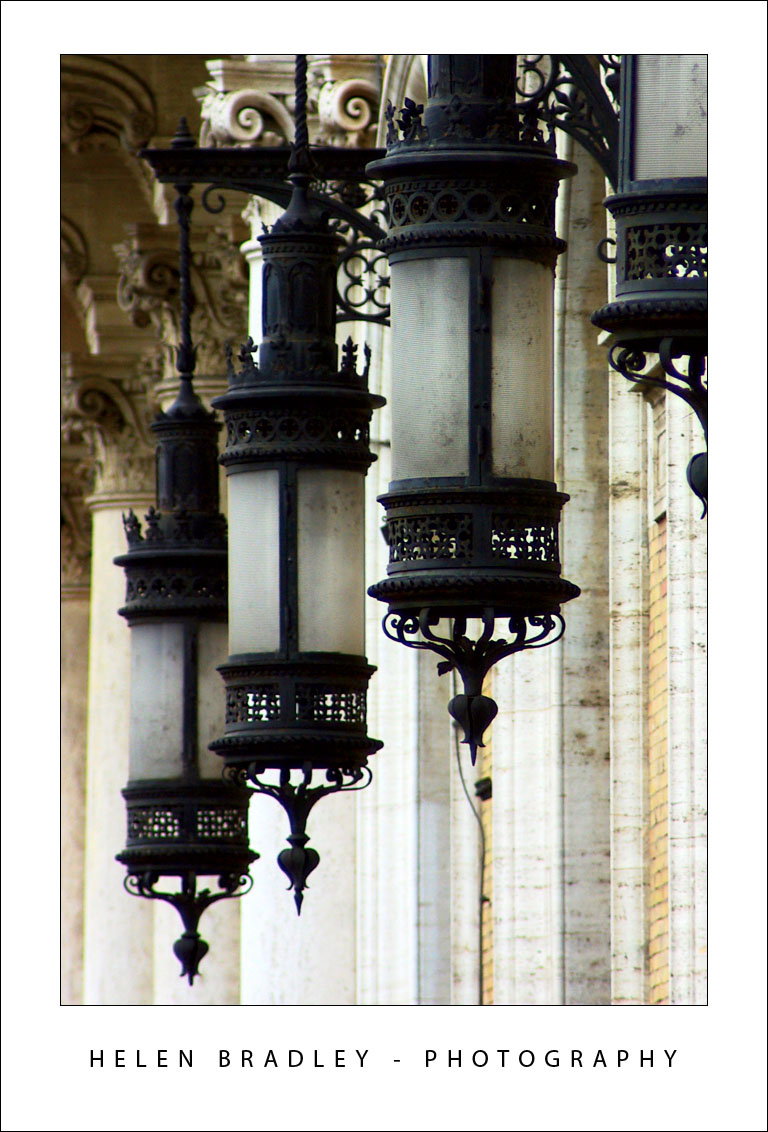
Here's today's tip - Look for repeated elements
When you're photographing in tourist locations, look for repeated elements and focus on capturing them.

This can be as simple as a row of street lights or lights on buildings.

Our eyes love to see repeating elements and anything that you can find three or four of is a great topic for a photo.

Labels: , ,

Saturday, August 22, 2009

Cool Photo Apps #5 Making photos bigger


Not all good applications come in big shinny boxes like Photoshop and Photoshop Elements. Many cool photo apps are available on the web and they're free.

These apps do things that other programs don't. They are fun to use and practical. In this Cool Photo Apps series I'll show you some of these.

Occasionally, you might want to resize an image by increasing its size - for example, when you need to make a cell phone photo large enough to print letter size!

While photos generally downsize well, upsizing them can be fraught with difficulties because you're trying to create content that doesn't exist.

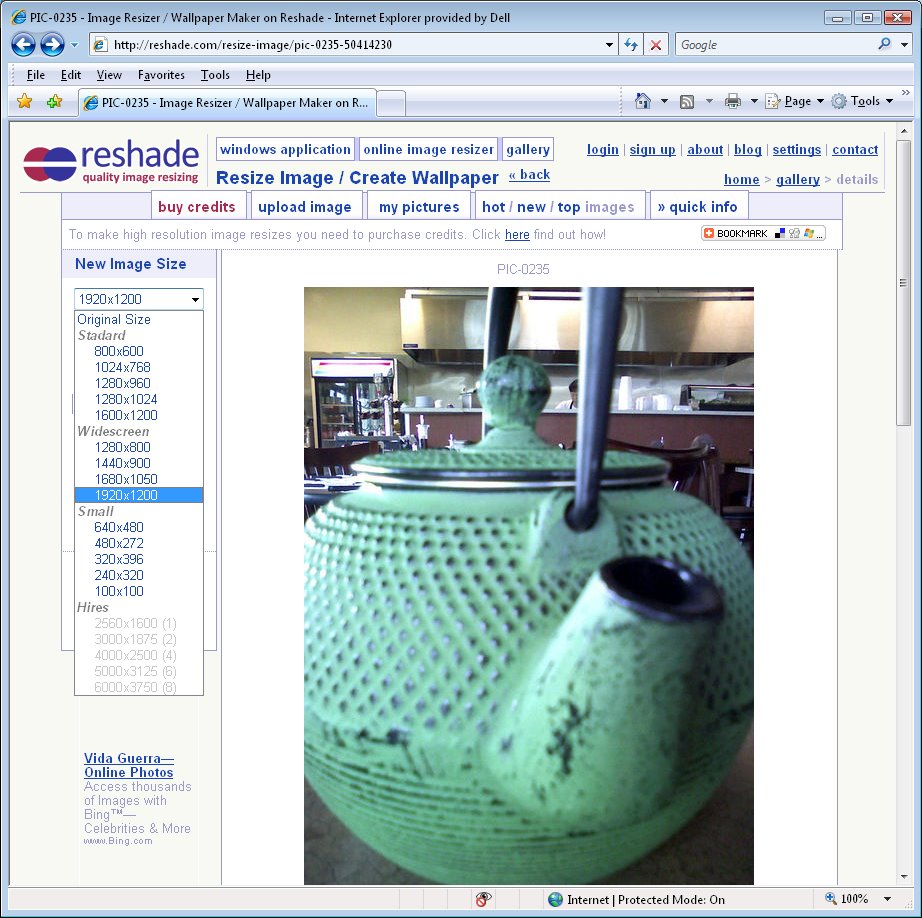
One tool which does a good job is Reshade.com. You can use the program online or download an offline version to install on your computer.

Here's how to use the online program:

Step 1
Click the Start Here button in the 4Online Image Resizer box.

Step 2
Click Browse to select the photo to upload from your computer. Click Open and then click Submit.

Step 3
Once the image appears on the sites elect the size to upsize the image to and you can also select to Smooth, Sharpen, Crop or Stretch the image although some of these require you to register on the site and high resolution resizing can be purchased for a small fee.

Step 4
When the process if complete you will see the resized image on the screen. Right click and select Save Picture As to save the image to disk.

Labels: , , ,

Wednesday, August 19, 2009

Better Travel Photography #2 - Glass and puddles are your friend

Do your travel photographs look just like everyone else’s?

If you wonder why you bothered lugging your digital SLR half way around the world and didn't just settle for buying postcards, it's time to revisit the way you photograph your travels. Here is part 2 in my new series of Better Travel Photography - a guide to getting great travel photos that don't look like everyone else's..

Today's tip: Glass is your friend (not the lens type of glass either!)

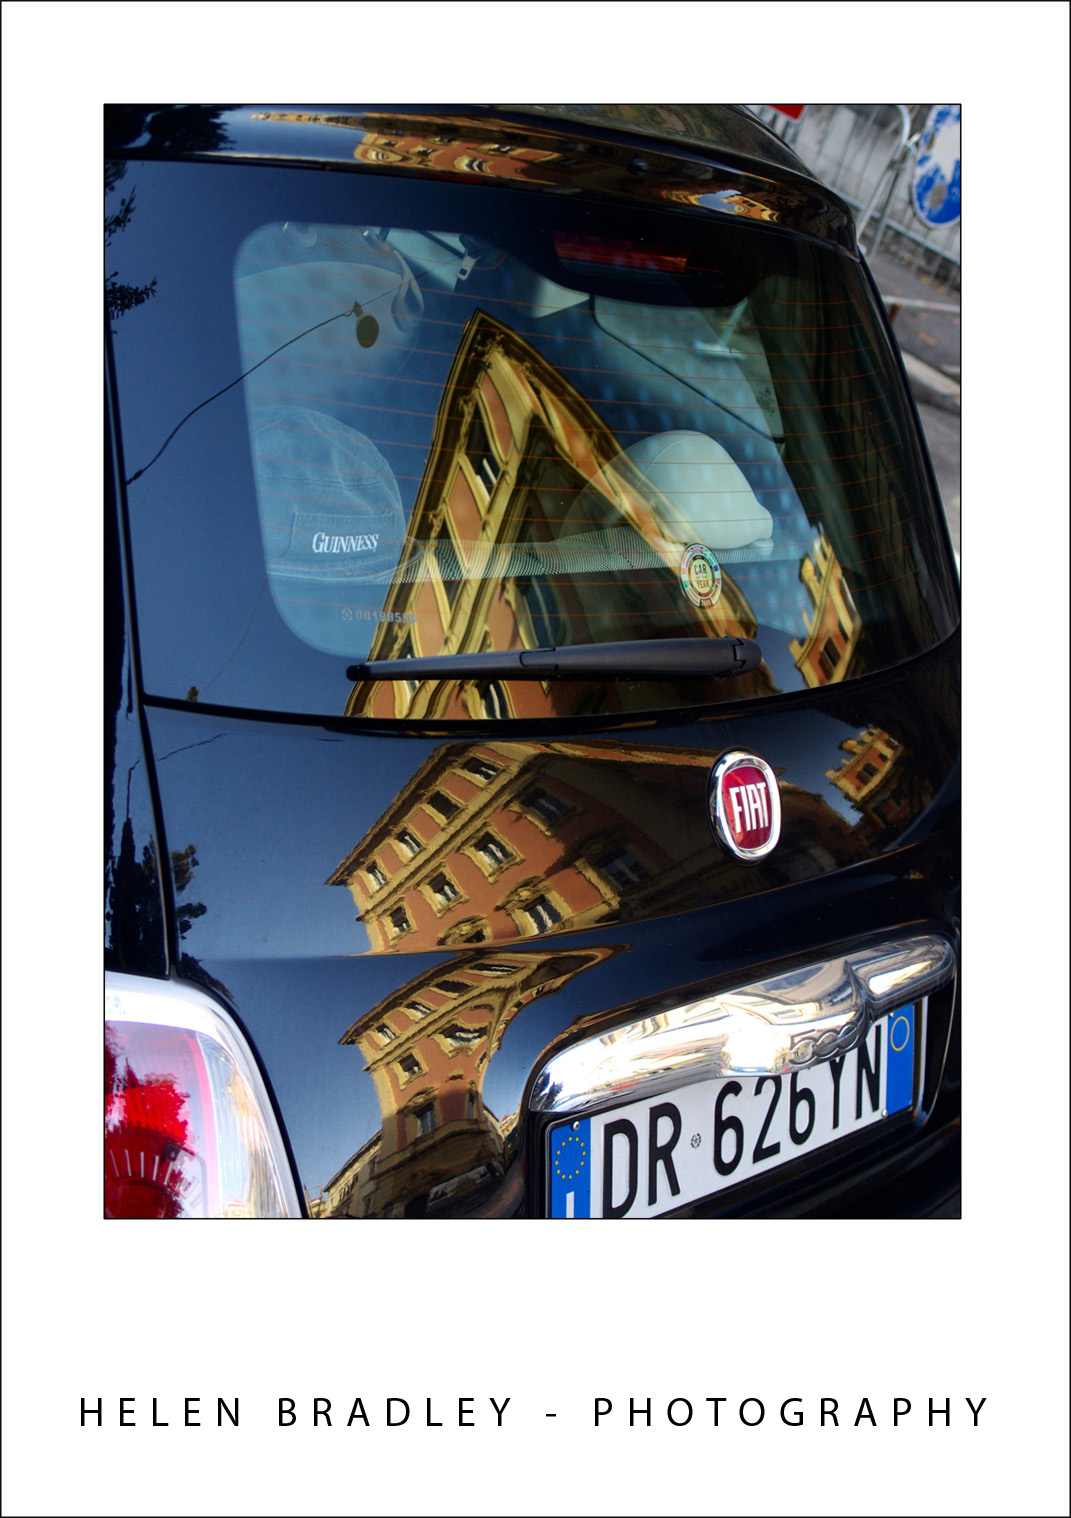
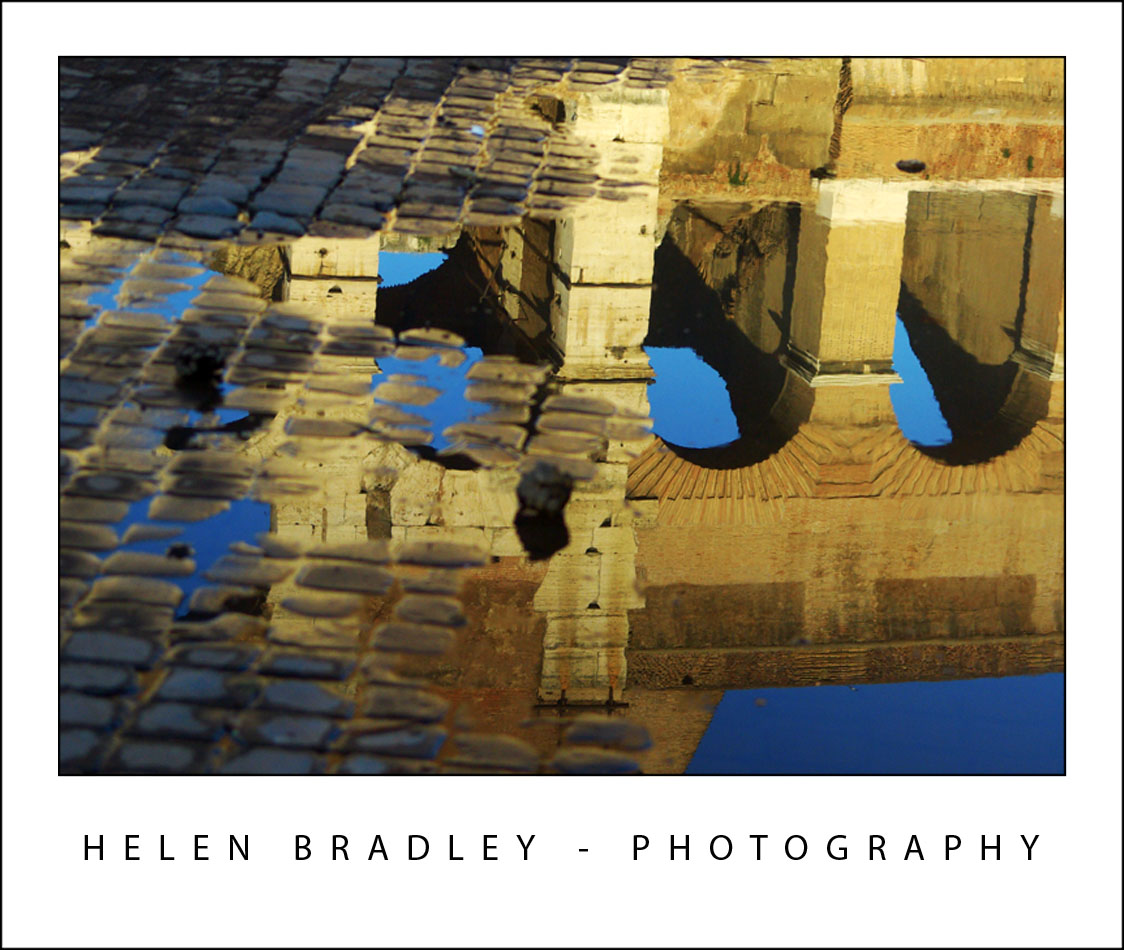
If what you are photographing is in a busy location you can capture unusual detail by turning your back on it and find ways to capture it reflected in surrounding windows.

While the object's details might be less well defined when reflected and while you'll get a combination of the window detail and the object itself, the collage effect can make for a unique image.

If it rains as you travel, celebrate the opportunities available in shooting reflections in puddles. Capturing a popular tourist destination reflected in water is a way of seeing things that are there all the time but which few people ever really "see".


When you shoot reflections, in windows or in puddles take care to make sure your camera is focusing on what it is that you want it to focus on.

You’ll want the detail in the reflection to be visible and in sharp focus with the surrounding area out of focus.

If you’re used to using a polarizing lens on your camera - which you should when shooting in sunlight conditions - remove it when you’re shooting reflections.

One of the roles of a polarizing filter is to cut out a lot of reflected light from entering your camera and, when you’re shooting reflections that’s exactly what you want to capture.

Labels: , , , , , ,

Saturday, August 15, 2009

Cool Photo Apps #4 Build your own camera


Not all good applications come in big shinny boxes like Photoshop and Photoshop Elements. Many cool photo apps are available on the web and they're free.

These apps do things that other programs don't. They are fun to use and practical. In this Cool Photo Apps series I'll show you some of these.

One of the neatest things about the digital camera revolution is that, in embracing all the fun there is to be had in photography as a hobby, many people are looking look at film cameras in a different light.

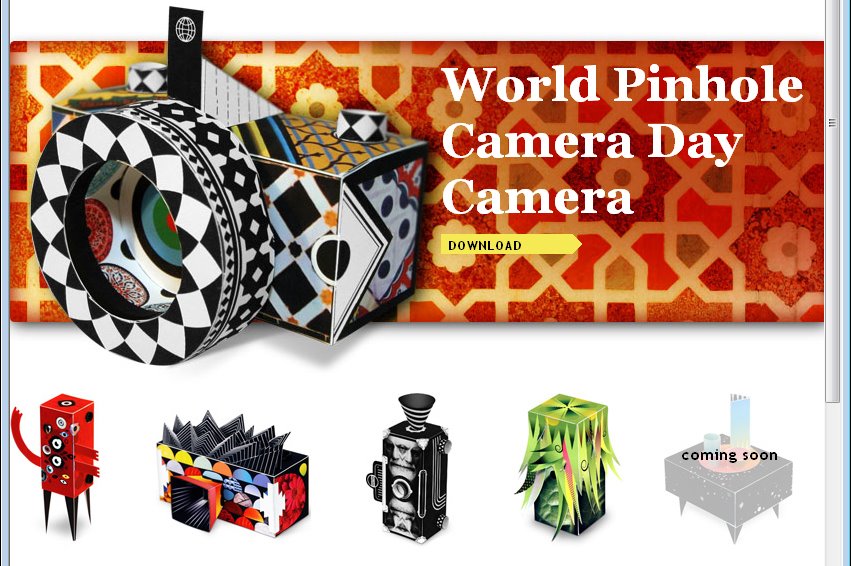
Corbis, a company better known for stock images, offers enthusiasts a series of downloadable printable pinhole cameras that you can construct yourself from cardboard and which use regular film. It’s the ideal partnership between technology and creativity.

You simply download a PDF file which contains the camera template and instructions and print the pieces. You assemble the camera over a recycled cereal box using a few simple tools that you probably already have.

Slip in a roll of ISO 200 film – which, if you're like me, you probably have stuffed away in your fridge door – and you have a fun "grass roots" camera that’s guaranteed to give you hours of entertainment.

I'm willing to bet you'll be scurrying to your nearest camera shop to get the photos printed just so you can see how cool they are. Find the Corbis pinhole cameras at www.corbis.readymech.com/en.

Labels: , , ,

Tuesday, August 11, 2009

Better Travel Photography #1 - take the road less traveled

Do your travel photographs look just like everyone else’s?

If you wonder why you bothered lugging your digital SLR half way around the world and didn't just settle for buying postcards, it's time to revisit the way you photograph your travels. Here is part 1 in my new series of Better Travel Photography - a guide to getting great travel photos that don't look like everyone else's..

Today's tip: Move out of the way
If you're tempted to stand alongside other photographers to capture photos of popular tourist destinations then it's time to move away.

The really unique photographs are those that you take when you look at something through your eyes rather than following what everyone else is shooting.

Look for things that are different and interesting to you in the place you are visiting..

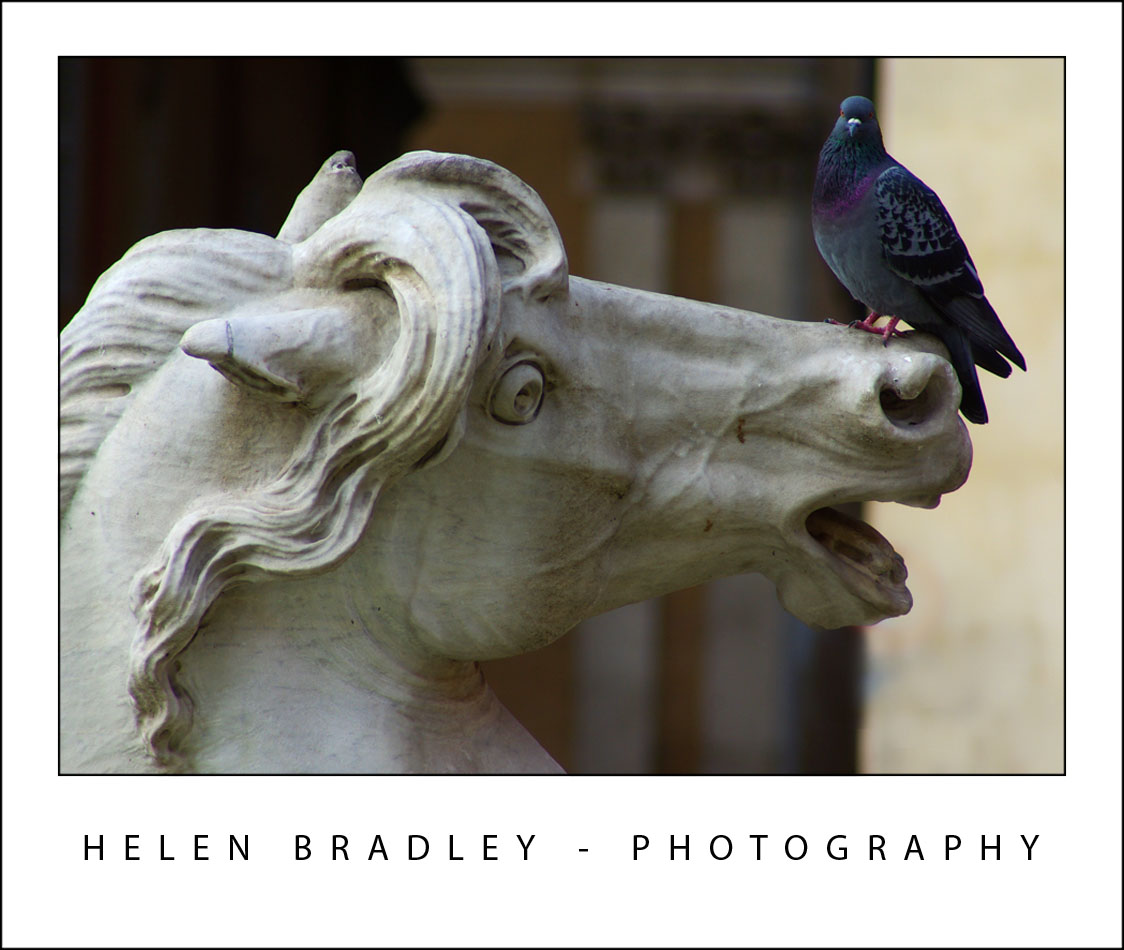
For example, when photographing fountains look for something other than the big picture.

Get in close to the fountain to capture close-up detail or wait for something to happen.

It might be a child splashing in the fountain, a couple sharing a kiss or it might be something as unusual as a bird perched on a statue.

Even in the most popular tourist places there are great and fun and unusual things to capture.

Labels: , , ,

Friday, August 7, 2009

Cool Photo Apps #3 Create a life poster


Not all good applications come in big shinny boxes like Photoshop and Photoshop Elements. Many cool photo apps are available on the web and they're free.

These apps do things that other programs don't. They are fun to use and practical. In this Cool Photo Apps series I'll show you some of these.

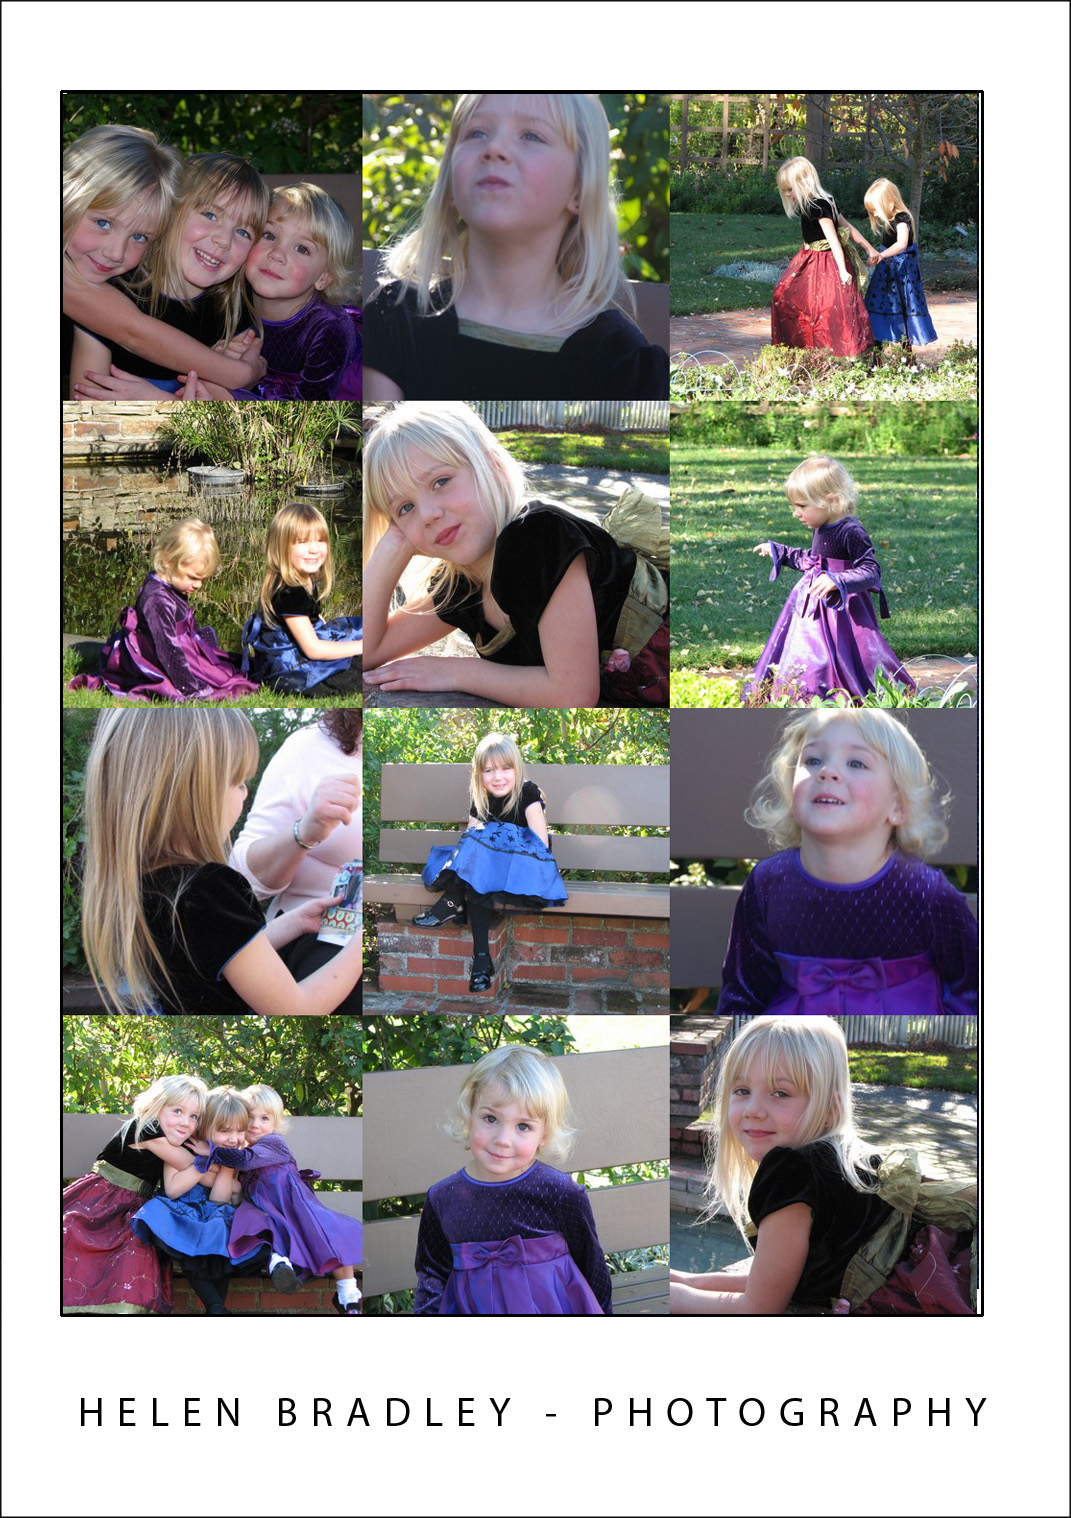
Popularized by the Mac and its iLife software, life posters are a collage of images arranged in a grid layout. Life posters look best when you use square images. On the PC you can create a life poster using the tools built into Picasa which you can download from http://picasa.google.com.

Here's how to do it:

Step 1
Start with a new album by selecting File > New Album and give the album a name like Life Poster.

Step 2
Add the photos to the album that you want to use for the life poster. The order in which the images appear in the album are the order in which they will be arranged into your life poster so the first images appear across the top line of the poster and the next series of images will appear through the next row etc.. If you predetermine how big your grid will be, such as 4 x 4 images or 5 x 5 images you can determine which photos will be next to which other photos.

Step 3
When you create the poster, Picasa will automatically crop the images to a square format. If there are images that you would prefer to crop yourself, double click the image to open it and crop it to a square shape before beginning.

Step 4
To create your life poster, right click the album name and choose Select all pictures. Click the Collage button at the bottom of the tray area and choose Picture Grid from the Type list. From the location dropdown list choose a folder in which to save the finished collage image. Check the preview and, if you’re happy with the result, click Create to create the poster.

Step 5
You'll find the image ready for printing in the folder you selected. Of course, having created your poster, you could convert it to a wall size poster ready for downloading and printing. Here's a blog post that will show you how to do it: Cool Photo Apps #2 big huge photo prints

Labels: , , , , ,

Saturday, August 1, 2009

Cool Photo Apps #2 big huge photo prints


Not all good applications come in big shinny boxes like Photoshop and Photoshop Elements. Many cool photo apps are available on the web and they're free.

These apps do things that other programs don't. They are fun to use and practical. In this Cool Photo Apps series I'll show you some of these.

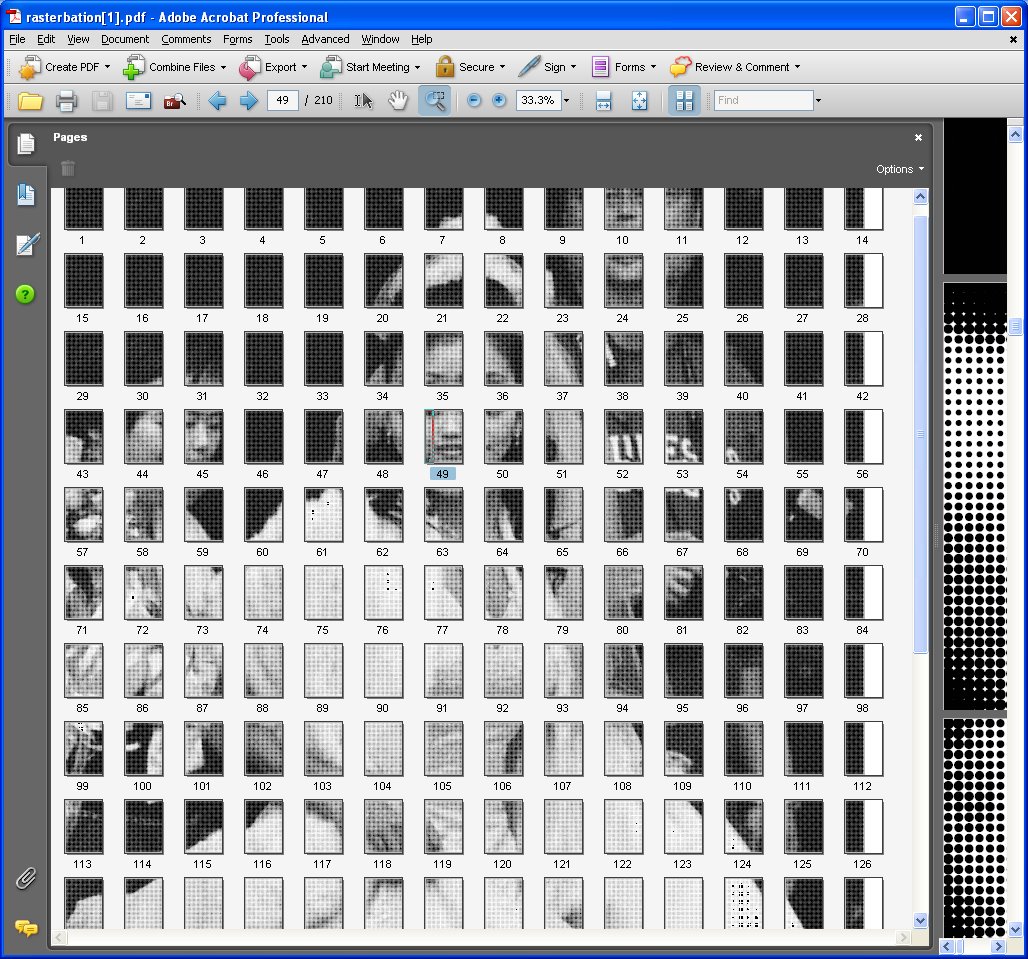
For resizing images to very large size, there are a couple of handy tools you can use. One of these is Rasterbator which you can find at http://homokaasu.org/rasterbator/. You can use this tool online or you can download it to your computer and use it from there. One benefit of downloading is that you're not limited in the size of the starter image you use.

Rasterbator upsizes your image to anything from regular poster size to a gigantic 25 meters in size.

Here's how to use the online version:

Step 1
Click Rasterbate Online and select to upload an image from your computer or use an image from the web. There is a maximum upload size of 1 MB. Once the file is uploaded, you can crop the image although you're really better off doing this before you upload it.

Step 2
Select the Size option and select the final print size for your image. Each of the grid squares is one sheet of paper and you can add more sheets or reduce the number of sheets by clicking the More Sheets or Few Sheets buttons. The finished size of the project appears below the image so you can juggle the size to fit your needs.

Be sure to select the paper size as Letter and use either a vertical or horizontal orientation as required. It's important to select your page size here as it will be too late once you’ve created the PDF file. Click Next to continue.

Step 3
The program will warn you how many sheets of paper the project will require and, if you're happy to continue, click the Continue button – you're not actually printing yet, just confirming you want a document that big created for you.

Step 4
Set the options such as drawing a border around the rasterbated area which will give you cutting lines that you can use later on to cut out the images before assembling the panel. Select the dot size to use from the list or use the default size. You can choose to create the image in black and white, some other colour and white or colour.

Step 5
Click Rasterbate when you are done and wait as the PDF file is created for you.

Step 6
Download and save the pdf file and then print, cut and hang and enjoy your masterpiece at your leisure.

If you liked this post, you're sure to like the other posts in the series:

Cool Photo Apps#1: The Warholizer

Labels: , , ,